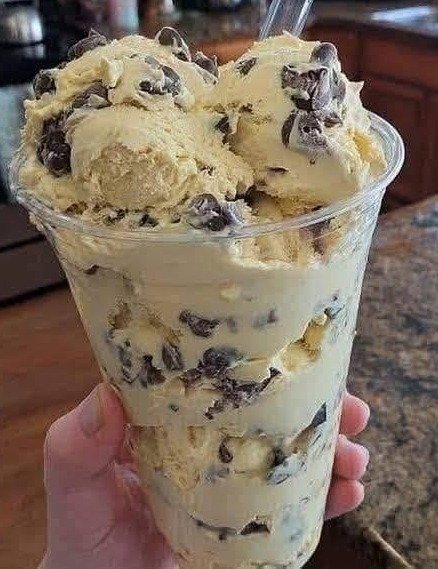
A sweet, creamy, ultra-fluffy keto treat that stops cravings in minutes.
Servings: 6
Prep Time: 10 minutes
Cook Time: 0 minutes
Total Time: 10 minutes
Dietary Badges:
✔ Low-Carb
✔ Keto-Friendly
✔ Sugar-Free
✔ Gluten-Free
✔ No-Bake Dessert
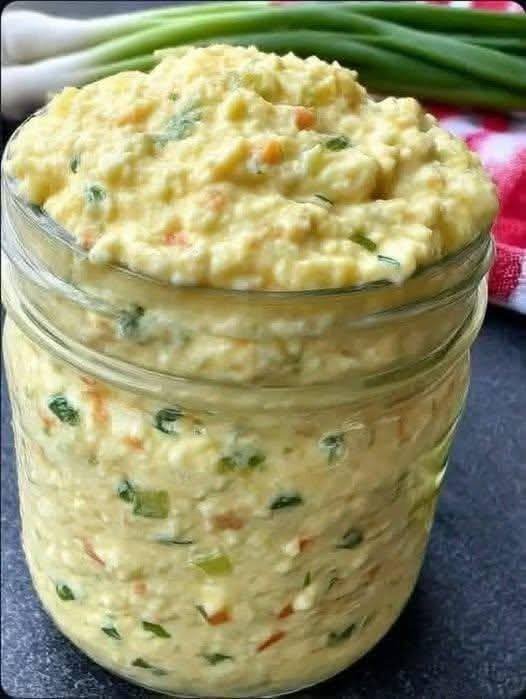
image 142 Recipe, Low-Carb
Ingredients
✔ 1 ½ cups heavy whipping cream
✔ 2–4 tbsp cream cheese (softened; use 3–4 tbsp for richer flavor)
✔ 1 box sugar-free instant pudding mix (cheesecake flavor recommended)
✔ ½–1 cup Lily’s chocolate chips (mix of milk chocolate + semi-sweet works great)
Instructions
In a medium mixing bowl, combine heavy whipping cream, softened cream cheese, and sugar-free pudding mix.
Beat with a hand mixer for 2–3 minutes, until thick, smooth, and fluffy.
Gently fold in the Lily’s chocolate chips.
Refrigerate for 30 minutes for best texture, or enjoy immediately.
Additional Notes
For extra fluff, chill your bowl and beaters before mixing.
Use softened cream cheese only — cold cream cheese will leave lumps.
Naturally keto, low-carb, gluten-free, and sugar-free.
Keep refrigerated at all times.
Brief Introduction
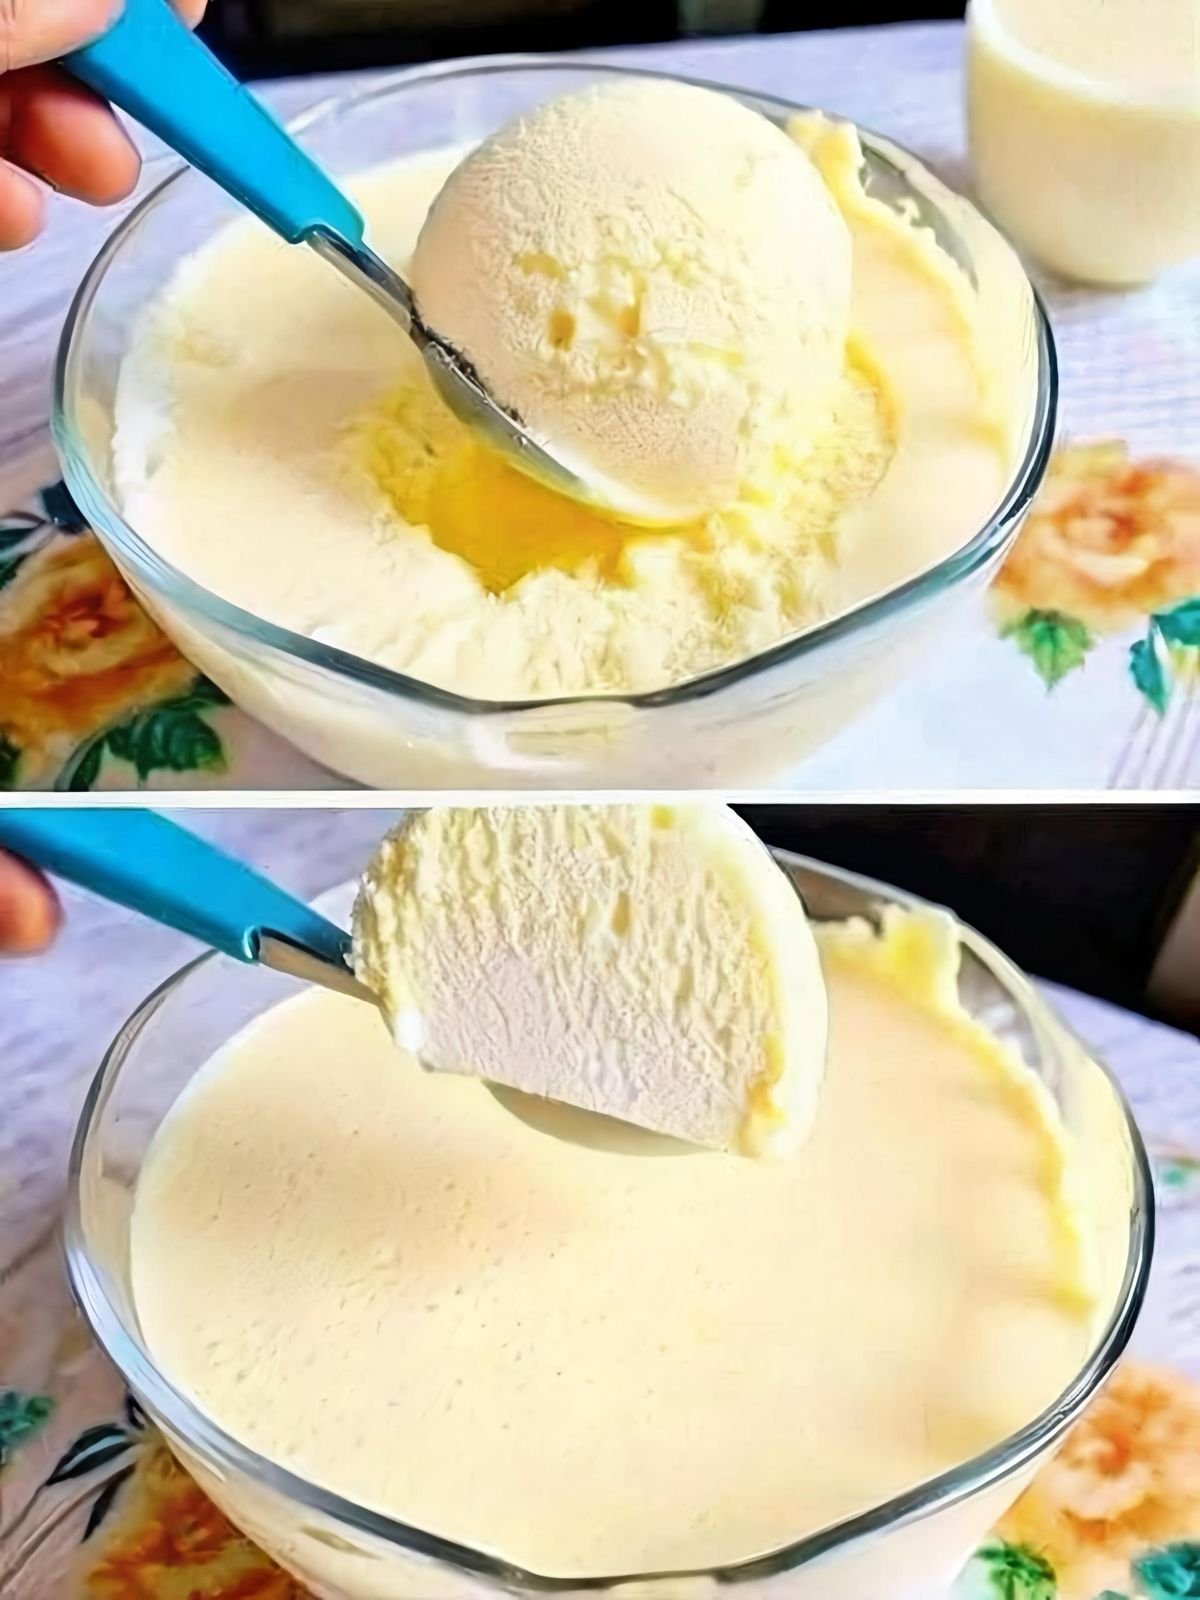
This Low-Carb Chocolate Chip Fatbomb Fluff is the perfect answer to late-night chocolate cravings. It’s rich, airy, sweet, and unbelievably fast to make — no baking, no fuss. With only a few keto-friendly ingredients, it turns into a creamy mousse-like dessert that feels indulgent while staying low in carbs.
Optional tone: Confession: I’ve eaten this straight from the bowl more times than I can admit.
II. STEP-BY-STEP COOKING GUIDE
Step 1: Whip the cream base
Add the heavy cream, softened cream cheese, and pudding mix into a mixing bowl.
Tip: Softened cream cheese prevents lumps and helps the mixture whip smoothly.
Step 2: Beat until fluffy
Use a hand mixer and beat for 2–3 minutes until the mixture becomes thick, creamy, and mousse-like.
Tip: Stop mixing once stiff peaks form to avoid over-whipping.
Step 3: Fold in chocolate chips
Add your Lily’s chips and gently fold them through with a spatula.
Tip: Try mixing milk chocolate + semi-sweet chips for perfect balance.
Step 4: Chill and serve
Transfer to serving bowls and refrigerate for 30 minutes to set.
Tip: This step improves texture, but you can enjoy immediately if you can’t wait!
III. INGREDIENT DETAILS & SUBSTITUTION TIPS
Ingredient Explanations
Heavy whipping cream: Creates the fluffy mousse-like base.
Cream cheese: Adds richness and thickness.
Sugar-free pudding mix: Provides structure and flavor without carbs.
Lily’s chocolate chips: Keto-friendly chocolate with no sugar.
Quality & Selection Tips
Use cold whipping cream for best volume.
Soften cream cheese 20–30 minutes before using.
Any instant sugar-free pudding flavor works: chocolate, vanilla, banana, pistachio.
Substitutions
No cream cheese? → Add 1 extra tbsp pudding mix to thicken.
No pudding mix? → Use 1 tsp vanilla + 1 tbsp sweetener (won’t be as thick).
No Lily’s chips? → Replace with chopped sugar-free chocolate bar.
Dairy-free option? → Use coconut cream + dairy-free chocolate (texture slightly different).
Equipment Alternatives
No hand mixer? → Use a whisk, but whipping will take longer.
No mixing bowls? → Chill a metal pot — works perfectly.
IV. RECIPE VARIATIONS & SERVING SUGGESTIONS
✔ Flavor Variations
Mocha Fluff: Add 1 tsp instant espresso.
Peanut Butter Cup Fluff: Mix in 1 tbsp no-sugar peanut butter.
Mint Chocolate Fluff: Add ⅛ tsp mint extract + green food coloring.
Strawberry Cheesecake Fluff: Use sugar-free strawberry pudding mix.
✔ Dietary Variations
Dairy-Free: Use coconut cream + vegan sugar-free chocolate.
Higher Protein: Add 1 scoop vanilla whey, adjusting thickness with 2 tbsp cream.
Ultra-Low Carb: Reduce chocolate chips to ¼ cup.
✔ Serving Ideas
Spoon into parfait cups for parties
Serve with berries
Freeze into a semi-solid “ice-cream fluff”
✔ Pairings
Keto coffee
Cold brew
Herbal tea
Sugar-free hot chocolate
V. STORAGE & MAKE-AHEAD INFO
Storage Instructions
Store in an airtight container in the refrigerator for up to 4 days.
Keep chilled — it softens at room temperature.
Reheating Instructions
Not applicable (no-bake, cold dessert).
Make-Ahead Tips
Prepare 1 day ahead for firmer fluff.
Fold in chocolate chips right before serving for extra crunch.
Shelf Life Notes
Fluff may loosen slightly after 2–3 days — just give it a quick whisk before serving.
VI. NUTRITION FACTS (ESTIMATE – PER SERVING)
(Based on 6 servings and ½ cup Lily’s chips)
Calories: ~290
Protein: 2–3g
Carbs: 4–6g net
Fat: 28–30g
Fiber: ~2g
Sugar: 0g added
Dietary Highlights:
✔ Keto
✔ Low-Carb
✔ Gluten-Free
✔ Sugar-Free
Allergen Notes:
Contains dairy.
VII. FREQUENTLY ASKED QUESTIONS
Q: Can I freeze this recipe?
Yes — freeze in individual cups. Thaw 10 minutes before eating.
Q: My fluff turned out runny — what happened?
It may be under-whipped. Beat longer or add 1–2 tbsp extra pudding mix.
Q: Can I use full-sugar pudding mix?
Yes, but it will no longer be low-carb.
Q: Can I use all cream cheese instead of mixing?
Yes, but the texture will be thicker and more cheesecake-like.
VIII. OPTIONAL PERSONAL STORY
I created this fatbomb fluff on a night when chocolate cravings were out of control — and no keto desserts were ready. One experiment later, this became my go-to sweet fix. It’s fast, creamy, and tastes like chocolate-chip cheesecake mousse without blowing your carbs.
IX. READER INTERACTION
If you try this Low-Carb Chocolate Chip Fatbomb Fluff, drop a comment and rating!
Tell me the pudding flavor you used — I love seeing your versions.


 Note:
Note:


 Supports low-carb & keto diets
 Notes & Pro-Tips
 Nutritional Info & Benefits
 Common Q&A
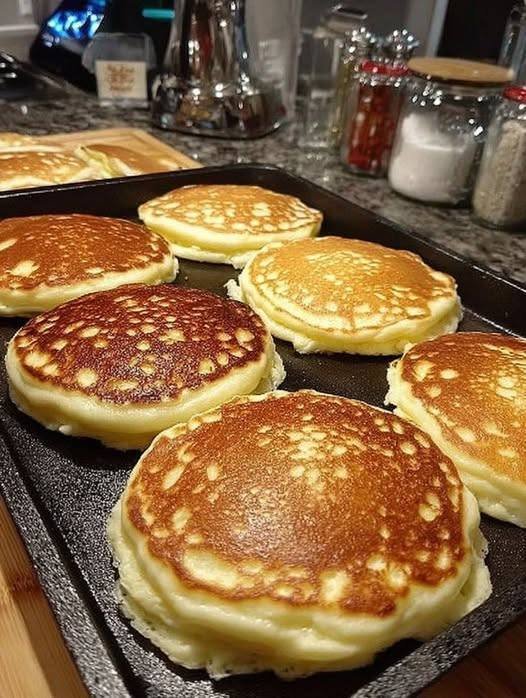
 Ingredients
 Instructions
 Servings
 Nutritional Info (per pancake, without toppings)
 Benefits