Homemade Sweetened Condensed Milk. It is a fantastic staple to have on hand, especially since the store-bought versions can sometimes have a metallic aftertaste from the canning process.
Here are a few tips to ensure yours turns out perfectly:
Pro-Tips for Success
-
The Simmer is Key: Keep the heat low during that 30–40 minute window. If the milk boils too vigorously, it can scorch or create a grainy texture. You want a very gentle “smile” on the surface of the liquid.
-
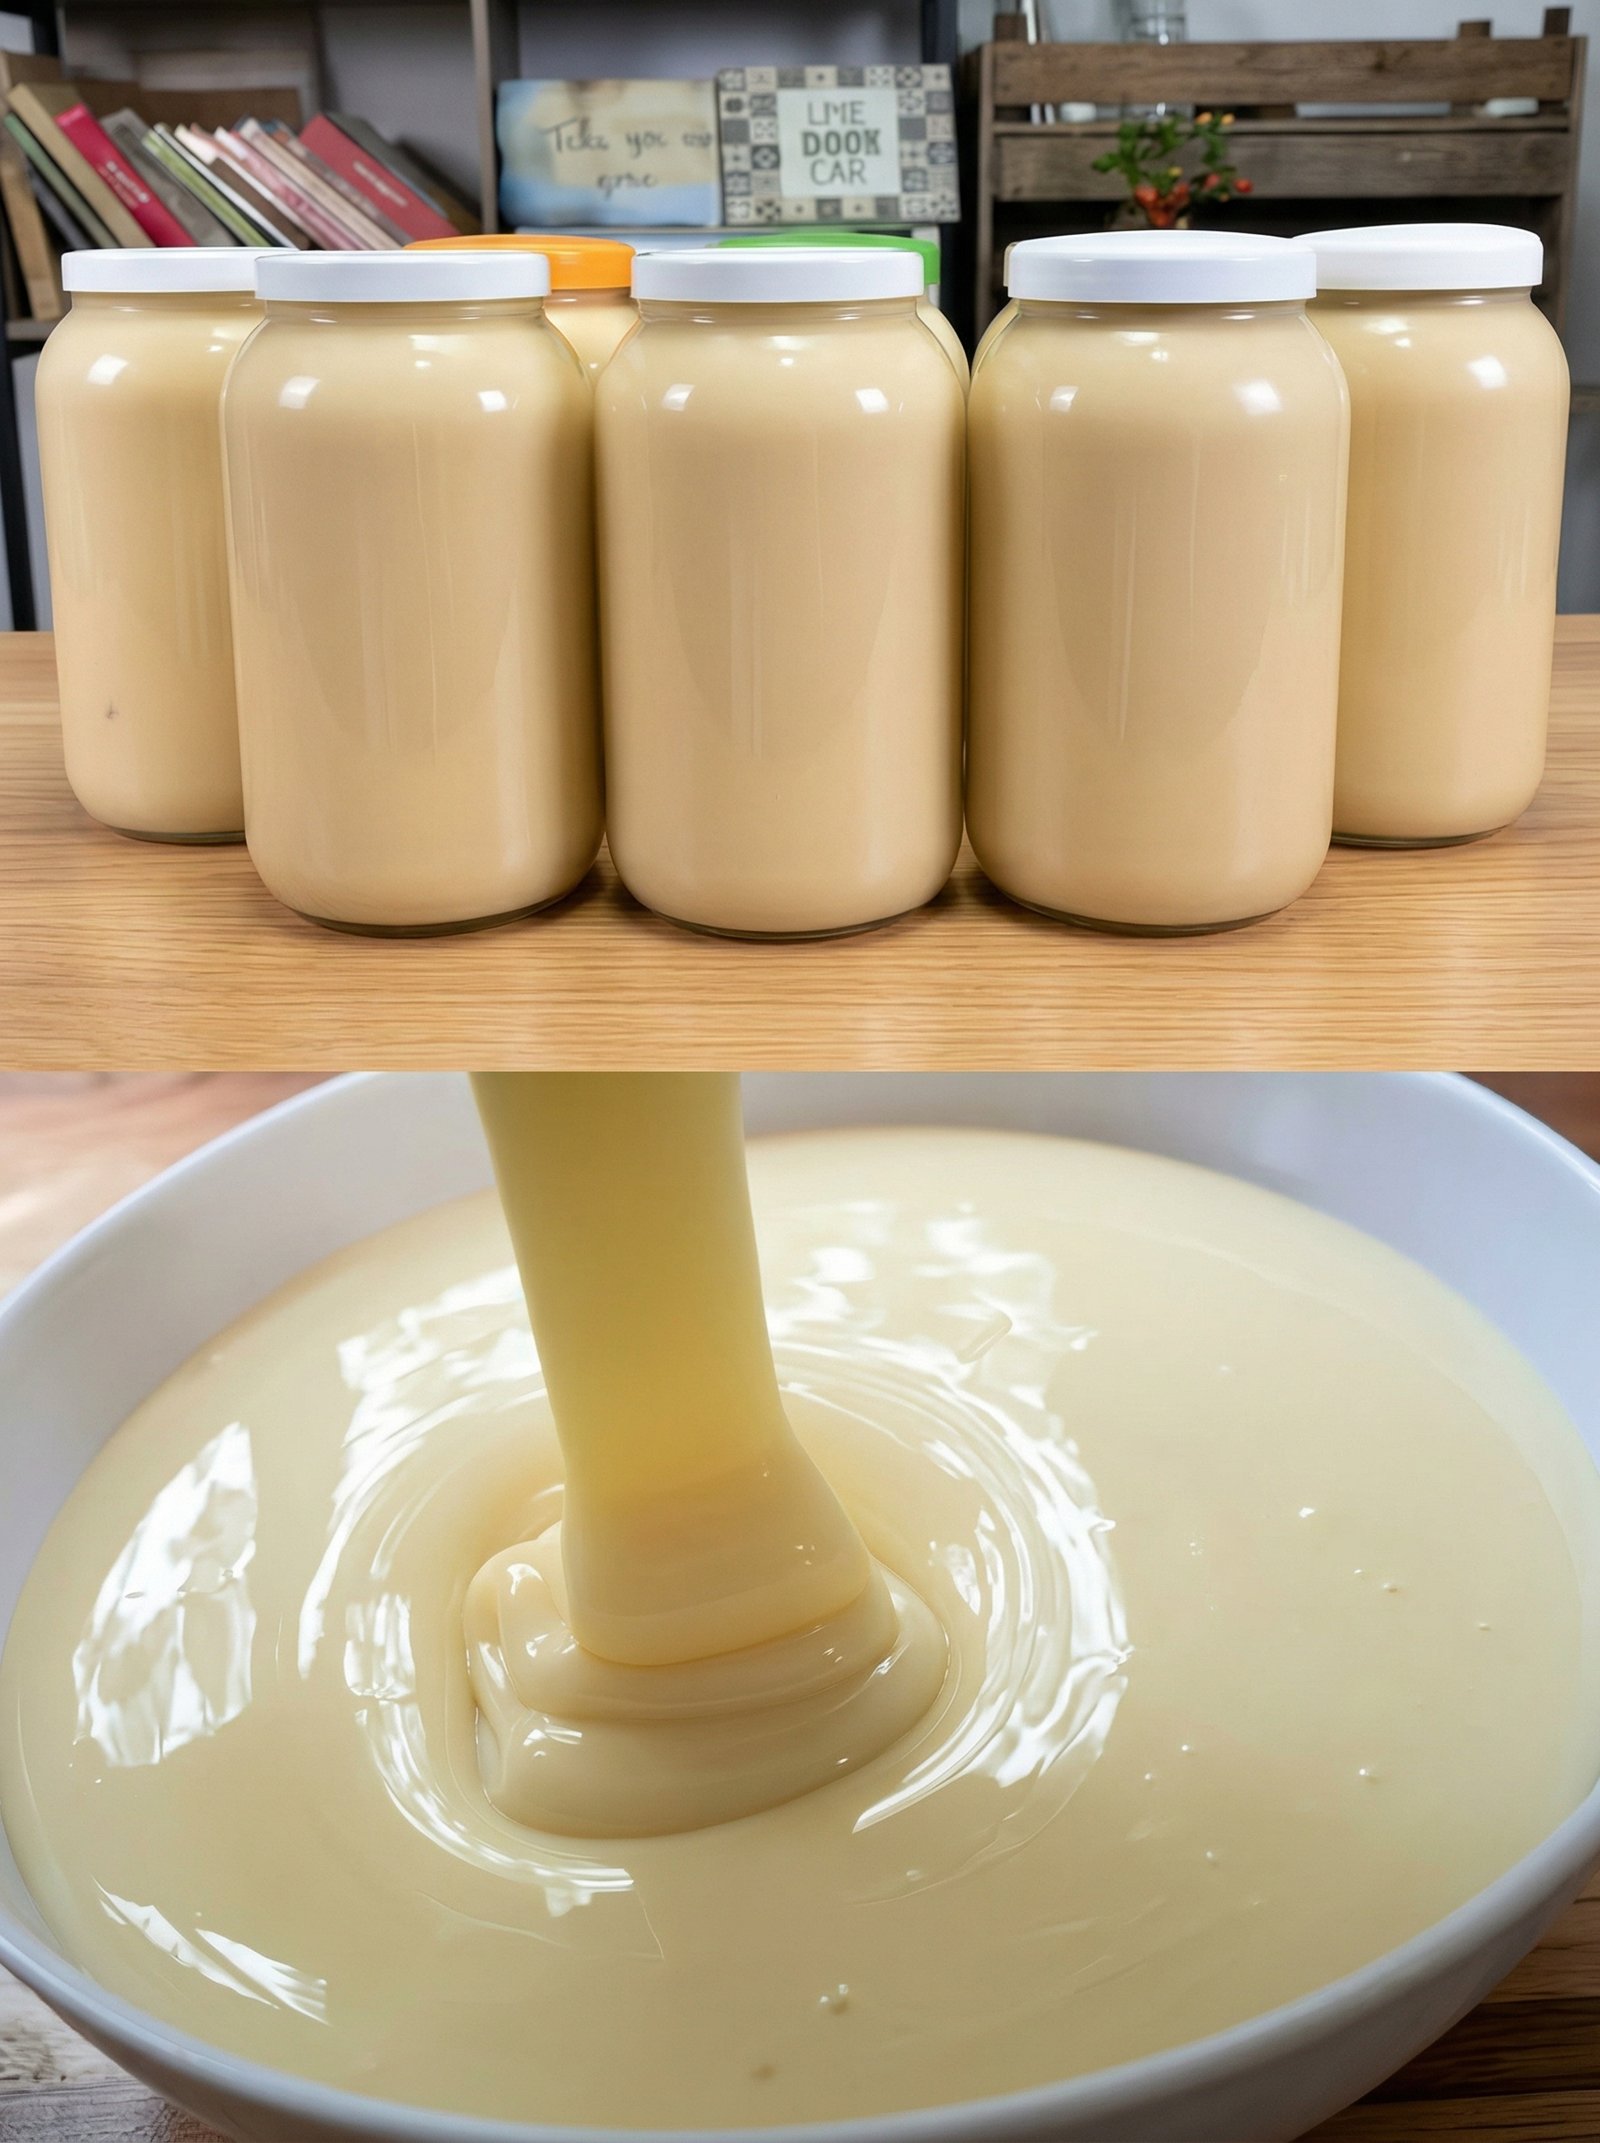
The “Thickening” Illusion: Don’t worry if it looks a bit thinner than expected while it’s still hot. Condensed milk thickens significantly as it cools in the refrigerator.
-
Preventing a Skin: If you want to avoid a “skin” forming on top as it cools, place a piece of plastic wrap directly onto the surface of the liquid until it reaches room temperature.
Quick Variations
| Addition | Result |
| Pinch of Salt | Balances the intense sweetness and enhances the dairy flavor. |
| Cocoa Powder | Stir in 2 tablespoons at the end for a chocolate condensed milk. |
| Coconut Milk | Swap the whole milk for full-fat canned coconut milk for a dairy-free version. |
Common Uses
-
Coffee & Tea: Use it as a rich creamer for Thai iced tea or Vietnamese iced coffee.
-
Quick Fudge: Melt it with chocolate chips for an almost instant fudge.
-
Fruit Dip: Mix it with a little lime juice and zest for a creamy dip for berries or apples.