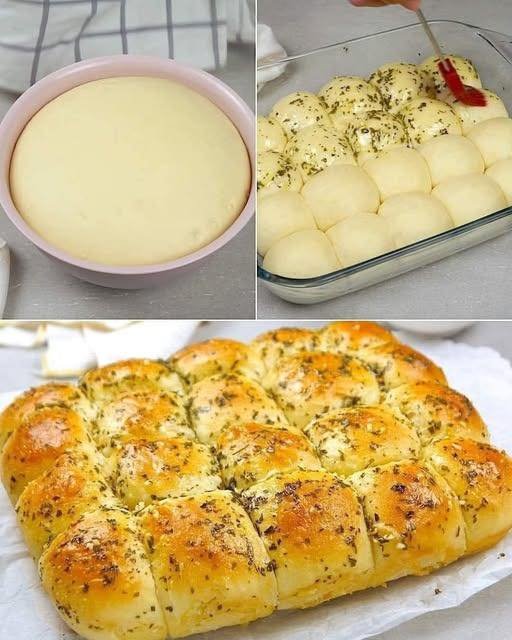
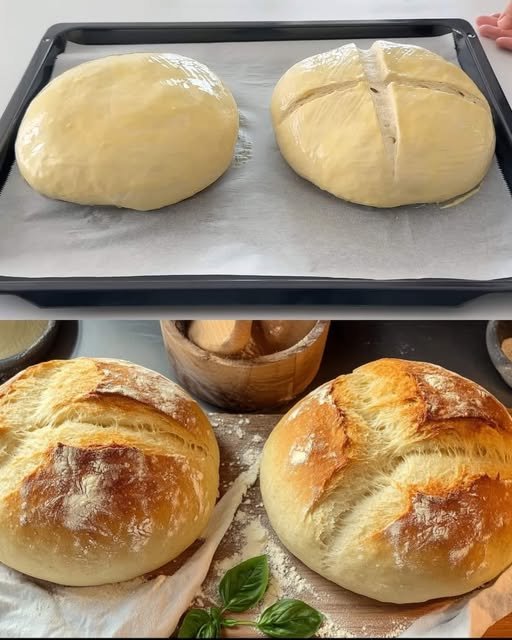
Homemade Flaky Green Onion & Spinach Flatbread
This recipe creates a beautiful, multi-layered bread similar to a scallion pancake or paratha.
Ingredients
-
Dough:
-
550g (4 1/5 cups) Flour
-
300ml (1 1/2 cups) Warm water
-
1 Egg
-
1 tsp (7g) Salt
-
-
Filling:
-
40g Green onions, chopped
-
50g Fresh spinach, chopped
-
1/2 tsp Salt
-
1/2 tsp Red pepper flakes
-
Oil or melted butter (for brushing between layers)
-
Instructions
-
Make the Dough: In a large bowl, whisk the egg into the warm water and salt. Gradually add the flour and knead until a smooth, soft dough forms. Cover and let it rest for 20 minutes to relax the gluten.
-
Prepare Filling: Mix the chopped onions, spinach, salt, and red pepper in a small bowl.
-
Shape & Layer: Divide the dough into equal portions. Roll one piece out into a very thin rectangle. Brush the surface lightly with oil or butter and sprinkle a generous amount of the green filling over it.
-
Create Flakiness: Roll the dough up tightly into a long rope, then coil that rope into a spiral (like a snail shell). Flatten the spiral gently with your hand or a rolling pin. This creates the “swirled” layers seen in the photo.
-
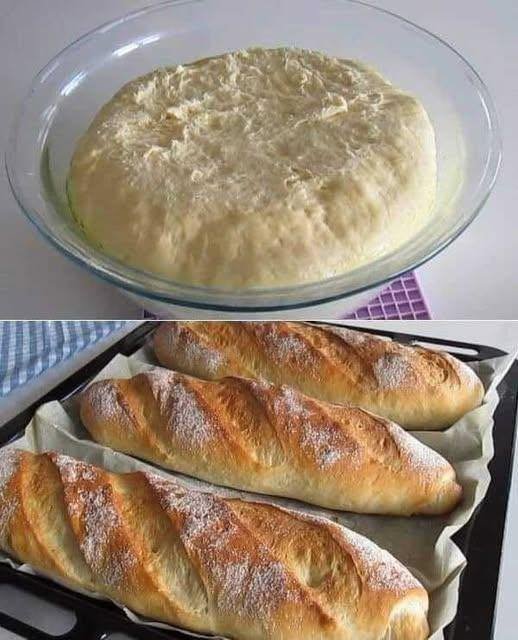
Cook: Heat a lightly oiled skillet over medium heat. Fry each flatbread for 3–4 minutes per side until golden brown and crispy on the outside.
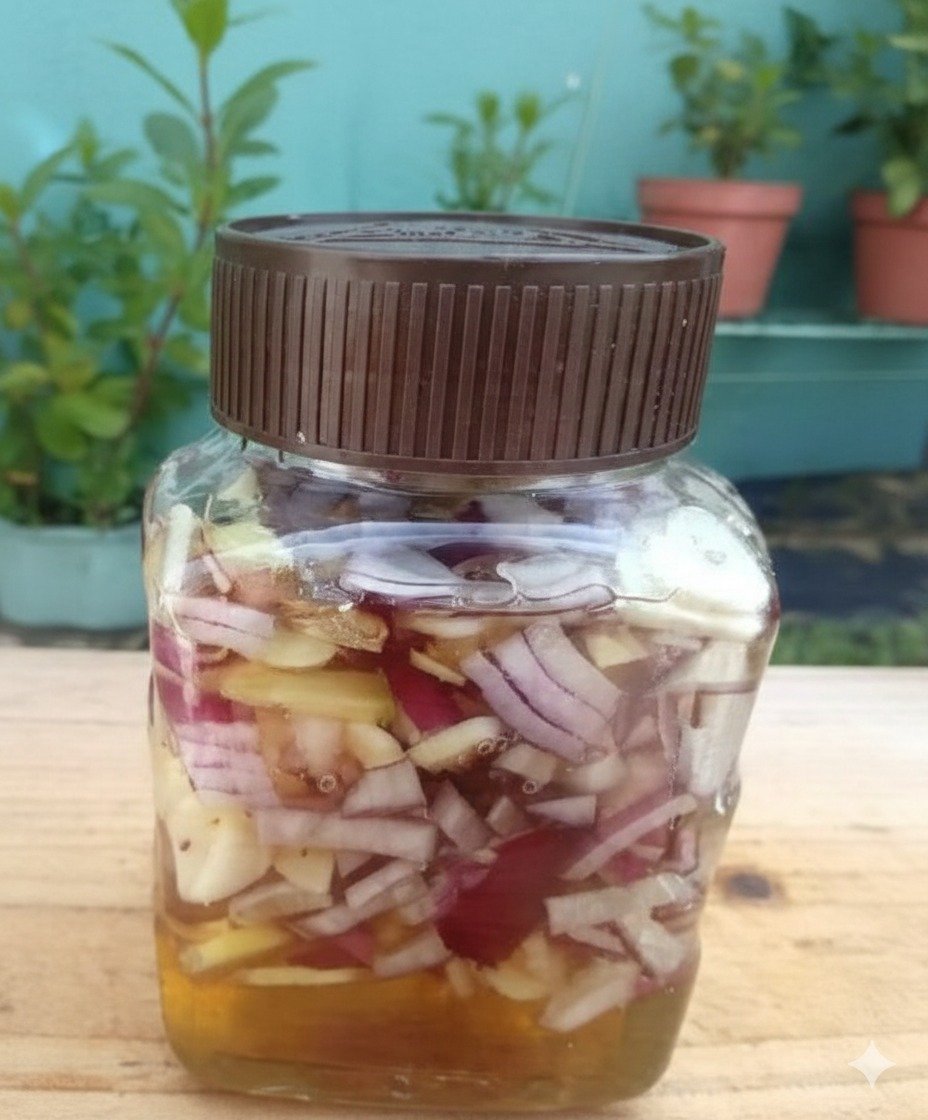
Lemon, Ginger & Turmeric Immune Tonic
A refreshing and simple infusion to support your daily hydration.
Ingredients
-
3 slices Fresh lemon
-
2–3 slices Raw ginger
-
1 pinch Ground turmeric or fresh root
-
1 dash Black pepper (optional, helps with turmeric absorption)
-
Warm water
Instructions
-
Place the lemon, ginger, and turmeric into a mug.
-
Pour warm water over the ingredients.
-
Let steep for 5 minutes and sip slowly.
Simple Clove Water
Ingredients
-
3–5 Whole cloves
-
1 cup Water
Instructions
-
Cold Method: Place cloves in water and let sit overnight in the fridge.
-
Hot Method: Steep cloves in hot water for 10 minutes, then remove the cloves before drinking.