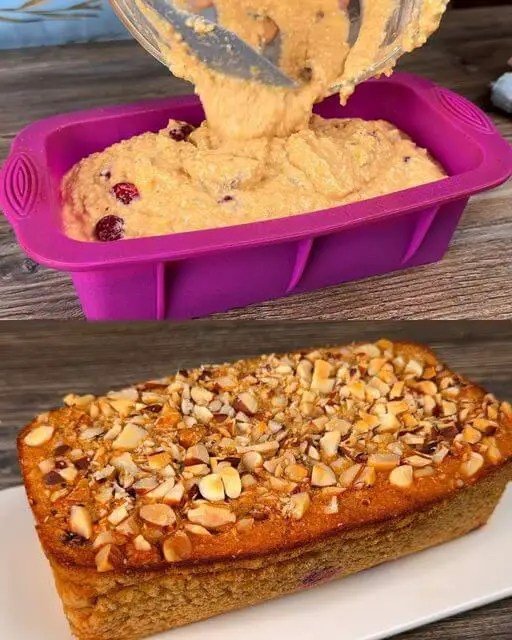
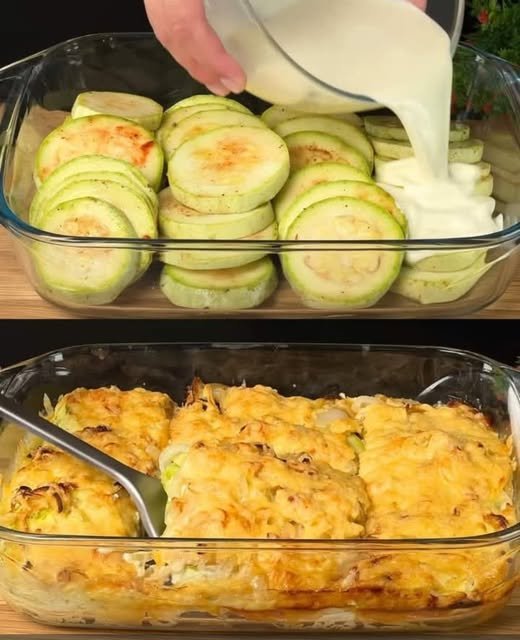
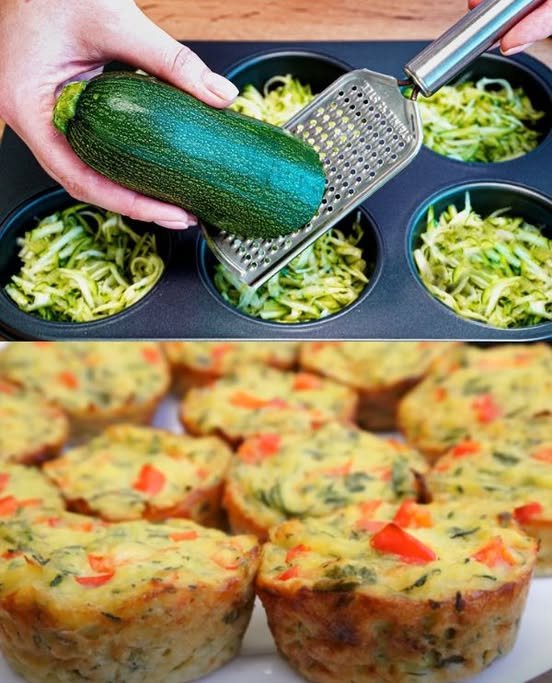
Cheesy Zucchini & Oat Rolls
Ingredients Recap
-
The Base: 1 zucchini, 1 carrot, 1 potato.
-
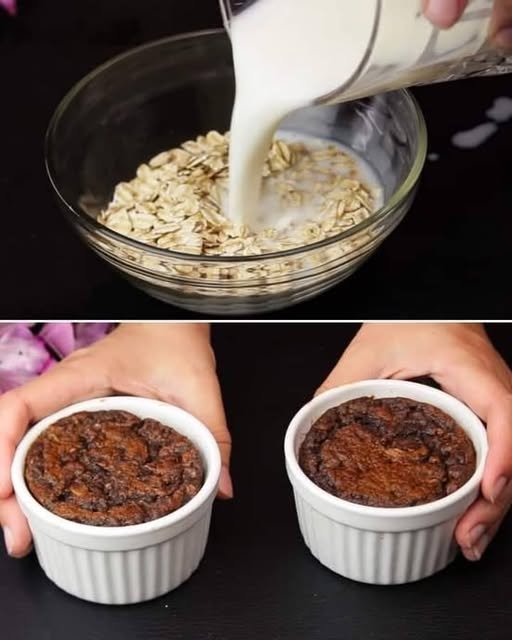
The Binder: 2 eggs, 4 tbsp oats, 2 tbsp flour.
-
Flavor & Filling: 100 g cheese (shredded), 1 clove garlic (minced), parsley, salt, pepper, Italian herbs, paprika.
-
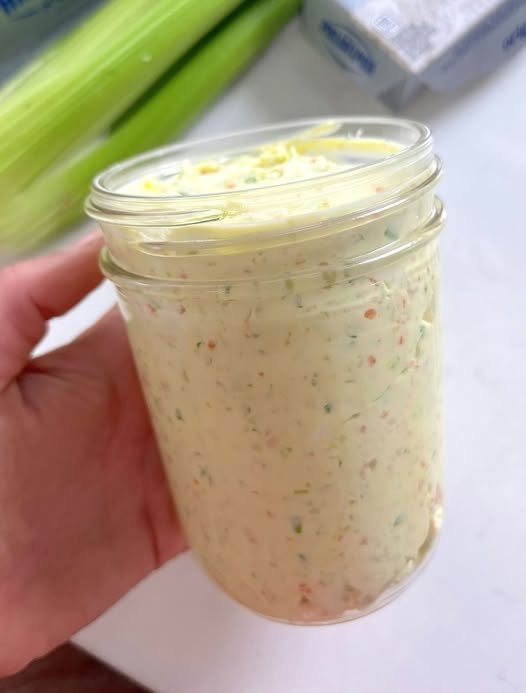
The Sauce: 2 tbsp sour cream, 1 tbsp mayonnaise, fresh dill, and salt (to taste).
Instructions
1. Prep the Vegetables
-
Grate the zucchini and potato. Place them in a bowl with a pinch of salt and let them sit for 5–10 minutes.
-
Squeeze the excess water out of the zucchini and potato very thoroughly. This is the secret to making sure they aren’t soggy!
-
Grate the carrot and finely chop the parsley.
2. Mix the Batter
-
In a large bowl, combine the squeezed zucchini, potato, and grated carrot.
-
Add the eggs, oats, flour, garlic, and all the spices (paprika, herbs, and pepper).
-
Mix until well combined. Let the mixture sit for 5 minutes so the oats can soften and absorb the moisture.
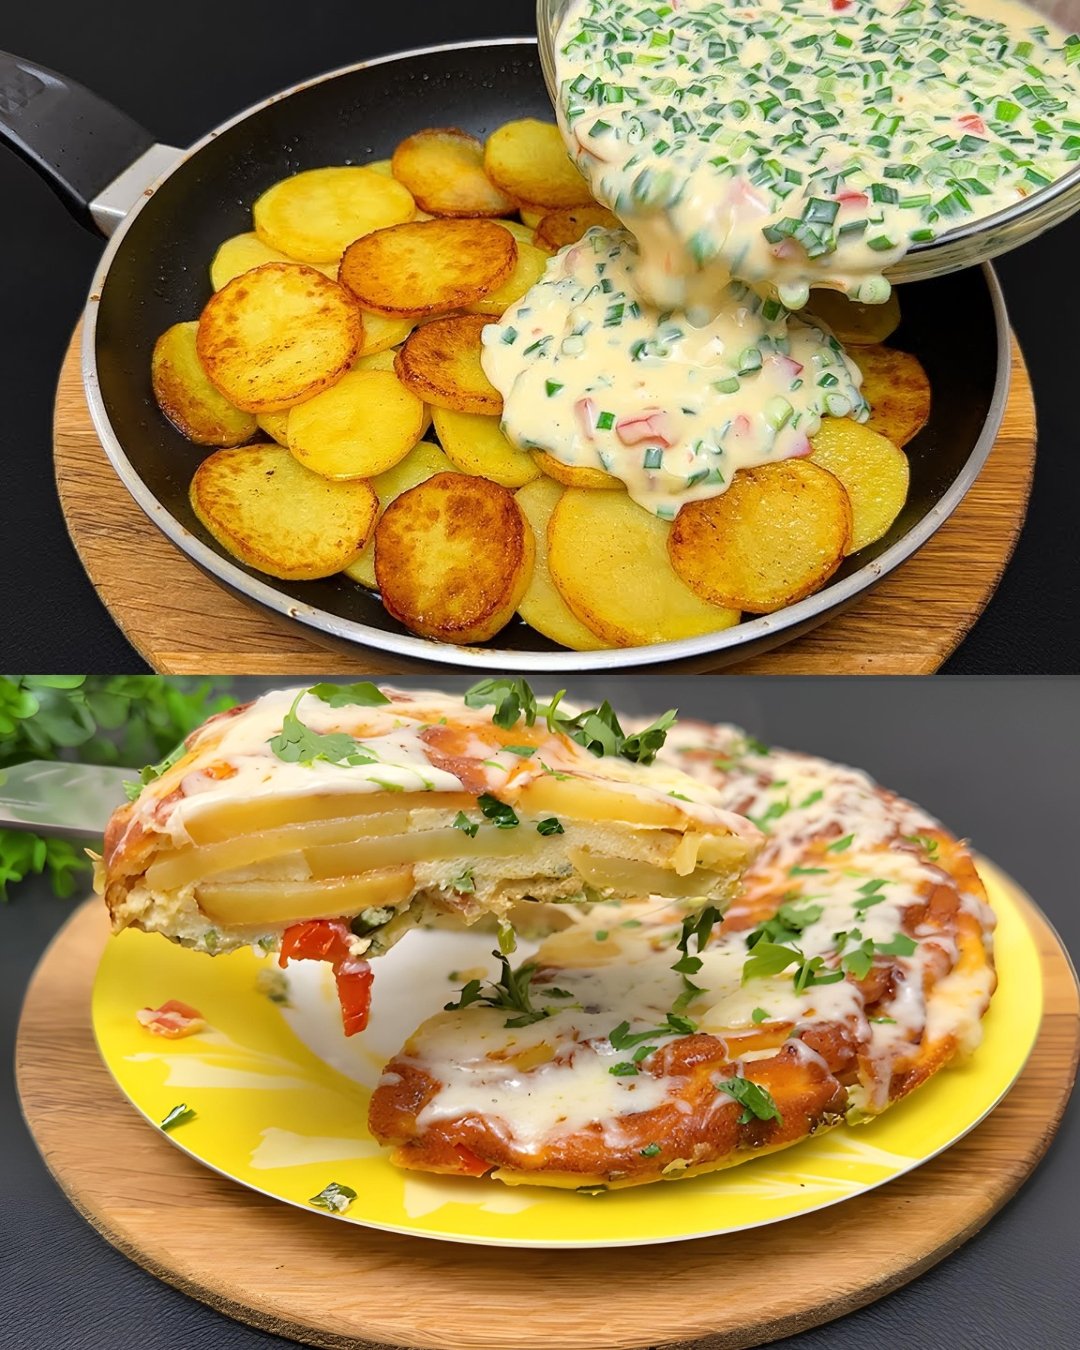
3. Cook the “Wraps”
-
Heat a bit of olive oil in a non-stick pan over medium heat.
-
Spread a portion of the mixture thinly across the pan (like a small pancake or crepe).
-
Cook for 2–3 minutes on each side until golden brown and firm enough to flip.
4. Fill and Roll
-
While the vegetable wrap is still warm, sprinkle a generous amount of cheese down the center.
-
Roll it up tightly. The residual heat will help melt the cheese inside.
-
Optional: Place the rolls back in the pan for 1 minute, rotating them to get an extra crispy exterior and ensure the cheese is fully gooey.
5. Make the Dipping Sauce
-
In a small bowl, whisk together the sour cream, mayonnaise, and fresh dill. This cool, tangy sauce perfectly balances the savory rolls.
Pro Tip
If you prefer a lighter version, you can bake these on a parchment-lined tray at 200°C for about 15–20 minutes, flipping halfway through.


 Use full-fat mayo and skip sweet additions; ~8g net carbs per serving.
 Use fat-free mayo to reduce syns (~3–4 syns per serving).
 Ingredients
 Optional Toppings:
 Instructions
 Notes & Tips
 Servings
 Approximate Nutritional Info (Per Serving, 1/6th of loaf)
 Health Benefits
 Frequently Asked Questions (Q&A)


 Ingredients
 Instructions
 Serving Ideas
 Ingredients
 Time Breakdown
 Serving Suggestions
 Helpful Tips
 Dietary Notes
 Storage