 Zero Point Vanilla Cheesecake
Description
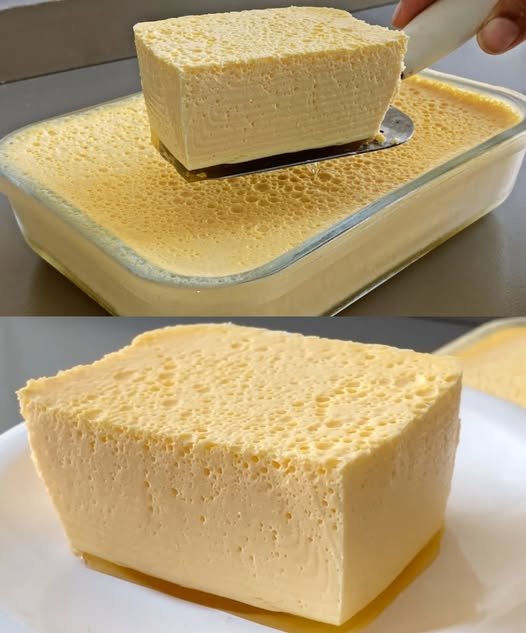
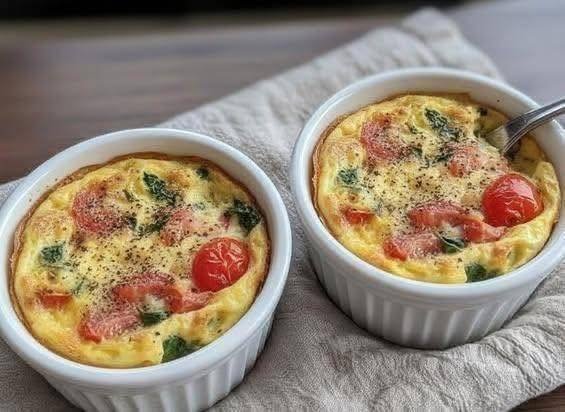
This Zero Point Vanilla Cheesecake is light, creamy, and subtly sweet—a guilt-free treat you can enjoy any day of the week.
It’s made with protein-rich yogurt and eggs, flavored with vanilla, and baked to perfection.
Even without the heavy cream cheese and sugar of traditional cheesecake, it delivers that luscious, melt-in-your-mouth texture and flavor—so good, the family swears it tastes like fresh ricotta cheesecake.
The best part? It’s super easy and perfect for Weight Watchers or anyone wanting a low-calorie dessert.
Ingredients (8 servings)
- 3 cups (680g) fat-free plain Greek yogurt
- 1 box (1 oz / 28g) sugar-free, fat-free instant vanilla pudding mix
- 3 large eggs
- 1 tsp pure vanilla extract
- 1–2 tbsp zero-calorie sweetener (like Stevia, monk fruit, or erythritol), optional for extra sweetness
Instructions
- Preheat oven to 350°F (175°C). Lightly spray a 9-inch round springform pan with nonstick cooking spray.
- Mix the batter
In a large bowl, combine Greek yogurt, pudding mix, eggs, vanilla extract, and sweetener (if using). Beat with a hand mixer until smooth. - Pour & smooth
Pour the mixture into the prepared pan and smooth the top with a spatula. - Bake
Bake for 30 minutes, then reduce the temperature to 325°F (160°C) and bake another 20–25 minutes, until set but slightly jiggly in the center. - Cool, completely
Let the cheesecake cool to room temperature, then refrigerate for at least 4 hours (overnight is best) to set fully. - Serve
Slice into 8 portions and enjoy as-is, or top with fresh berries, a dusting of cinnamon, or a drizzle of sugar-free syrup.
Notes
- Chilling is key—the flavor and texture improve after several hours in the fridge.
- Use a springform pan for easy removal, but you can also use a pie dish.
- Pudding mix adds flavor, sweetness, and stability—don’t skip it.
Tips
- For extra flavor, swap vanilla extract for almond or lemon extract.
- Avoid overbaking—the center should be slightly jiggly when you remove it from the oven.
- If you prefer a sweeter cheesecake, taste the batter before baking and adjust the sweetener to preference.
- Serve with a dollop of fat-free whipped topping for a fancier presentation.
Servings
Yield: 8 slices
Serving Size: 1 slice (~110g)
Nutritional Info (per serving, approx.)
- Calories: 90 kcal
- Protein: 11g
- Fat: 1 g
- Saturated Fat: 0g
- Carbs: 8 g
- Fiber: 0 g
- Sugar: 4 g
- Sodium: 130mg
- Weight Watchers Points: 0 points (on most plans, check your app to confirm)
Benefits
- Zero points on WW for most plans—enjoy guilt-free
- High-protein for satiety and muscle support
- Low-fat, low-sugar dessert option
- Easy & quick to prepare
- Customizable with different extracts or toppings


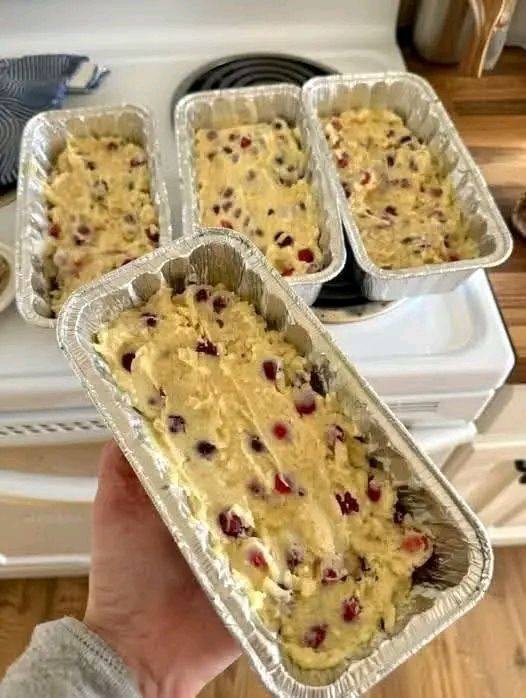
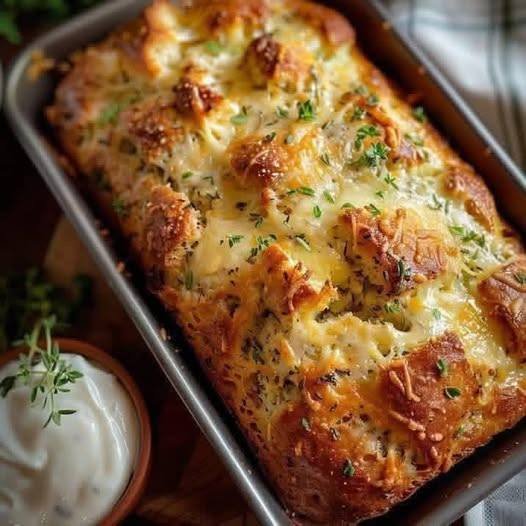
 Cranberry Orange Bread Recipe
 Tips for Success
 Nutritional Info (Per Slice)
 Benefits
 Common Q&A
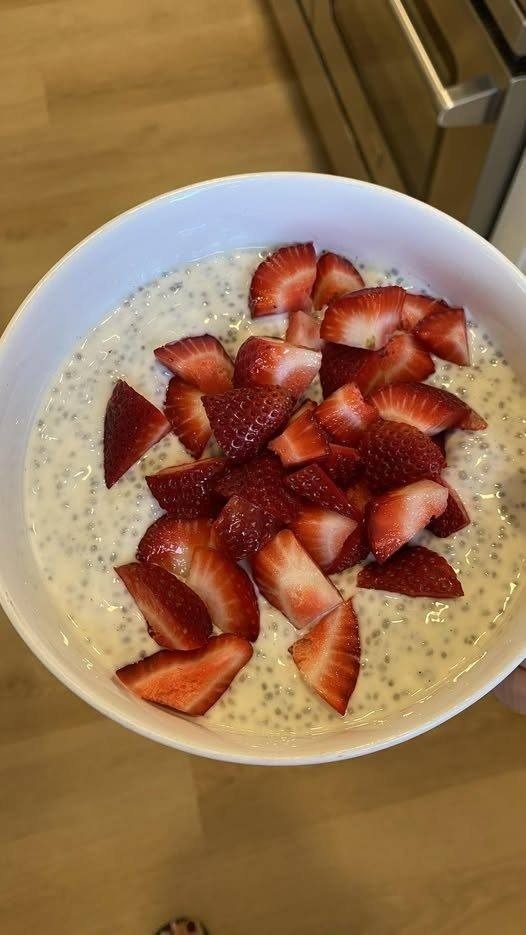
 4-Ingredient Stovetop Tapioca Pudding
 Ingredients
 Directions
 Simple, nostalgic, and endlessly comforting—this classic tapioca pudding shows that the best desserts are often the easiest.