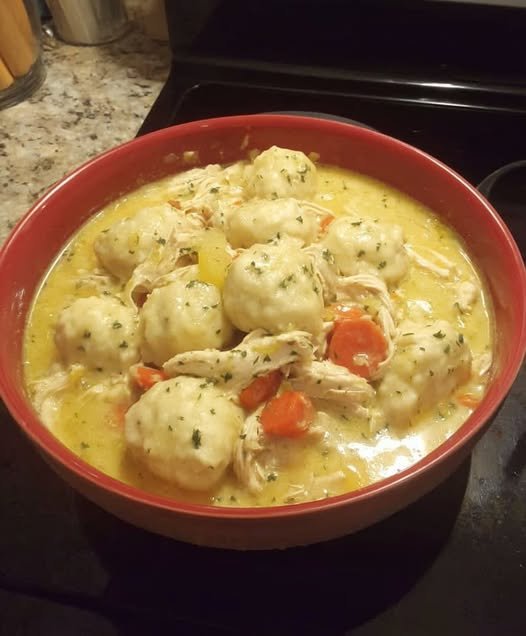
🍲 Crockpot Chicken and Dumplings
Craving comforting, homemade chicken and dumplings but short on time? This easy slow cooker recipe is the perfect solution. Tender chicken, soft pillowy dumplings, and a rich creamy broth come together for a hearty, family-friendly meal — with only 5 minutes of prep.
The slow cooker does all the work, filling your home with cozy aromas while you go about your day. It tastes like you cooked all afternoon… but it’s our little secret.
🧾 Ingredients
-
1 medium yellow onion, finely diced
-
1 (10 oz) can cream of mushroom soup
-
1 (10 oz) can cheddar cheese soup
-
2 teaspoons dried thyme
-
½ teaspoon garlic powder
-
¼ teaspoon black pepper
-
3 pounds boneless, skinless chicken thighs, cut into 1-inch pieces
-
3 cups chicken broth
-
1 (16 oz) bag frozen mixed vegetables, thawed
-
1 tube (10 oz) refrigerated flaky biscuit rounds
👩🍳 Instructions
-
Prepare the Slow Cooker
Spray a 6-quart slow cooker with nonstick spray. Add the diced onion, then place the chicken on top in an even layer. -
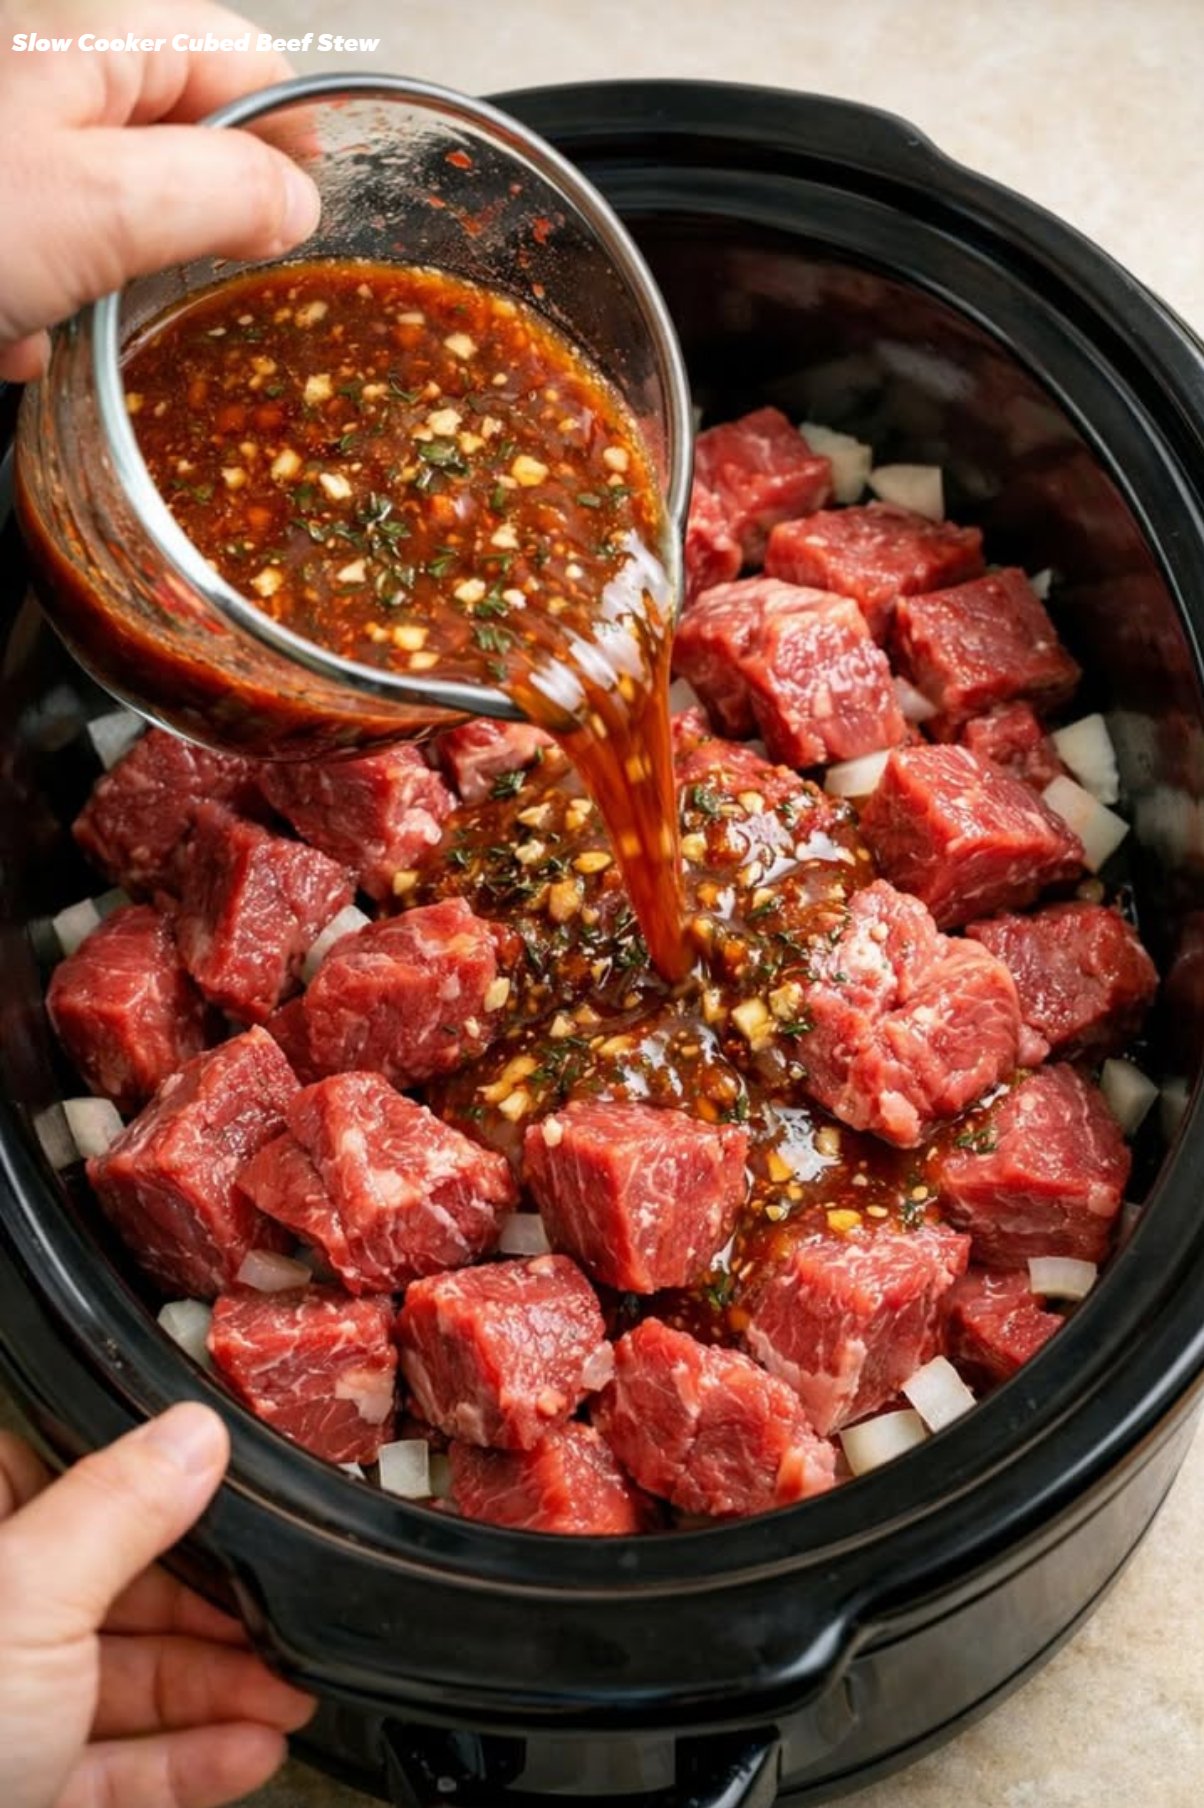
Make the Sauce
In a bowl, stir together the cream of mushroom soup, cheddar cheese soup, thyme, garlic powder, and black pepper. Pour over the chicken. Add the chicken broth. -
Slow Cook
Cover and cook on HIGH for 4 hours. -
Add Vegetables
Stir in the thawed frozen vegetables. -
Prepare Dumplings
On a lightly floured surface, roll each biscuit into an oval about ¼-inch thick. Cut each oval into 6 pieces. -
Cook Dumplings
Place biscuit pieces evenly over the chicken mixture. Cover and cook 45–60 minutes, until dumplings are fully cooked. -
Shred Chicken
Remove chicken with a slotted spoon and shred using two forks. Return shredded chicken to the slow cooker and gently stir to combine.
❤️ Why You’ll Love This Recipe
✔ Comfort food made easy
✔ Minimal prep time
✔ Soft, fluffy dumplings
✔ Rich and creamy sauce
✔ Family-friendly
💡 Tips for Best Results
-
Use a 6-quart slow cooker
-
Thaw frozen vegetables before adding
-
Avoid lifting the lid while dumplings cook
-
Dumplings need 60–90 minutes total to cook fully
-
Chicken thighs can be replaced with breasts
🔄 Customization Ideas
Add any of the following for extra flavor:
-
Diced carrots
-
Corn
-
Peas
-
Celery
-
Potatoes
Make it your own!
⭐ Final Thoughts
This Crockpot Chicken and Dumplings recipe gives you all the cozy comfort of a homemade meal with almost no effort. Just dump, cook, and enjoy tender chicken and fluffy dumplings in a creamy, savory broth. It’s the kind of meal that makes everyone ask for seconds.


 Use whole milk for creaminess (low-fat works but less rich).