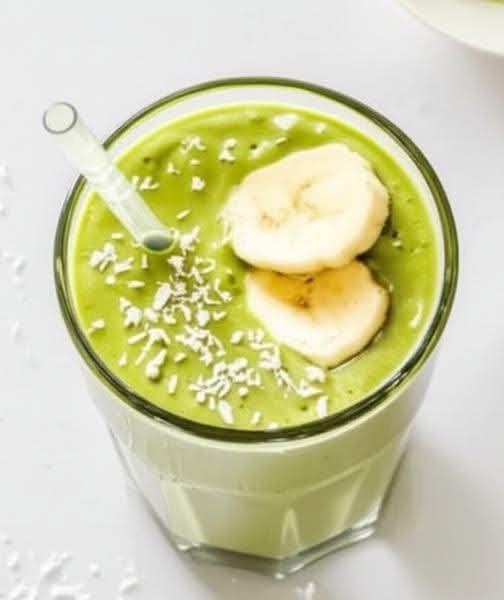
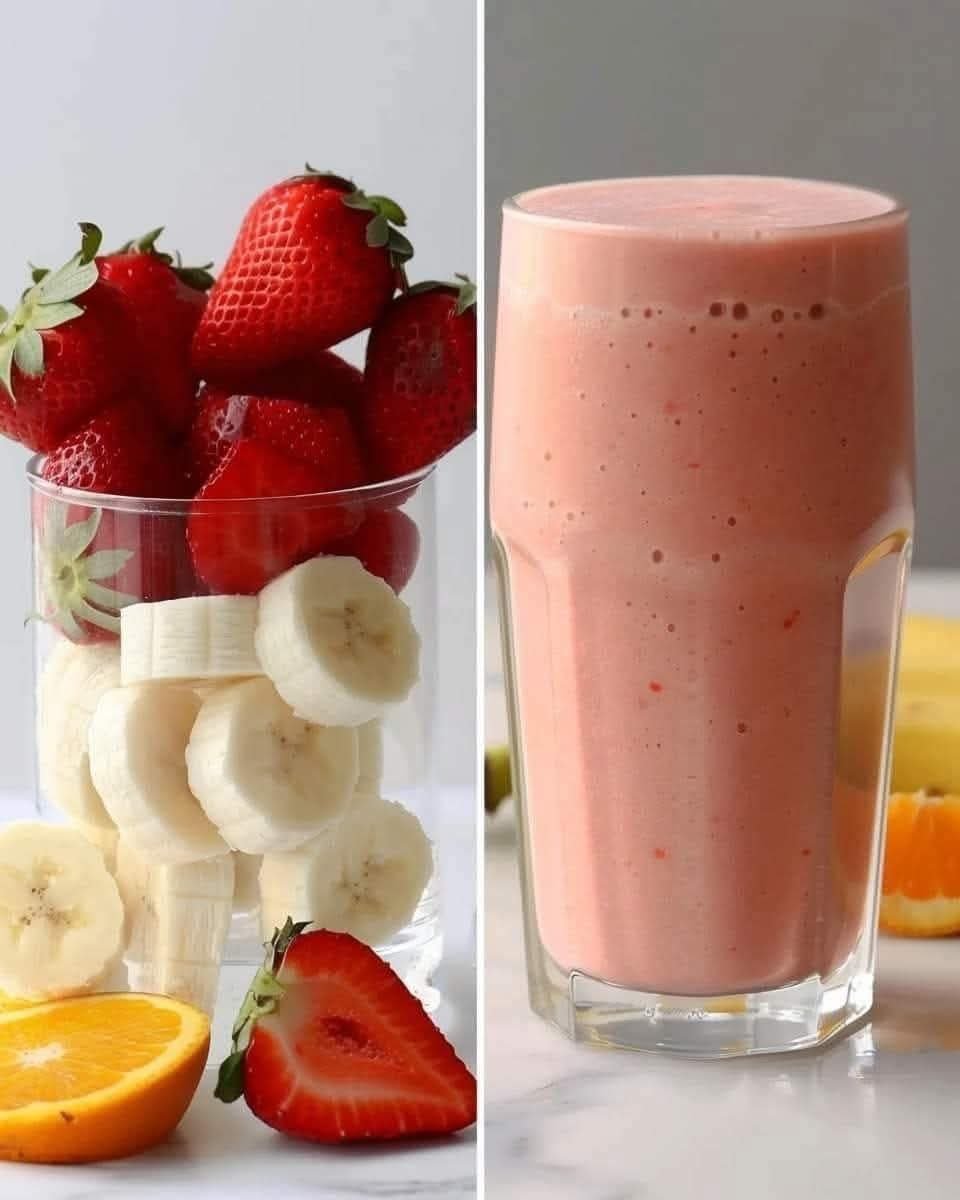
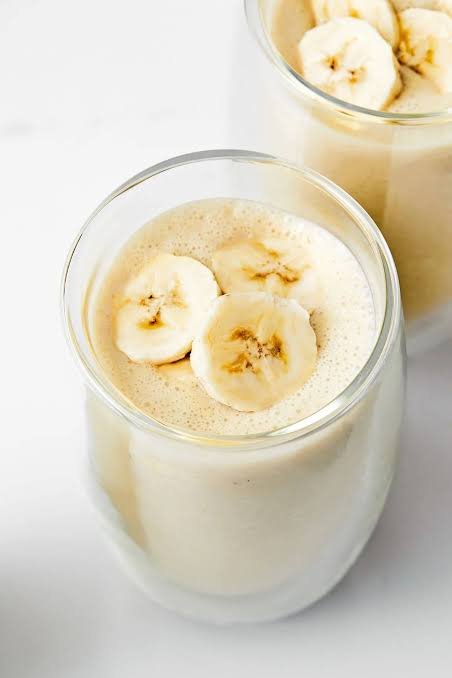
🍌 The Ultimate Creamy Banana Smoothie
Prep time: 5 minutes | Servings: 1-2
Ingredients
To get that frothy texture seen in your photo, using a frozen banana is the secret!
1 large banana (peeled and frozen for extra creaminess)
1 cup milk of choice (dairy, almond, or oat work great)
1/4 cup Greek yogurt (adds tang and protein)
1/2 tsp vanilla extract
1 tsp honey or maple syrup (optional, depending on banana ripeness)
A pinch of cinnamon (optional, for warmth)
Ice cubes (only if you didn’t use a frozen banana)
Instructions
Prep the Banana: For the best results, slice your banana into chunks before freezing. If you’re using a fresh banana, add about 1/2 cup of ice to the blender to get that chilled, thick consistency.
Layer the Liquid: Add your milk and yogurt to the blender first. This helps the blades spin freely and prevents the fruit from getting stuck at the bottom.
Combine: Add the banana chunks, vanilla, and sweetener.
Blend: Start on a low speed and gradually increase to high. Blend for about 45–60 seconds until completely smooth and frothy.
Garnish: Pour into a glass and top with fresh banana slices and a light dusting of cinnamon, just like in your image.
💡 Pro Tips for Success
The “Spot” Rule: Use bananas that have a few brown spots. They have a much higher sugar content, which means you won’t need to add any extra honey or syrup.
Make it Thick: If you want a “smoothie bowl” consistency, reduce the milk to 1/2 cup.
Boost It: Feel free to throw in a tablespoon of peanut butter or a handful of spinach (though the color will change to green!).


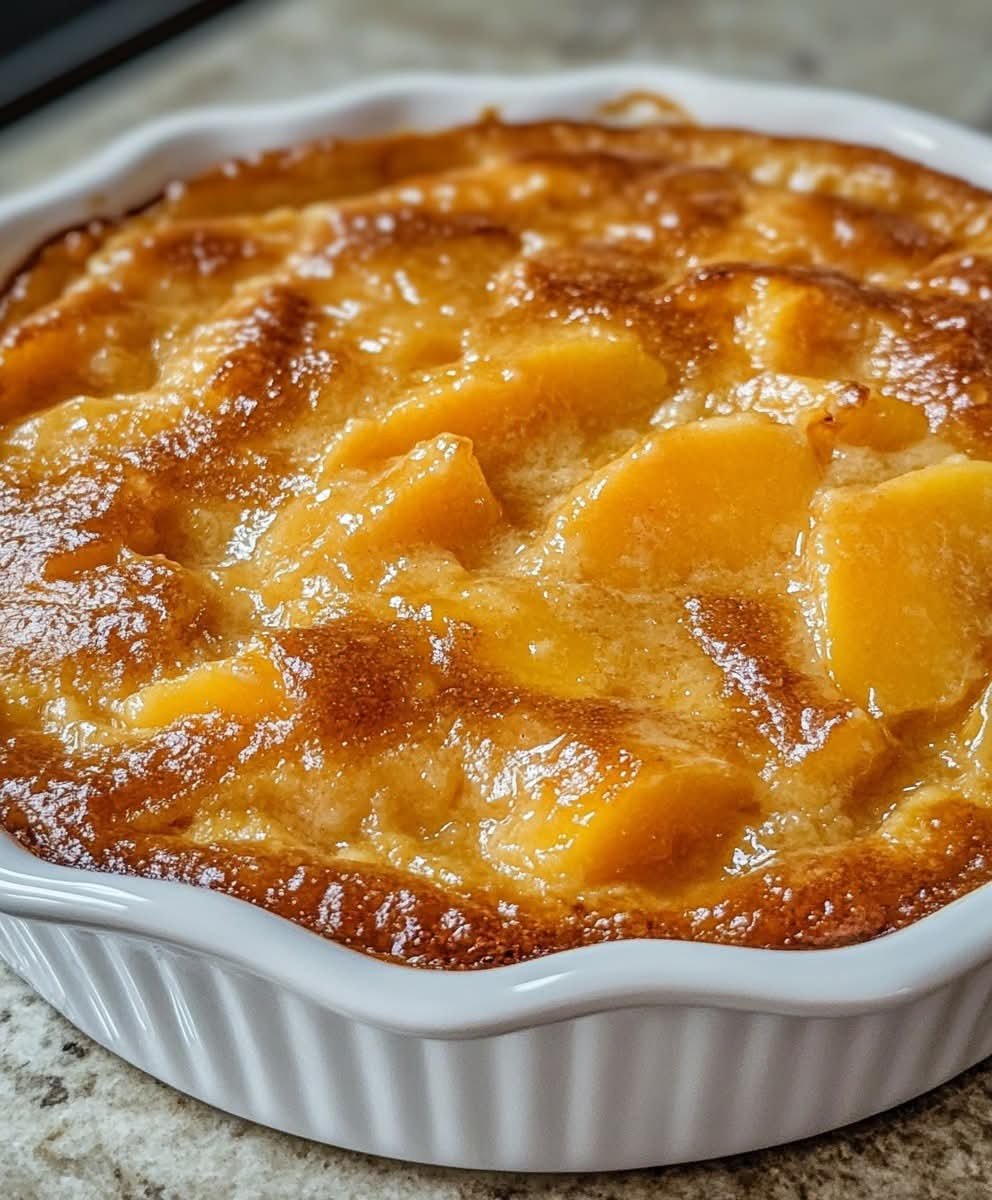
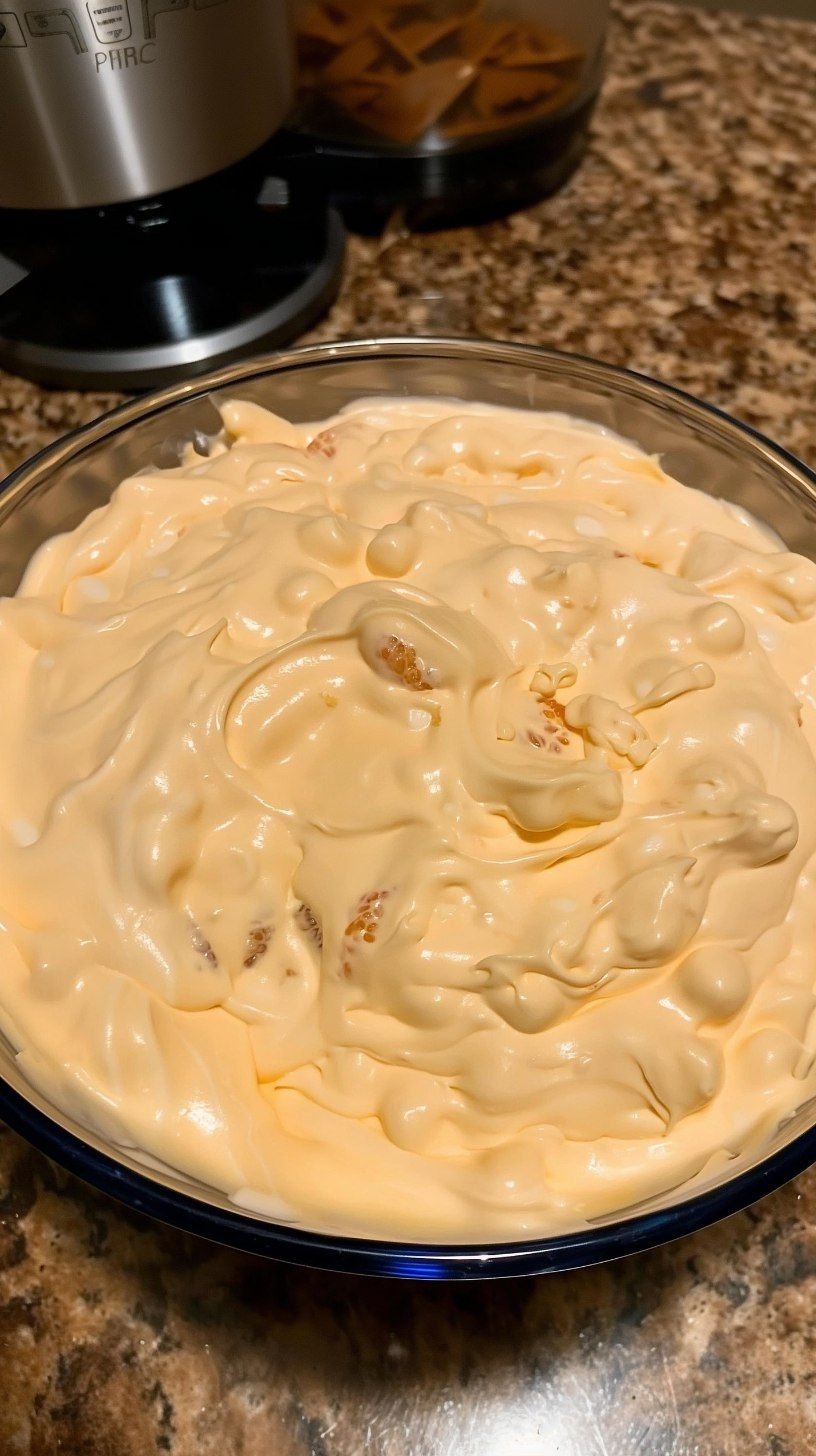
 Quick & Easy Milk Dessert (3–4 Ingredients)
 Time
Time Servings
 Ingredients
 Instructions
 Mix
Mix Cook
Cook Serve
Serve Optional Toppings (Not Required)
 Tips
Tips Why You’ll Love It
 Few ingredients