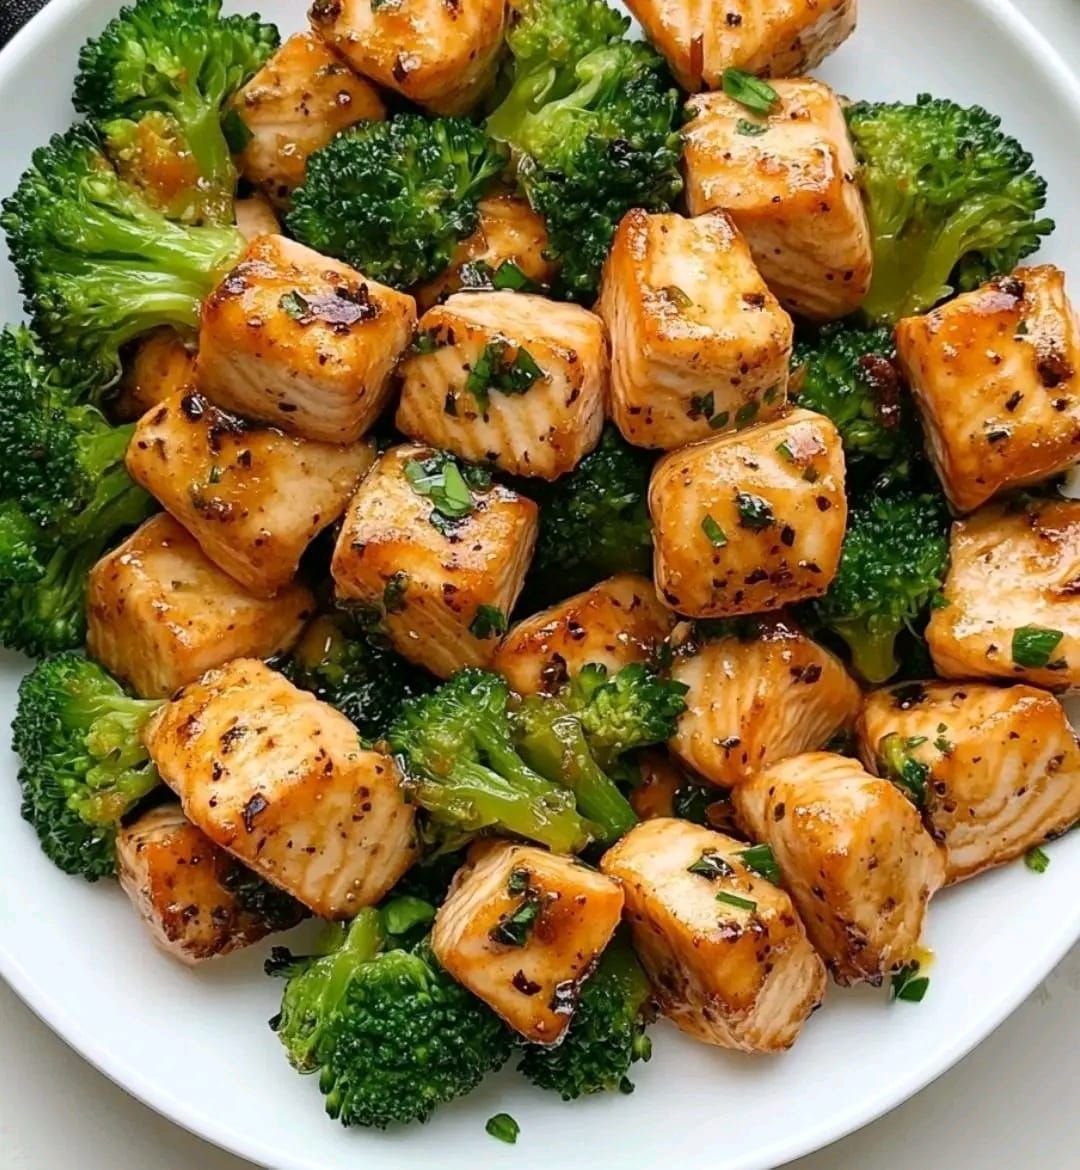
Savory Ginger-Sesame Spice Rub
This aromatic rub is perfect for poultry, meat, or tofu. It balances the earthy flavors of parsley and onion with the gentle warmth of fresh ginger and the nutty richness of sesame oil.
Ingredients
-
2 tablespoons Kosher salt (or sea salt)
-
1 tablespoon onion powder
-
1 tablespoon garlic powder
-
1/4 cup dried parsley (coarsely ground)
-
2 teaspoons paprika (smoked or sweet)
-
1 teaspoon fresh ginger, finely grated
-
1 teaspoon sesame oil
Instructions
1. Prep the Dry Ingredients
-
In a small mixing bowl, combine the salt, onion powder, garlic powder, dried parsley, and paprika.
-
Use a whisk or fork to mix thoroughly until the color is uniform and the ingredients are evenly distributed.
Tip: Coarsely grind the parsley if it feels too large, so it mixes better with the spices.
2. Incorporate the Wet Ingredients
-
Add the freshly grated ginger and sesame oil to the dry spice mixture.
-
Use a fork or small whisk to “cut” the oil and ginger into the dry ingredients.
Result: The mixture should have a slightly damp, sandy texture. This texture helps the rub adhere to meat, poultry, or tofu during cooking.
3. Apply the Rub
For Poultry or Meat:
-
Pat the meat dry with a paper towel.
-
Rub the spice mixture generously over all sides of the protein.
For Tofu:
-
Press the tofu for 10–15 minutes to remove excess moisture.
-
Coat the tofu evenly with the spice rub.
4. Rest Before Cooking
Allow the seasoned protein to rest for 15–30 minutes. This gives the ginger and sesame oil time to infuse the surface with flavor.
5. Cooking Suggestions
-
Roasting: Preheat the oven to 200°C (400°F). Bake meat or tofu until fully cooked and golden. Use a meat thermometer to ensure poultry reaches 74°C (165°F).
-
Air Frying: Set the air fryer to 190°C (375°F). Cook until the exterior is crisp and the inside reaches the proper temperature.
-
Grilling: This rub works beautifully on a preheated grill. Cook over medium heat and monitor closely to avoid burning the spices.
6. Storage Notes
-
Because this rub contains fresh ginger and sesame oil, it is best used immediately.
-
To make a dry, shelf-stable version:
-
Replace fresh ginger with 1 teaspoon ground ginger.
-
Omit the sesame oil until just before use.
-
Store in an airtight container in a cool, dry place for up to 3 months.
-
Chef Tips for Best Flavor
-
For extra depth, toast the paprika lightly in a dry pan before mixing.
-
Add a pinch of black pepper or crushed red pepper for a gentle heat boost.
-
When using on tofu, sear briefly in a hot pan before roasting for a crisp exterior.


 Instructions