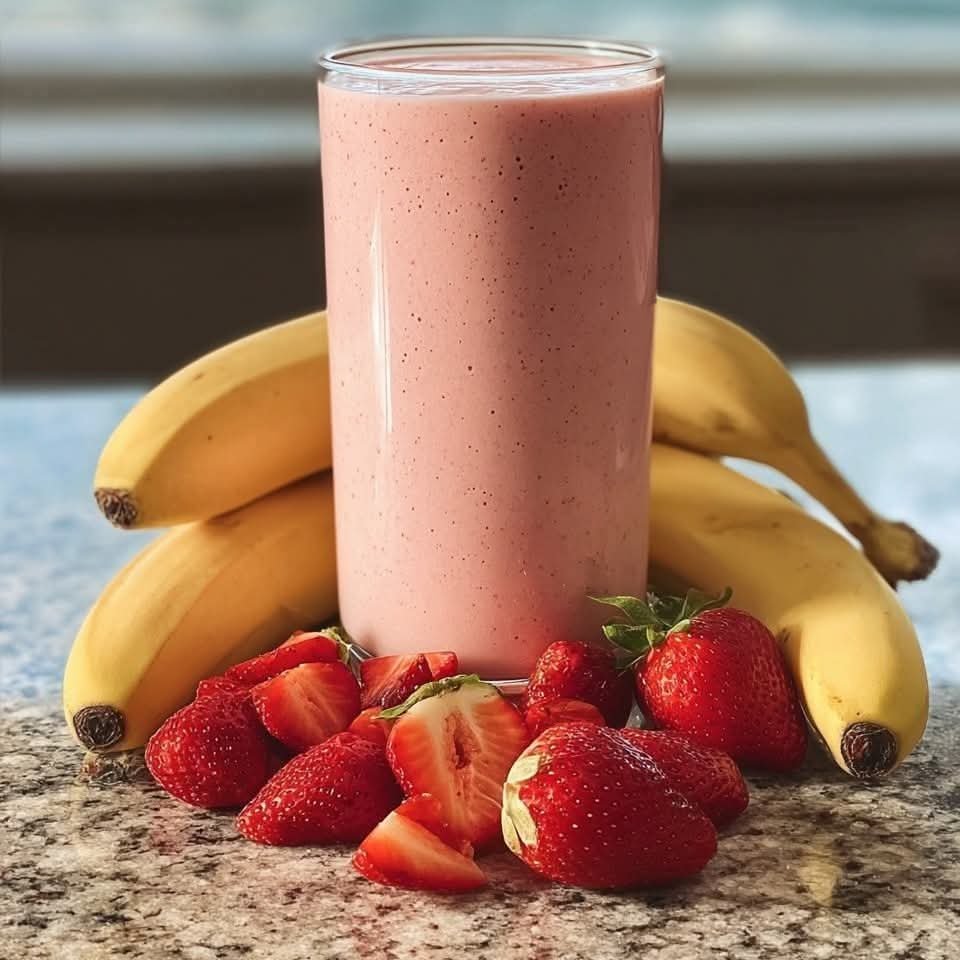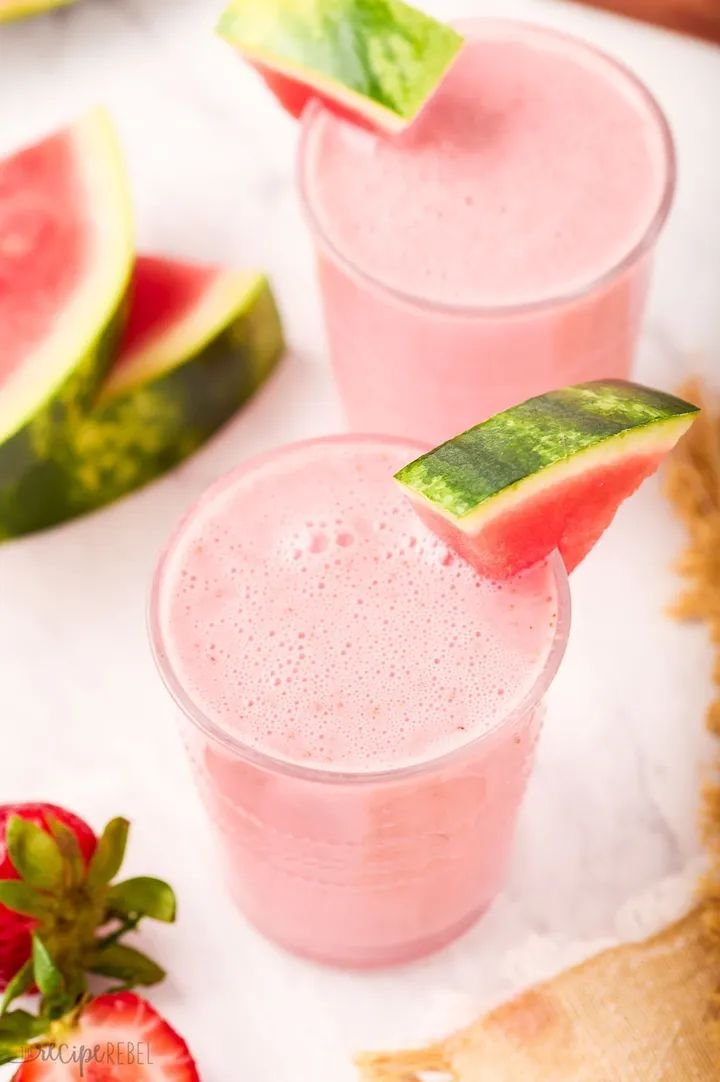
Watermelon Strawberry Smoothie
Ingredients (2 servings)
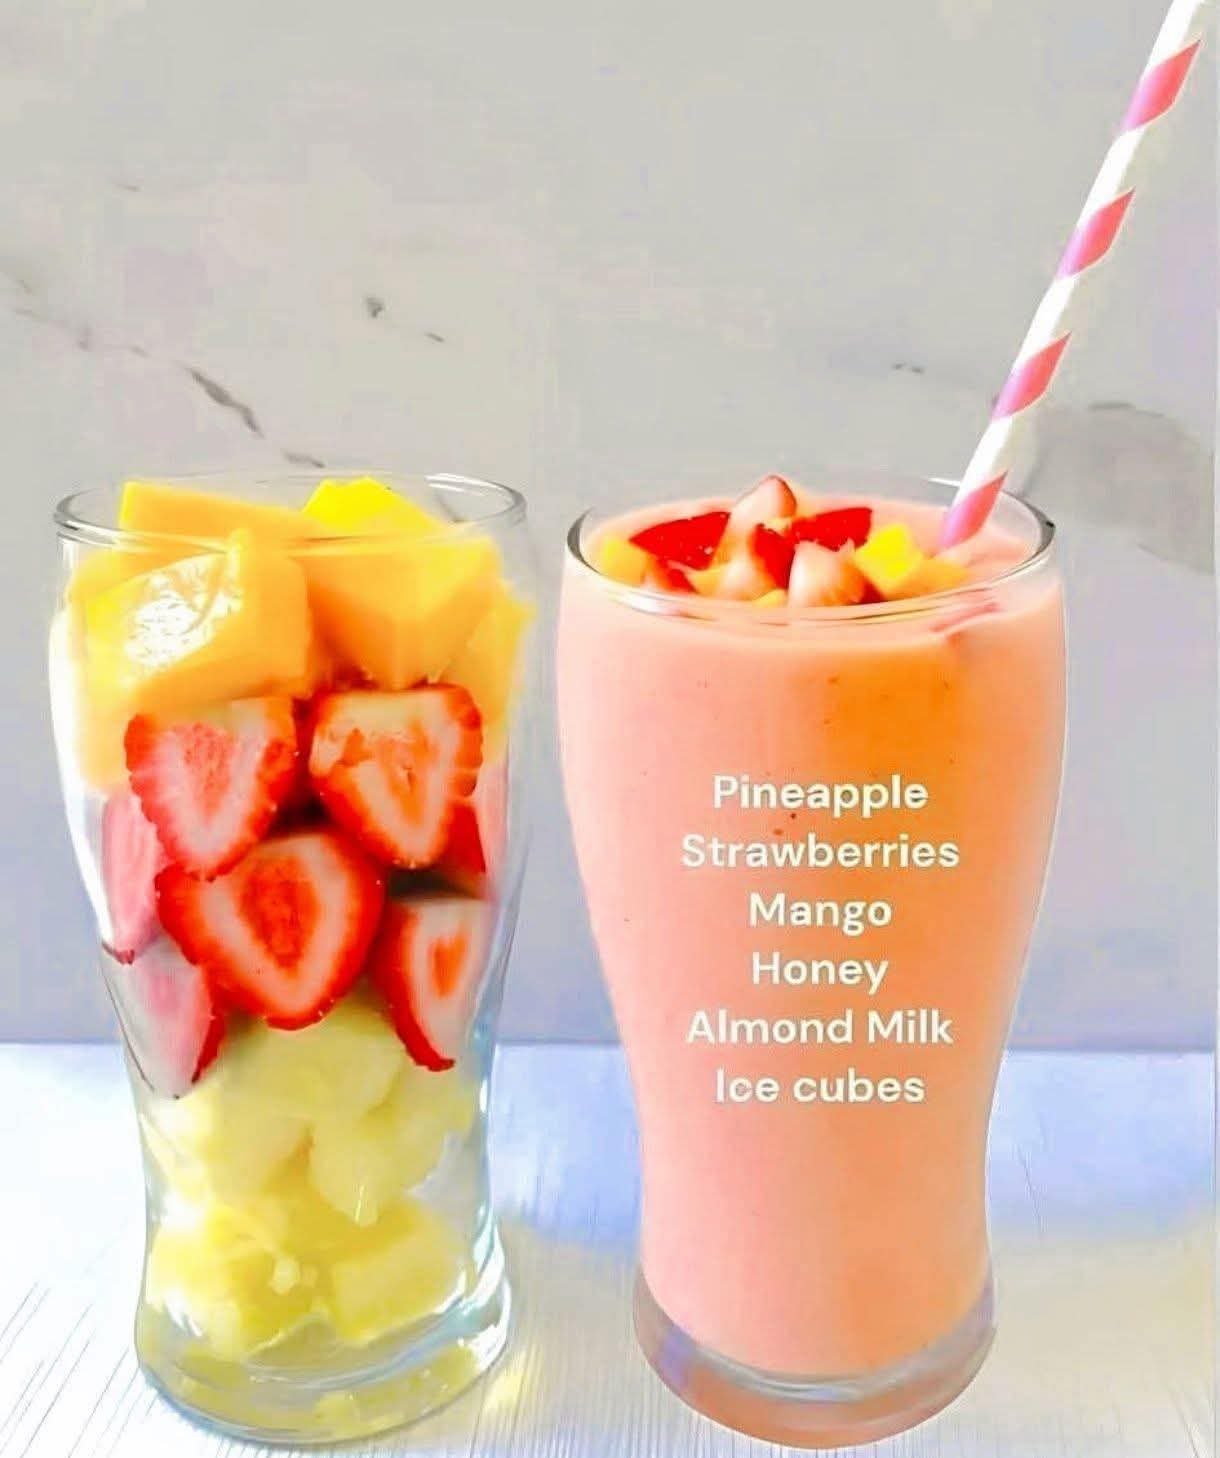
2 cups chilled watermelon cubes (seeds removed)
1 cup fresh or frozen strawberries
½ cup yogurt (plain or strawberry)
½ cup cold milk or coconut milk
1–2 tablespoons honey or sugar (optional)
4–5 ice cubes
A squeeze of lemon (optional, for brightness)
Small watermelon wedges for garnish
Instructions
Prepare the base:
Place the watermelon cubes in the blender first. Their high water content becomes the “liquid river” that helps everything blend smoothly without protest.
Add the strawberries:
Drop in the strawberries—fresh ones bring fragrance, frozen ones bring coolness. Either way, they add a berry-red heartbeat under the watermelon’s gentle sweetness.
Pour in yogurt and milk:
These two soften the fruit’s intensity, giving the smoothie a light creaminess. If using coconut milk, expect a summery, beach-breeze tone.
Sweeten as needed:
Blend once without sweetener. Taste. If your fruits are shy on sweetness, add honey or sugar and blend again.
Add ice and final blend:
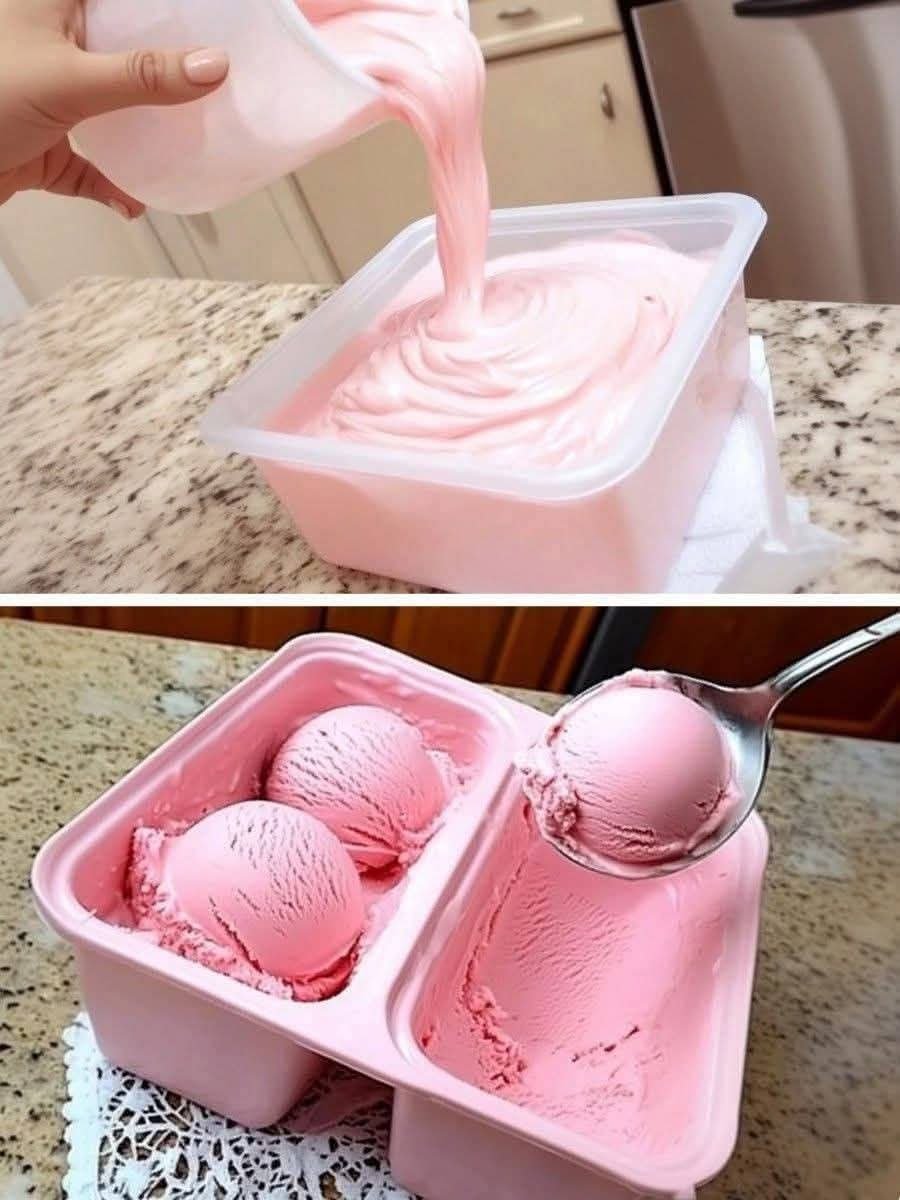
Ice gives the drink an airy froth, the way clouds break apart when stirred by wind. Blend until velvety and pale pink.
Serve:
Pour into chilled glasses. Garnish each with a small watermelon wedge—its green edge framing the drink like a miniature garden gate.
Q&A
Q: Can I use frozen watermelon?
Yes. It gives a thicker, colder result—almost like sipping summer sherbet. Just reduce or skip the ice.
Q: How long can I store it?
Drink immediately. Watermelon separates as the minutes pass, like a daydream slipping away. If needed, chill up to 2 hours and shake before serving.
Q: Can I make it dairy-free?
Absolutely—swap yogurt for coconut yogurt and milk for almond or coconut milk.
Q: What can I add for extra nutrition?
A spoon of chia seeds, a handful of oats, or a few mint leaves work beautifully without disrupting the flavor.
If you’d like variations—minty, tropical, or protein-packed—just whisper and I’ll stir them up for you. ✨