- Servings: 4
- Total Time: 35 minutes
- Difficulty: Easy
- Calories per Serving: ~220 kcal
- Macros (Per Serving): 25g Protein / 12g Net Carbs / 8g Fat / 3g Fiber
Introduction
There’s nothing quite like a warm, creamy chicken corn chowder to soothe the soul. This recipe is comforting, low-calorie, and high in protein, making it ideal for anyone following Keto, Slimming , Weight Watchers, High-Protein, or Mediterranean diets.
Packed with tender chicken, sweet corn, and fresh vegetables, this chowder is a one-pot meal that’s hearty yet light. Its rich, creamy texture comes from wholesome ingredients, giving you all the indulgence of classic chowder without the guilt.
Perfect for weeknight dinners, meal prep, or cozy lunches, this chowder delivers flavor, nutrition, and simplicity in every spoonful.
Look at the Recipe
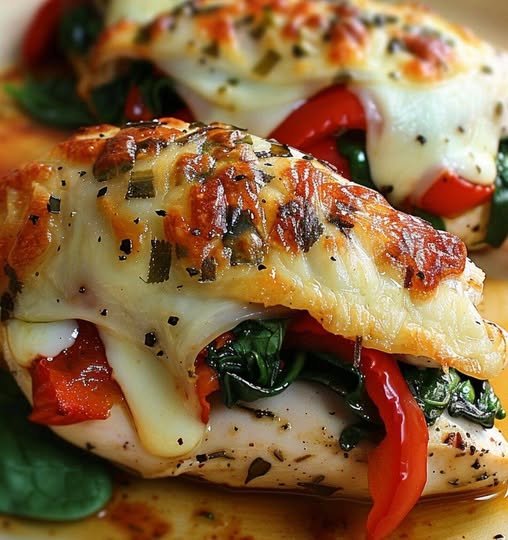
- Texture & Visual: Thick, creamy, with tender chicken chunks and colorful vegetable bits.
- Flavor Highlight: Savory chicken paired with the natural sweetness of corn, enriched with herbs and a touch of creaminess.
- Diet Benefit: High in protein, low in refined carbs, and fully adaptable to Keto, WW, SW, and Mediterranean preferences.
Ingredients Needed
Soup Base
- 1 lb (450g) cooked chicken breast, shredded or diced
- 1 cup corn kernels (fresh, frozen, or canned — drained)
- 1 small onion, diced
- 2 cloves garlic, minced
- 1 celery stalk, diced
- 1 medium carrot, diced
- 2 cups chicken broth (low-sodium)
- ½ cup milk or unsweetened almond milk for Keto/low-carb version
- 1 tsp olive oil or cooking spray
- Salt and pepper to taste
Optional Flavor Enhancers
- 1 tsp paprika or smoked paprika
- 1 tsp dried thyme or Italian herbs
- Fresh parsley or chives for garnish
How to Make Our Creamy Chicken Corn Chowder
- Sauté the vegetables:
In a large pot, heat olive oil over medium heat. Add onion, celery, carrot, and garlic. Sauté until softened, about 5 minutes. - Add chicken and corn:
Stir in shredded chicken, corn, paprika, and herbs. Cook for 2–3 minutes to combine flavors. - Add broth and simmer:
Pour in chicken broth and bring to a gentle boil. Reduce heat and simmer for 10 minutes until vegetables are tender. - Add creaminess:
Stir in milk or almond milk for a creamy texture. Adjust seasoning with salt and pepper. Simmer for 2–3 minutes until heated through. - Serve & garnish:
Ladle chowder into bowls and sprinkle with fresh parsley or chives. Serve warm.
Storage & Serving Suggestions
- Store: Refrigerate in an airtight container for up to 3 days.
- Freeze: Freeze in individual portions for up to 1 month. Thaw in the fridge overnight and reheat gently.
- Serving Ideas:
- Pair with WW Fluffy Garlic Flatbreads for a comforting meal.
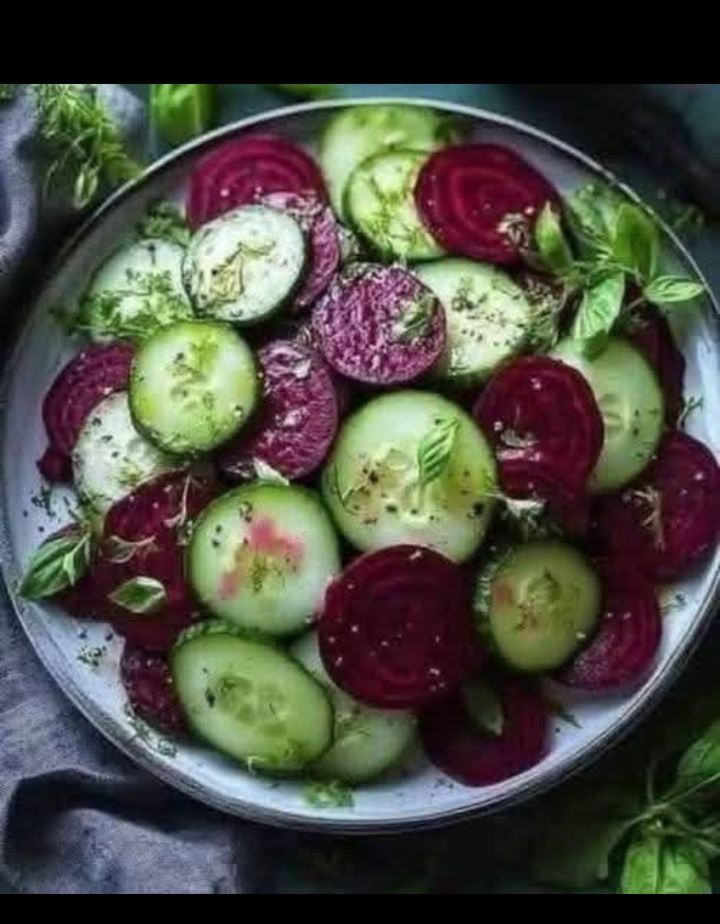
- Serve with a side salad for a Mediterranean-style lunch.
- Top with a sprinkle of cheese for extra flavor (optional).
Tips & FAQs
1. Can I make this Slimming -friendly?
Yes — use low-fat milk and omit any cheese or cream. Vegetables and chicken are Syn-free.
2. How many Weight Watchers points per serving?
Approximately 4–5 points, depending on milk choice.
3. Can I make it Keto-friendly?
Yes — use almond milk and reduce or skip corn. Add extra low-carb vegetables like zucchini or cauliflower.
4. Can I add more protein?
Yes — add extra chicken or fold in some cooked diced turkey for higher protein content.
5. Can I use frozen corn?
Absolutely — just thaw slightly before adding to the soup.


 Tips for Best Results
 Use rolled oats, not instant flavored oats.
 Keeps You Full Longer
 Supports Digestion
 Helps Control Blood Sugar
 Boosts Metabolism
 Heart Healthy
 Ingredients
 Instructions
 Servings
 Notes & Tips
 Nutritional Information (Approx. per serving)
 Health Benefits
 Q & A
Q & A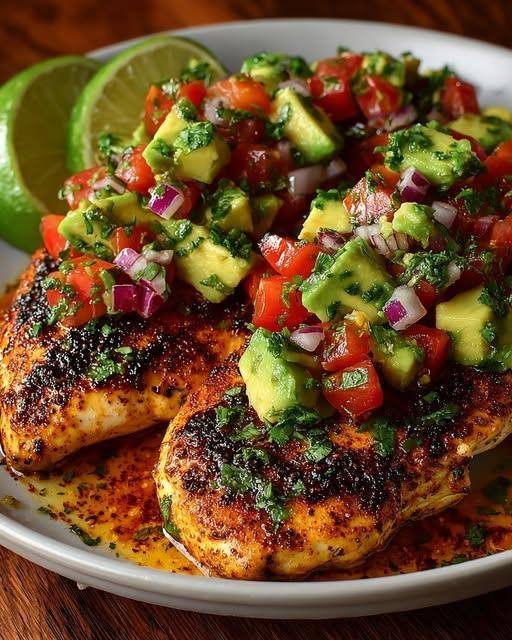
 Ingredients
 Chicken
 Avocado Salsa
 Marinate at least 20 minutes (up to 2 hours for deeper flavor).
 Notes
Notes Health Benefits
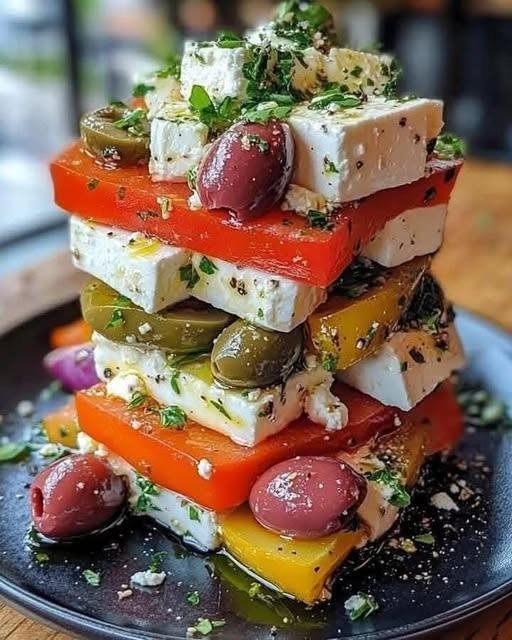
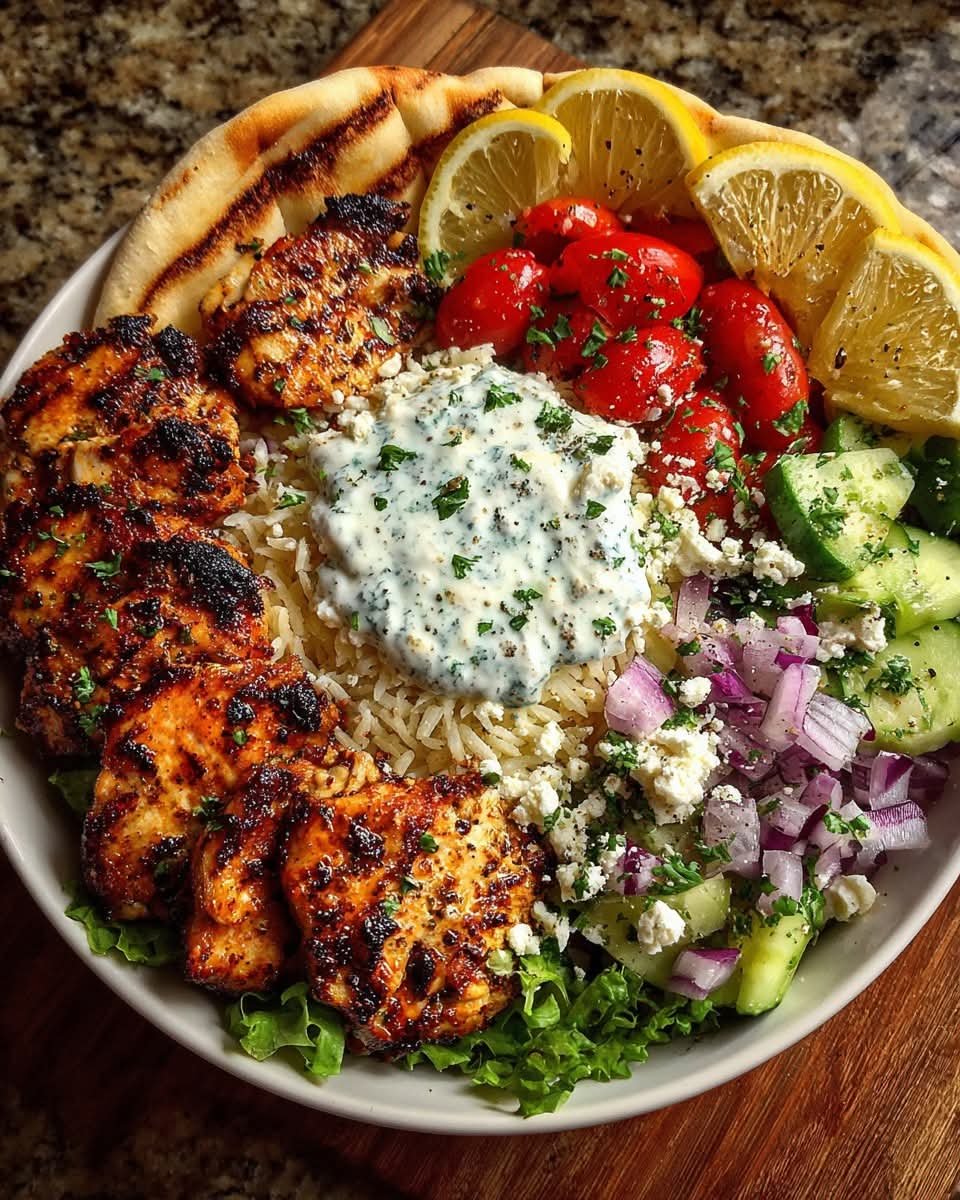
 Greek Salad Stack with Feta and Olives (Serves 2–3)
 Instructions