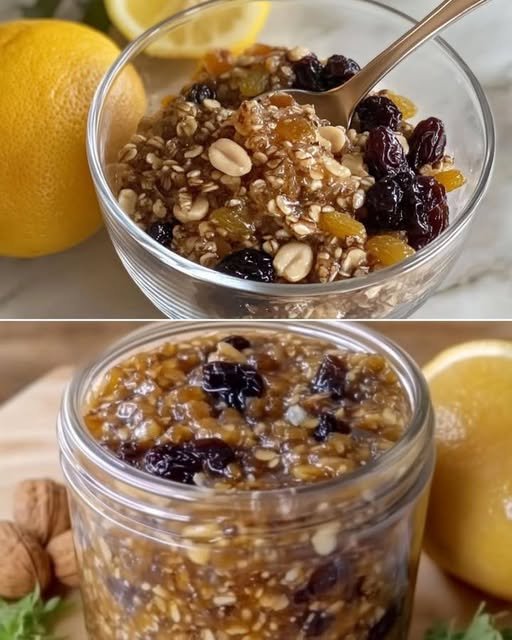
Homemade Natural Energy and Immunity Booster
Ingredients
- 50g (1.75 oz) walnuts
- 50g (1.75 oz) almonds
- 50g (1.75 oz) prunes
- 50g (1.75 oz) dried apricots
- 50g (1.75 oz) raisins
- 1 whole organic lemon
- 50-70ml (3-5 tablespoons) raw honey
- Baking soda (for cleaning lemon)
Instructions
Preparing the Nuts
- Soak walnuts and almonds in clean water for 4-6 hours
- Drain thoroughly and pat dry with paper towels
- This soaking process activates the nuts and makes them more digestible
Preparing the Dried Fruits
- Rinse prunes and dried apricots under running water
- Pat dry thoroughly with paper towels
- Rinse raisins and pat dry
Preparing the Lemon
- Clean the lemon by sprinkling with baking soda
- Scrub gently and rinse thoroughly
- Cut the whole lemon into pieces, including the peel
- Remove any visible seeds
Making the Mixture
- Place all dried fruits and nuts in a food processor or blender
- Add the cut lemon pieces
- Process until finely chopped and well combined
- Transfer to a clean bowl
- Stir in honey until thoroughly incorporated
- Store in an airtight glass jar in the refrigerator
Usage
- Take 1 teaspoon daily, preferably in the morning
- Can be consumed with a glass of water
- Best taken on an empty stomach
Storage
- Keep refrigerated in an airtight glass container
- Will last up to 3 months when properly stored
- Do not use metal containers for storage
Nutrition Information
Per teaspoon (approximately 5g):
- Calories: 20
- Protein: 0.5g
- Healthy Fats: 1g
- Carbohydrates: 2.5g
- Fiber: 0.5g
Health Benefits
This natural supplement is rich in:
- Vitamin C from fresh lemon
- Vitamin E and healthy fats from nuts
- Iron and fiber from dried fruits
- Antioxidants from all ingredients
- Natural enzymes and minerals
- Beneficial plant compounds
Important Notes
- Always use organic ingredients when possible
- Consult with healthcare provider before starting any new supplement
- Not recommended as a meal replacement
- Adjust honey amount based on personal preference
- Those with nut allergies should avoid this mixture
- Diabetics should consult their doctor due to natural sugar content
This time-tested remedy combines the nutritional benefits of nuts, dried fruits, and honey to create a natural energy booster that supports daily health and vitality when taken regularly as part of a balanced diet.


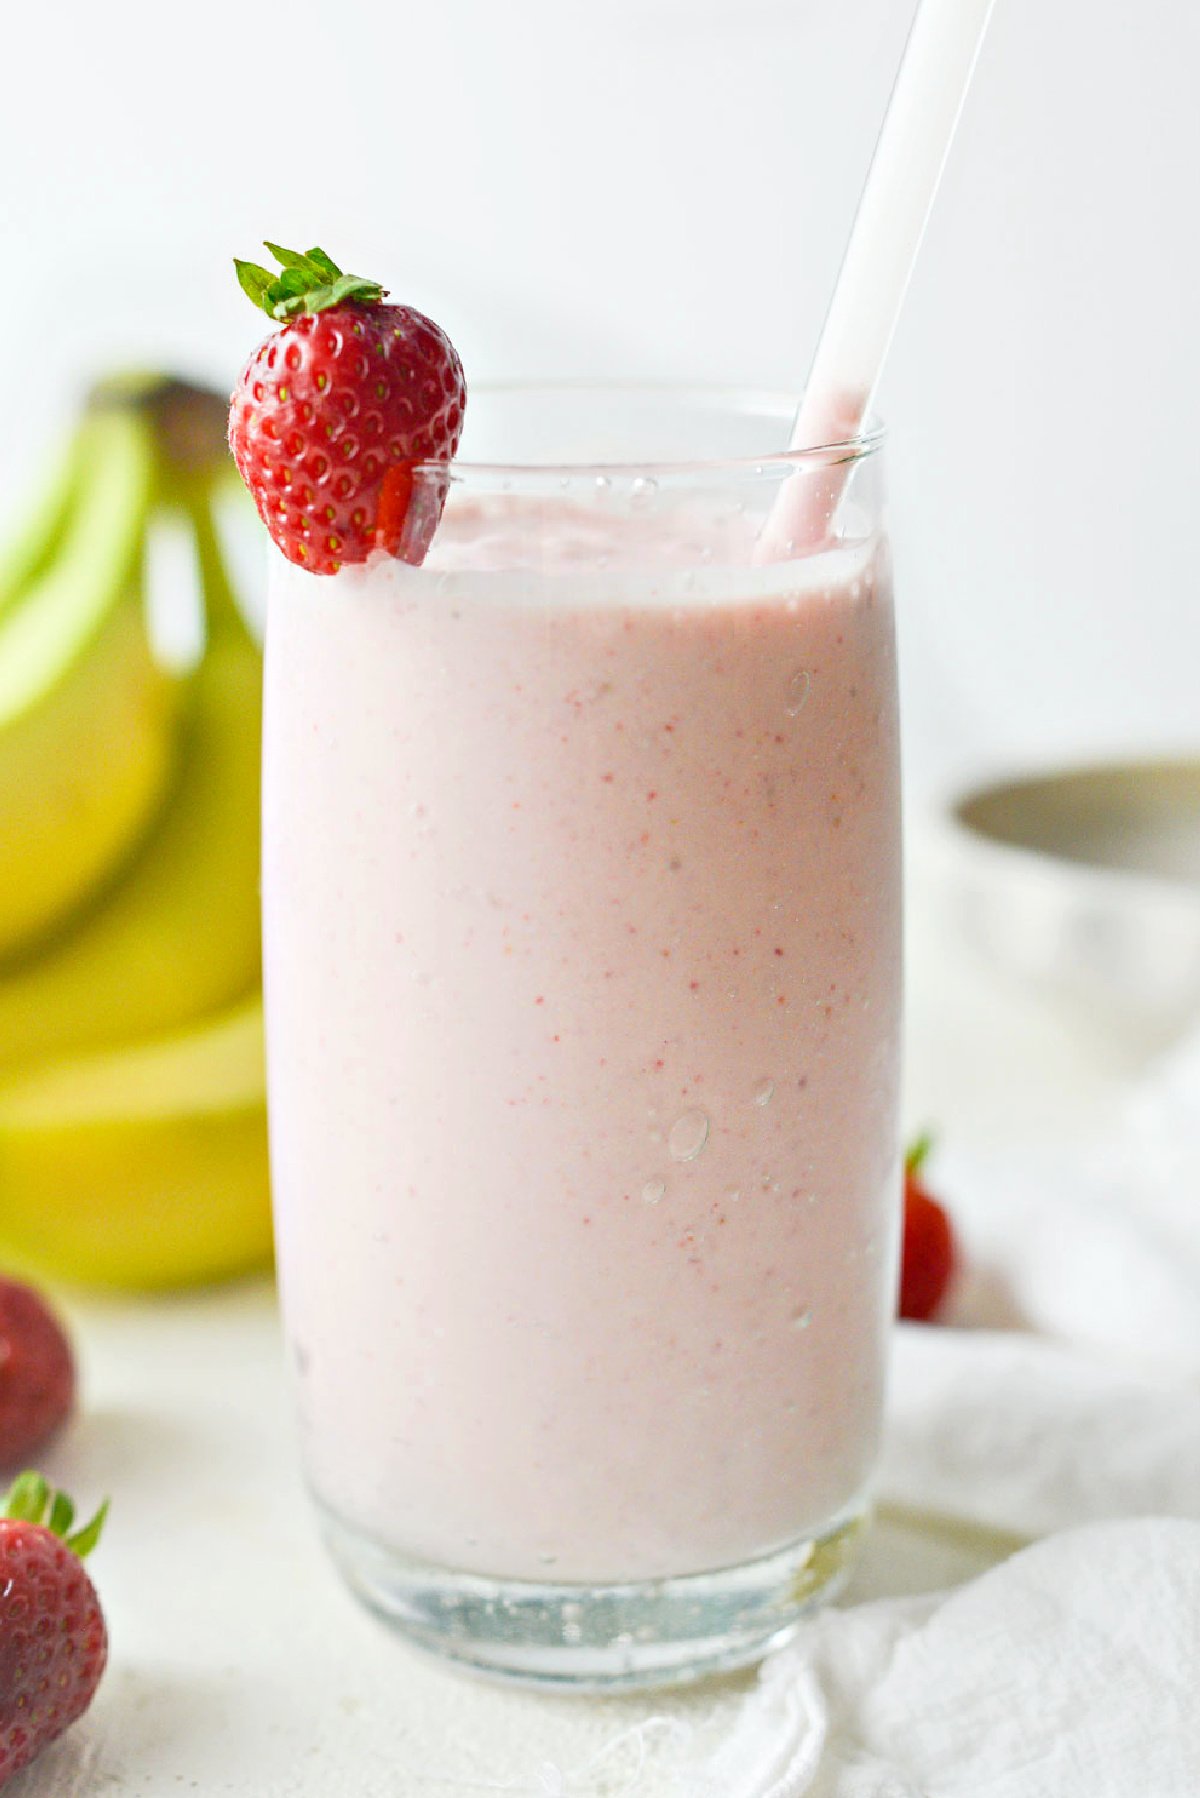

 Recipe: Strawberry Apple Cider Punch
 Tips & Notes
 Nutritional Info (Per Serving)
 The Benefits
 Common Questions


 May help manage blood sugar
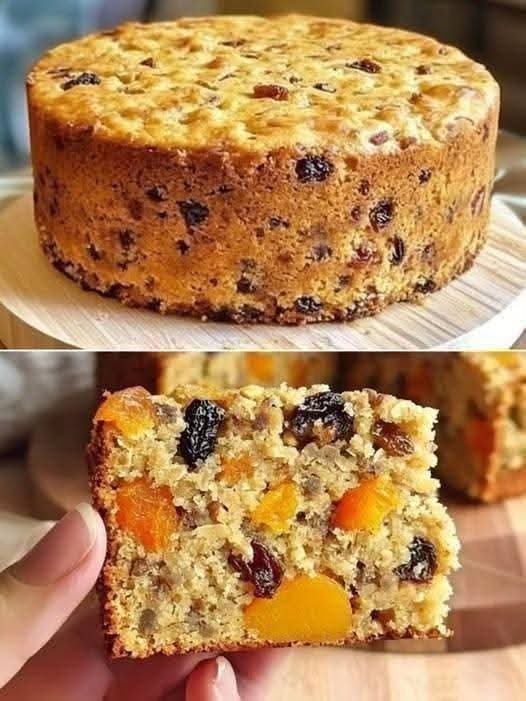


 No-Beat German Apple Pie