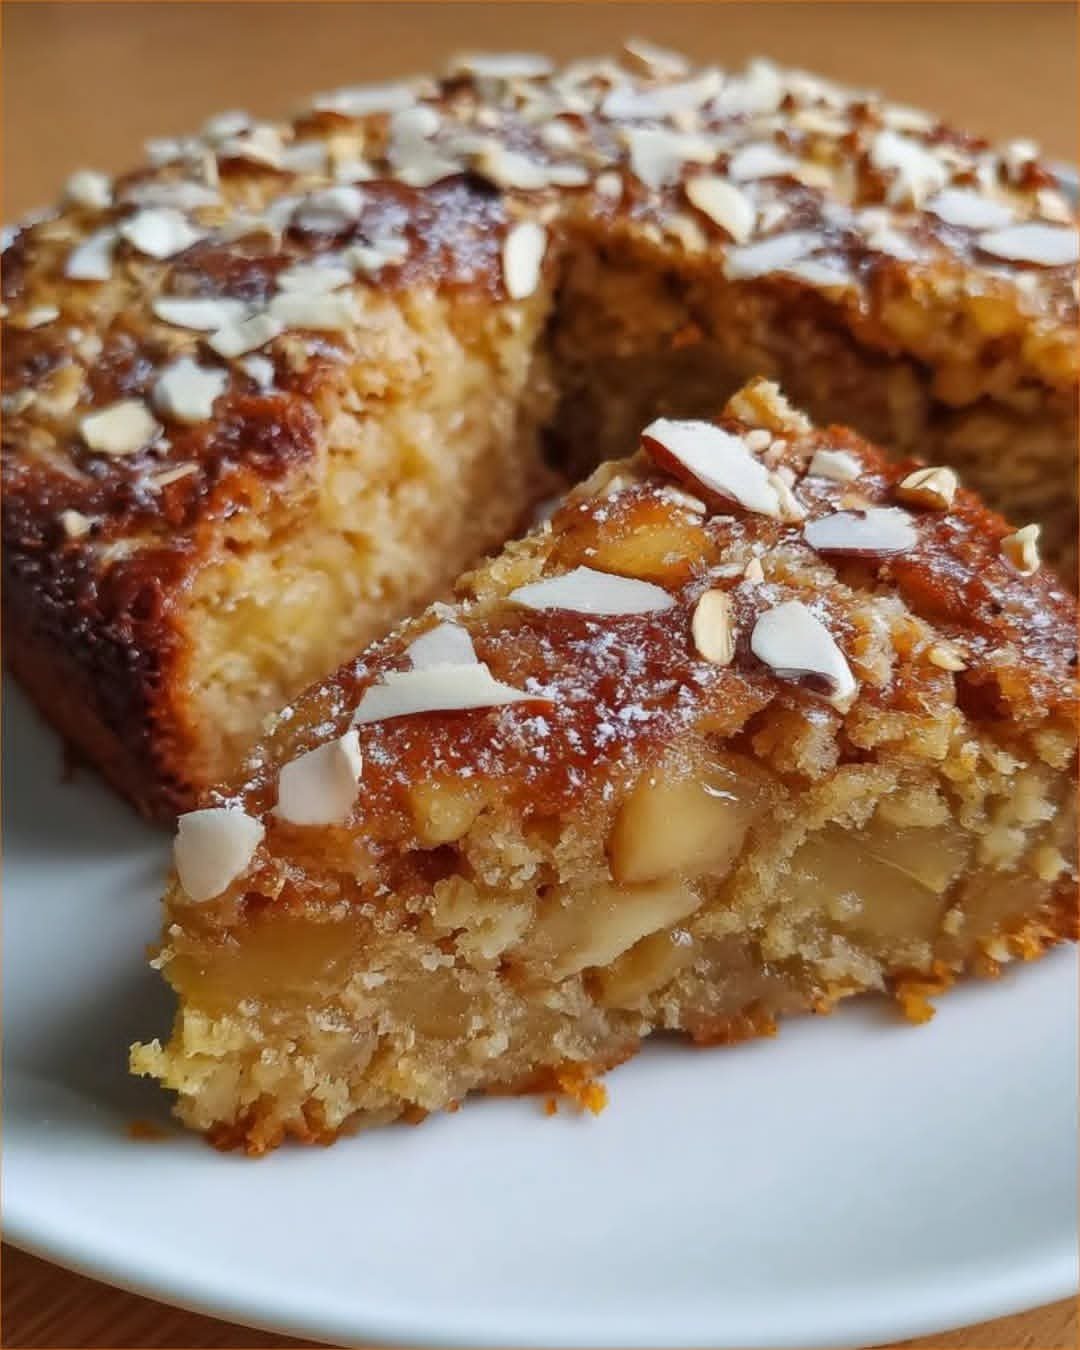
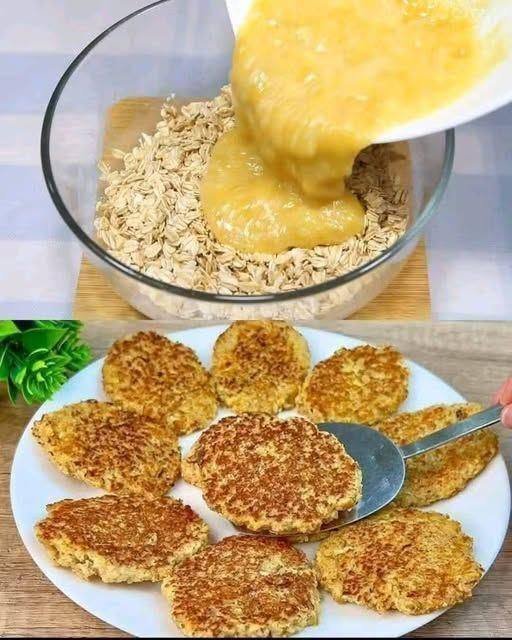
Healthy Oatmeal Apple Cake
This incredible healthy cake proves that you don’t need refined sugar or white flour to create something absolutely delicious. Made with just oats, fresh apples, and natural sweeteners, this moist and flavorful cake delivers all the comfort of traditional baking while nourishing your body with wholesome ingredients. The combination of fresh apples, dried fruits, and nuts creates layers of natural sweetness and texture that will satisfy any sweet tooth guilt-free.
Ingredients
For the Cake:
1 cup oatmeal / 100g or 3.5 oz
3 medium-sized apples / about 450g
½ cup water / 120ml or 4 fl oz
1 ripe banana / about 120g
100g dried cranberries / 3.5 oz (rinsed in hot water)
100g raisins / 3.5 oz (rinsed in hot water)
2 large eggs
1 tsp baking powder / 4g
1 tsp cinnamon (optional) / 2g
½ cup mixed nuts of your choice / 50g or 1.8 oz
Pinch of salt
For the Sugar-Free Caramel Sauce:
1 ripe banana / about 120g or 4 oz
50ml water / 1.7 fl oz
80ml plant milk (oat vanilla milk preferred) / 2.7 fl oz
2 tsp instant coffee / 4g
2 tsp butter / 10g
2 tsp cornstarch / 6g (adjust for desired thickness)
Instructions
Preparing the Oat Flour Base
Preheat your oven to 180°C (360°F) and grease a loaf pan or 8-inch square baking dish.
Grind the oatmeal in a food processor or blender until it reaches a fine flour-like consistency.
Set the ground oats aside in a large mixing bowl.
Processing the Apples
Wash, core, and roughly chop the apples, leaving the skin on for extra nutrients and fiber.
Add the chopped apples and water to a food processor and blend until smooth.
Pour the apple mixture into the bowl with the ground oats and mix well.
Preparing the Dried Fruits
Place the dried cranberries and raisins in separate bowls and pour hot water over them.
Let them soak for 10 minutes to soften, then drain and pat dry with paper towels.
If using dates or dried apricots, remove any pits and chop them into small pieces.
Making the Cake Batter
Mash the banana thoroughly with a fork until smooth and creamy.
Add the mashed banana to the apple-oat mixture and stir to combine.
Fold in the softened cranberries, raisins, and any other chopped dried fruits.
Separate the eggs, placing yolks in one bowl and whites in another.
Add the egg yolks, baking powder, cinnamon, and a pinch of salt to the fruit mixture and mix well.
Creating Light Texture
Using an electric mixer or whisk, beat the egg whites until they form soft peaks.
Gently fold the whipped egg whites into the batter using a spatula, being careful not to overmix.
Roughly chop the nuts and fold them into the batter.
Baking the Cake
Pour the batter into the prepared baking dish and smooth the top.
Sprinkle additional chopped nuts on top for extra crunch and visual appeal.
Bake for 1 hour at 180°C (360°F), or until a toothpick inserted in the center comes out clean.
Allow the cake to cool in the pan for 10 minutes before turning out onto a wire rack.
Making the Sugar-Free Caramel Sauce
In a small bowl, whisk the cornstarch with the plant milk until smooth and set aside.
Mash the banana thoroughly with a fork in a separate bowl.
Add the instant coffee to the mashed banana and mix well.
Heat a small saucepan over medium heat and add the banana-coffee mixture.
Add the water and cook, stirring constantly, until the mixture begins to caramelize and darken.
Slowly add the cornstarch-milk mixture while stirring continuously to prevent lumps.
Cook for 2-3 minutes until the sauce thickens to your desired consistency.
Remove from heat and stir in the butter until melted and incorporated.
Time and Serving Information
Prep Time: 25 minutes
Cook Time: 1 hour
Total Time: 1 hour 25 minutes
Serves: 8-10 people
Nutrition per serving: Approximately 190 calories, 5g protein, 4g fiber, rich in antioxidants and natural sugars
Why This Recipe is Healthy and Delicious
This wholesome cake transforms traditional baking by using only natural, unprocessed ingredients that provide genuine nutritional benefits. The oats serve as both the flour base and a source of beta-glucan fiber, which helps regulate blood sugar and supports heart health. Unlike refined flour, ground oats retain all their nutrients, including manganese, phosphorus, and magnesium.
The fresh apples and banana provide natural sweetness along with vitamins, minerals, and dietary fiber. The dried fruits add concentrated nutrients and natural sugars without the need for refined sugar, while the nuts contribute healthy fats, protein, and vitamin E. The eggs provide complete protein and help bind the ingredients together naturally.
This recipe demonstrates that healthy eating doesn’t require sacrifice when it comes to flavor and satisfaction. By relying on the natural sweetness of fruits and the hearty texture of oats, you create a dessert that nourishes your body while satisfying your sweet cravings. The sugar-free caramel sauce provides an indulgent finishing touch that proves healthy alternatives can be just as delicious as traditional options.

 Recipe Overview
 Ingredients
 Instructions
 Chef’s Notes & Tips
 Nutritional Info (Per Serving)
 Benefits of This Dish
 Common Questions (Q&A)


 INGREDIENTS
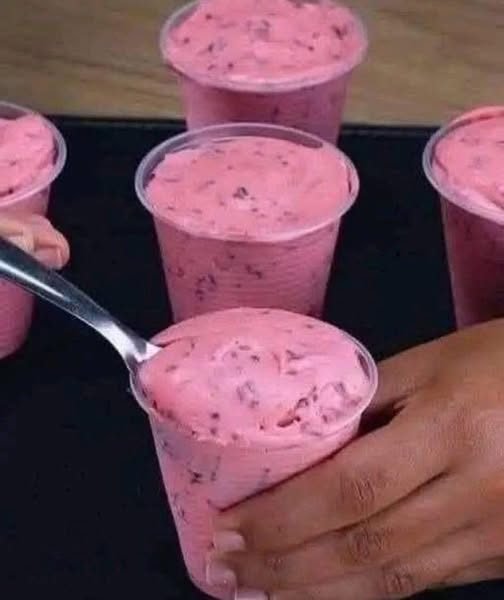
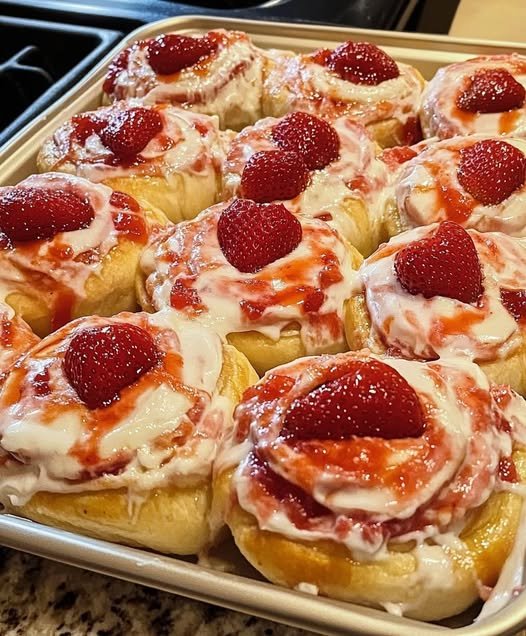
 Strawberry Mousse
 Ingredients
 Servings
 Tips for Perfect Strawberry Mousse
 Nutritional Information (Approx. per serving)
 Health Benefits
 Banana Oat Pancakes – Healthy & Fluffy Breakfast Recipe
 Servings
 Good for weight loss & digestion
 Bonus Variations
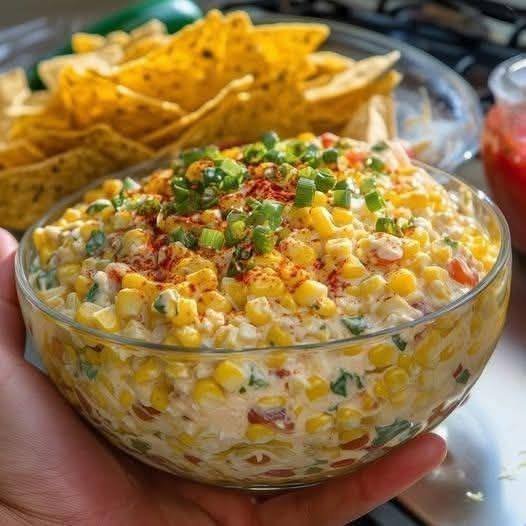
 Corn
Corn Cheese
 Lime
Lime Cilantro

 Recipe: Zucchini and Carrot Egg Cakes