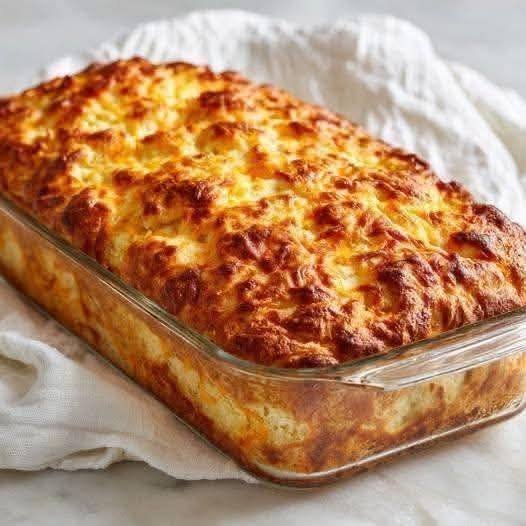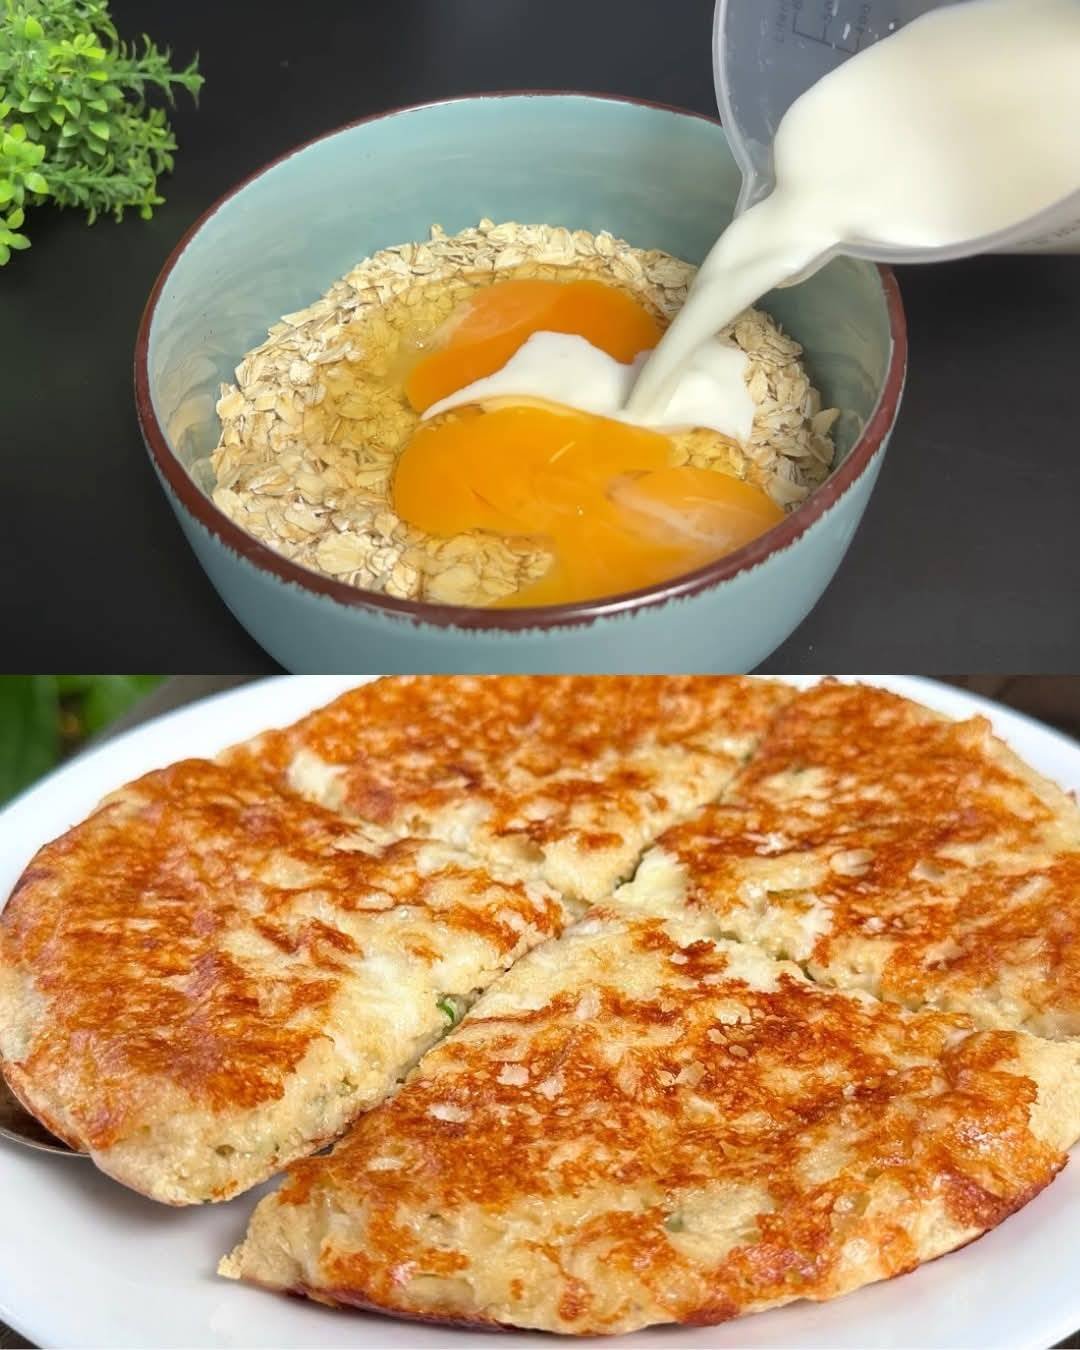
Savory Oatmeal and Egg Cheese Pancake
This oatmeal pancake is a fantastic way to start your day with a meal that is filling and packed with protein. The texture is wonderfully crispy on the outside thanks to the cheese, while the oats and yogurt keep the inside soft and tender.
Ingredients
-
1 cup Oats (rolled or instant)
-
2 Eggs
-
3 tbsp Yogurt (plain or Greek)
-
1 cup Shredded mozzarella cheese
-
1 tbsp Avocado oil (for frying)
-
Fresh parsley, chopped
-
Seasoning: Salt to taste, red pepper flakes, and Italian herbs
Instructions
-
Mix the Base: In a medium bowl, combine the oats, eggs, and yogurt. Stir well until the oats are fully coated and the mixture is uniform.
-
Season and Rest: Add the salt, red pepper flakes, Italian herbs, and chopped parsley. Let the mixture sit for about 5–10 minutes. This allows the oats to soften by absorbing the moisture from the eggs and yogurt, which ensures a better texture.
-
Add the Cheese: Fold in the shredded mozzarella cheese. This will create a delicious, melty interior and a golden crust as it cooks.
-
Heat the Pan: Add the avocado oil to a non-stick skillet over medium-low heat. Ensure the oil coats the bottom of the pan evenly.
-
Cook the Pancake: Pour the batter into the skillet and spread it out into a circle with a spatula. Cover the pan with a lid and cook for about 5–6 minutes. Covering the pan helps the oats steam and cook through while the bottom gets crispy.
-
Flip and Finish: Once the bottom is golden brown and the top looks set, carefully flip the pancake. Cook the other side for another 3–4 minutes without the lid until it is fully browned and the cheese is bubbly.
-
Serve: Slice the pancake into wedges and serve warm.