Chocolate Coconut Milk Jelly Recipe
Ingredients:
-
- 1 tablespoon agar-agar powder
-
-
- 1 cup (240 ml) water
- 1 ½ cups (360 ml) coconut milk
- 1/3 cup (30 g) unsweetened cocoa powder
-
Directions:
-
-
-
- Prepare Agar-Agar:
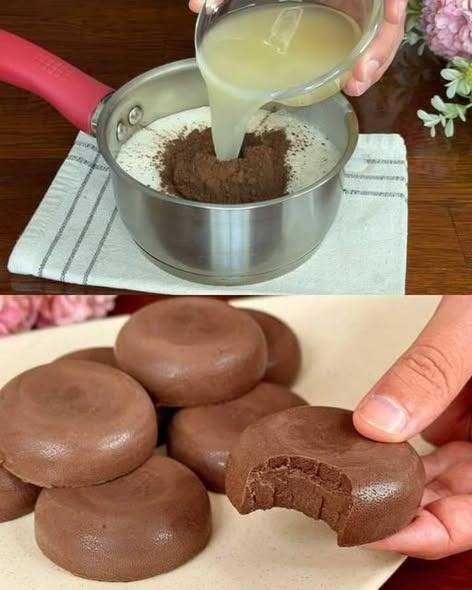
- In a medium saucepan, combine 1 tablespoon of agar-agar powder and 1 cup of water. Stir well to dissolve the agar-agar.
- Prepare Agar-Agar:
-
- Add Coconut Milk and Cocoa:
-
- Once the agar-agar is dissolved, add 1 ½ cups of coconut milk and 1/3 cup of unsweetened cocoa powder to the saucepan. Stir until the cocoa powder is fully mixed.
-
- Add Coconut Milk and Cocoa:
- Boil the Mixture:
- Place the saucepan over medium heat and bring the mixture to a boil, stirring frequently to prevent lumps. Allow the mixture to boil for about 2-3 minutes.
-
-
- Set the Jelly:
- Remove the mixture from heat and pour it into a mold or serving cups. Let it cool to room temperature before refrigerating for 2 hours, or until fully set.
- Serve:
-
-
- Once the jelly is set, cut into slices or serve directly from the molds. Enjoy chilled!
-
-
Serving Suggestions:
-
-
- Serve with fresh fruit, such as berries or mango slices.
- Drizzle with extra coconut milk or chocolate syrup for added indulgence.
-
-
- Garnish with shredded coconut or chopped nuts for a crunchy texture.
Cooking Tips:
-
-
- Stir the mixture constantly while heating to ensure the agar-agar dissolves evenly and the jelly sets properly.
- For a creamier texture, you can substitute part of the water with more coconut milk.
-
» MORE: Whisked Milk with Raisins: A Delicious Treat to Share with Friends
Nutritional Benefits:
-
-
- Agar-agar is a plant-based alternative to gelatin, rich in fiber and low in calories.
- Coconut milk provides healthy fats and adds a rich, creamy flavor.
- Cocoa powder is a good source of antioxidants and adds a deep chocolate flavor.
-
Dietary Information:
-
- Vegan
- Dairy-free
- Gluten-free
Nutritional Facts (per serving, approx.):
-
- Calories: 120
- Carbohydrates: 9g
- Protein: 1g
-
- Fat: 9g
- Fiber: 1g
- Sugars: 2g
Storage:
- Store the jelly in an airtight container in the refrigerator for up to 3-4 days.

 Introduction
 Ingredients
 Instructions
 Serving Suggestions
 Storage
 Nutrition (Per Serving – Approximate)


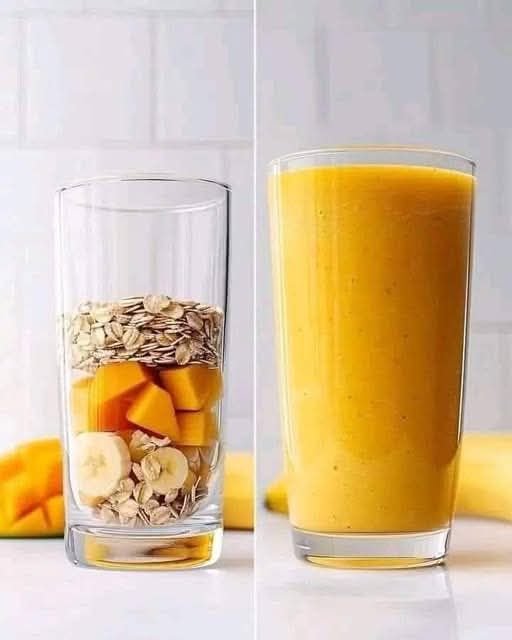
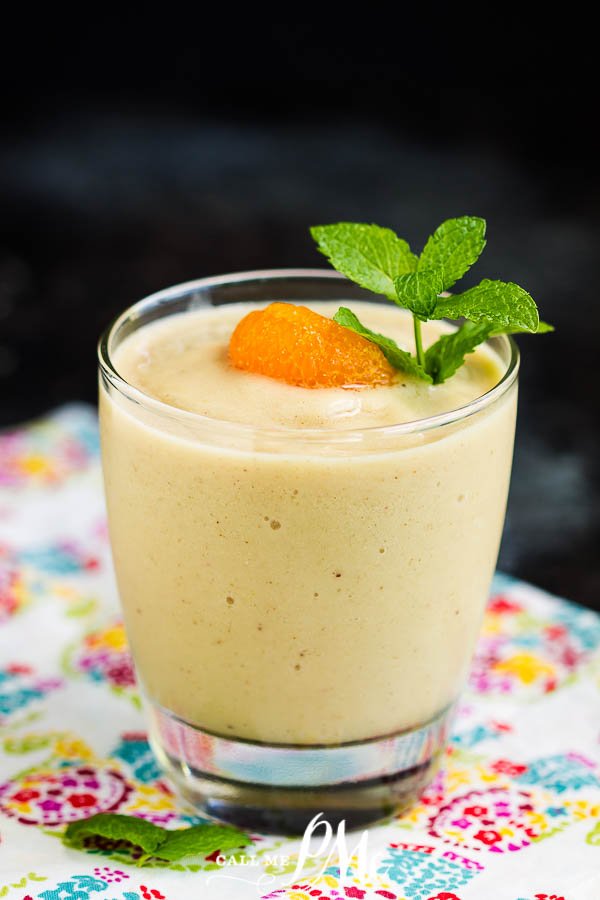
 Mango Banana Oat Breakfast Smoothie