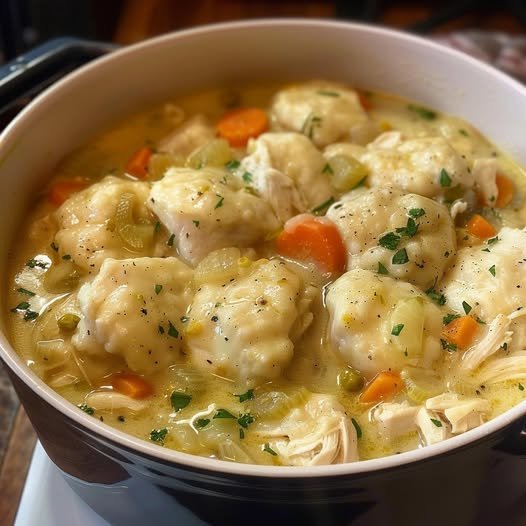
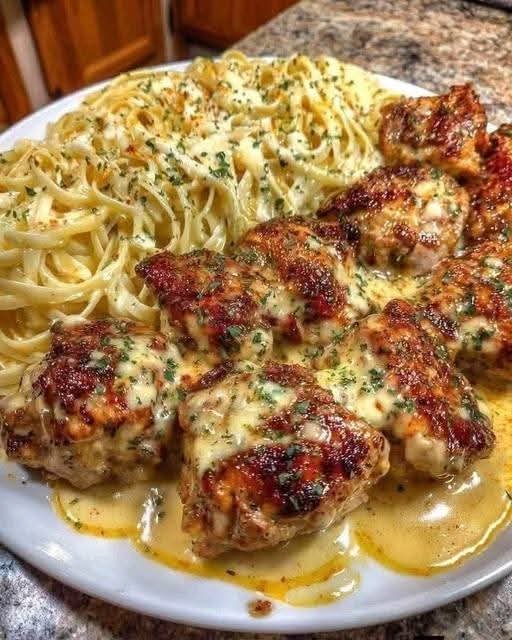
🍝 Creamy Garlic Butter Chicken & Linguine in Alfredo Sauce
A rich, indulgent pasta dish featuring tender garlic-butter chicken tossed with silky homemade Alfredo sauce and perfectly cooked linguine. This comforting Italian-style meal is ideal for family dinners, special occasions, or when you crave restaurant-quality food at home.
📝 Description
Creamy Garlic Butter Chicken & Linguine in Alfredo Sauce is a luxurious pasta dish combining juicy pan-seared chicken, aromatic garlic butter, and a smooth parmesan-based Alfredo sauce. The flavors are rich yet balanced, with subtle garlic warmth and creamy depth coating each strand of pasta beautifully.
⏱ Prep & Cook Time
Prep Time: 15 minutes
Cook Time: 25 minutes
Total Time: 40 minutes
🍽 Servings
4 servings
🛒 Ingredients
For Chicken
2 large chicken breasts, sliced thin
2 tbsp butter
1 tbsp olive oil
5 cloves garlic, minced
1 tsp salt
½ tsp black pepper
1 tsp Italian seasoning
½ tsp paprika (optional)
For Alfredo Sauce
2 tbsp butter
1 cup heavy cream
1 cup milk
1 cup freshly grated parmesan cheese
½ tsp garlic powder
¼ tsp nutmeg (optional but recommended)
Salt & pepper to taste
For Pasta
250 g linguine
Water + salt for boiling
Garnish (Optional)
Fresh parsley
Extra parmesan
Chili flakes
👩🍳 Method / Instructions
Step 1: Cook Pasta
Boil salted water.
Add linguine and cook until al dente.
Reserve ½ cup pasta water.
Drain and set aside.
Step 2: Prepare Chicken
Season chicken with salt, pepper, paprika, and Italian seasoning.
Heat olive oil and butter in a pan.
Add chicken and cook until golden and fully cooked.
Add minced garlic and sauté for 30 seconds.
Remove chicken and set aside.
Step 3: Make Alfredo Sauce
In same pan, melt butter.
Add cream and milk; simmer gently.
Stir in garlic powder, nutmeg, salt, and pepper.
Add parmesan slowly while stirring until smooth.
Step 4: Combine Everything
Add pasta into sauce.
Toss well, adding reserved pasta water if needed.
Add chicken and gently mix.
Garnish and serve hot.
🌟 Tips for Perfect Alfredo Pasta
Use fresh parmesan, not pre-shredded.
Do not boil sauce — keep heat low.
Slice chicken thin for tenderness.
Add a splash of pasta water for ultra-silky sauce.
Serve immediately for best texture.
🔄 Variations
Spicy: Add chili flakes or cayenne.
Mushroom: Add sautéed mushrooms.
Spinach: Add baby spinach at the end.
Shrimp Version: Replace chicken with shrimp.
🥗 Nutritional Information (Per Serving – Approx.)
Calories: 620 kcal
Protein: 36 g
Fat: 38 g
Carbs: 42 g
Fiber: 3 g
Calcium: 25% RDI
💪 Health Benefits
High protein supports muscle growth.
Calcium-rich for bone health.
Garlic improves immunity & heart health.
Balanced carbs for energy.
❓ Frequently Asked Questions (Q&A)
Q: Can I use penne or fettuccine instead of linguine?
Yes — both work excellently.
Q: Can I make it ahead of time?
Yes, but best enjoyed fresh. Reheat gently with milk.
Q: How to store leftovers?
Store in airtight container in fridge for up to 2 days.
Q: Can I freeze Alfredo pasta?
Not recommended — cream sauces separate when frozen.
Q: Can I make it healthier?
Use half-and-half instead of cream and reduce butter.
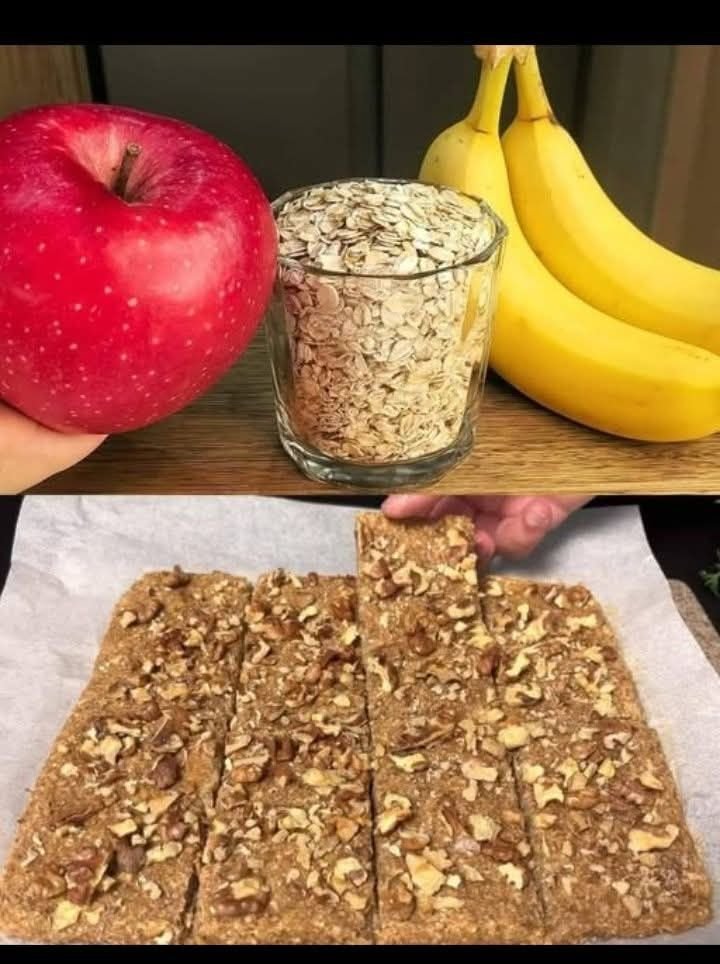
 Apple-Banana Oat Weight Loss Bars


 Instructions
 Optional Add-Ins
 Tips for Best Results
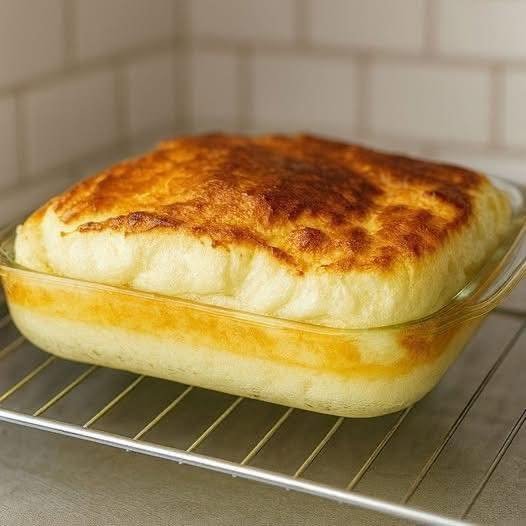


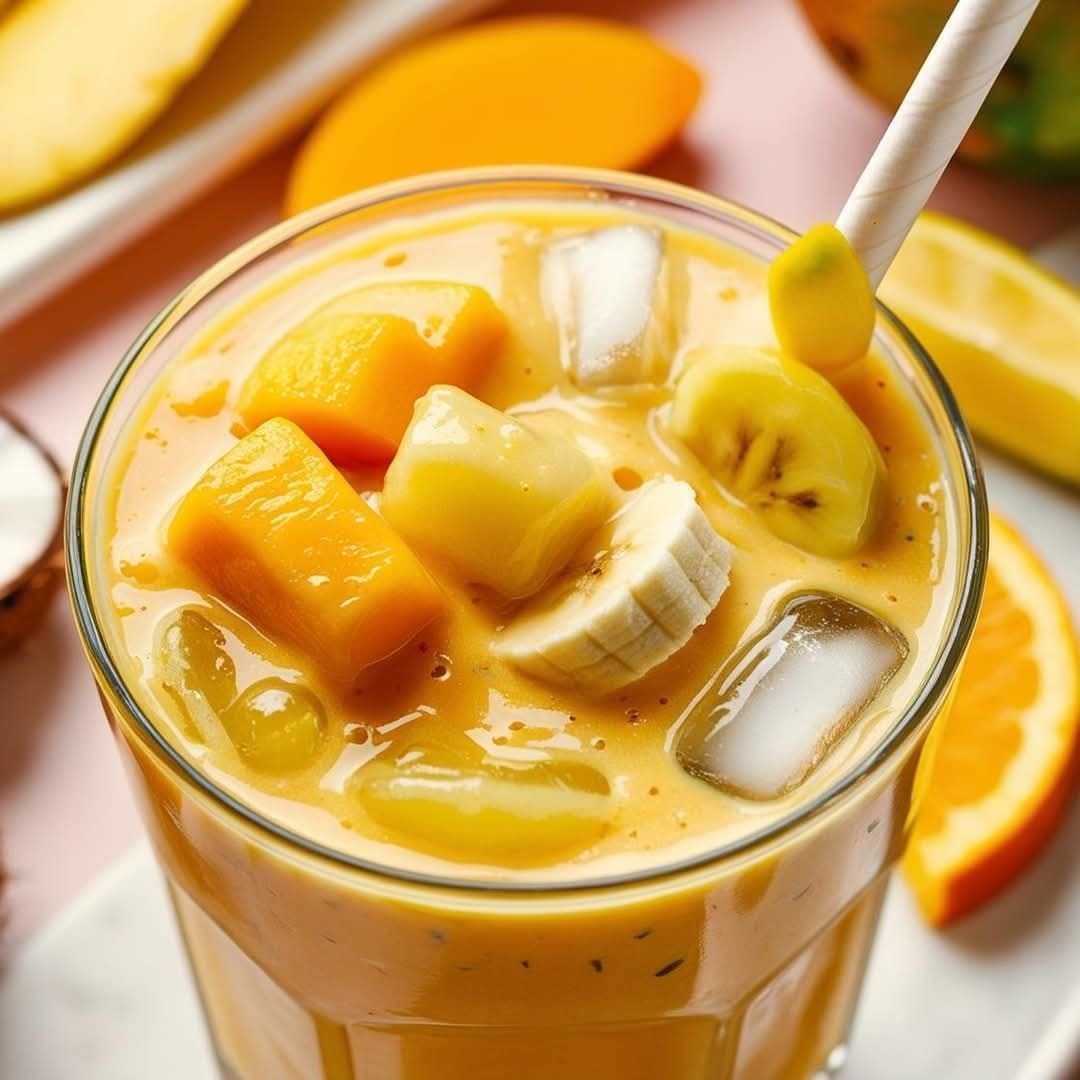
 Drink once daily for best results
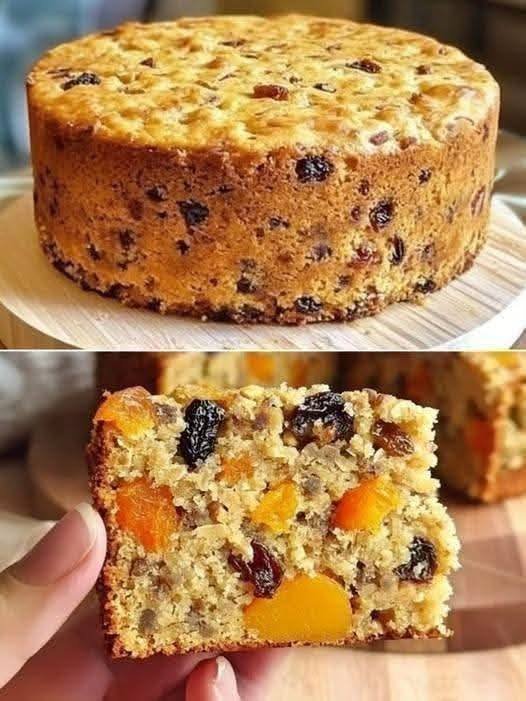


 Add cooked bacon or sausage
 Add spinach or mushrooms (sauté first)
 Make spicy with jalapeños
 Add feta and olives for Mediterranean flavor


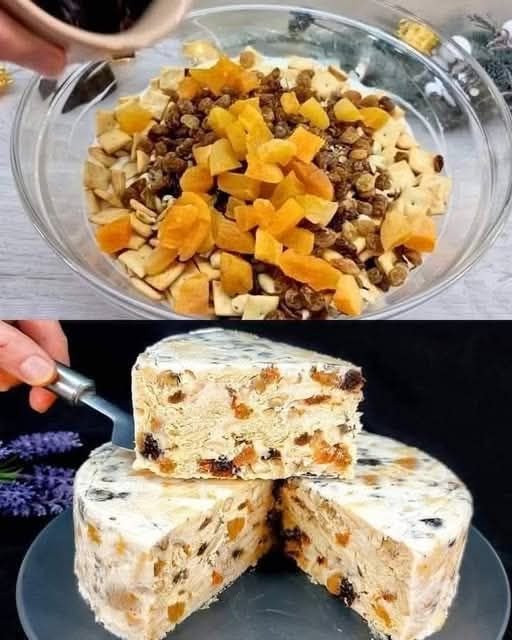
 No-Bake Dried Fruit and Nut Christmas Cake