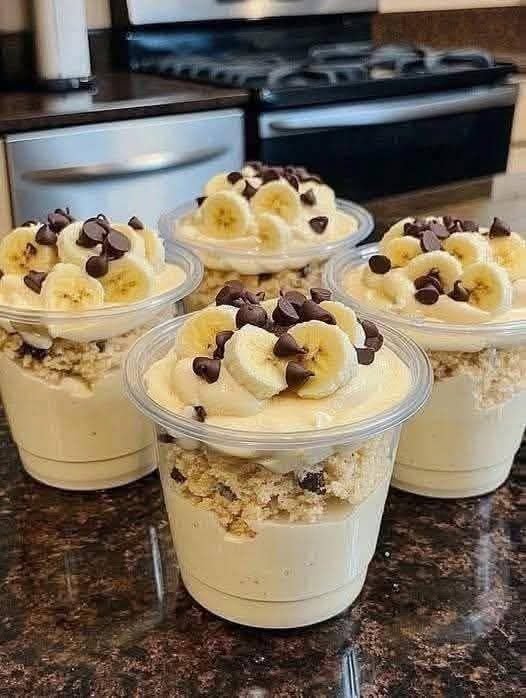
No-Sugar Banana Oat Breakfast Cups
Description
A creamy, naturally sweet breakfast made with bananas, oats, and a protein-rich base. No added sugar, no cooking, and ready in minutes. It keeps you full for hours, supports weight loss, and tastes like dessert—so kids love it too.
Ingredients (1 serving)
1 ripe banana 
½ cup plain Greek yogurt (or blended cottage cheese)
¼ cup rolled oats (or oat granola with no added sugar)
1–2 tbsp dark chocolate chips (optional, sugar-free or 85% cocoa)
Splash of milk or water (optional, for blending)
Instructions
-
Blend the cream
Blend ½ banana with Greek yogurt until smooth and thick. -
Layer
-
Bottom: banana-yogurt cream
-
Middle: oats or granola
-
Top: banana slices + a few chocolate chips
-
-
Chill or eat immediately
Can be eaten right away or refrigerated overnight.
Notes
-
The sweetness comes only from bananas
-
Protein + fiber keeps blood sugar stable
-
Works great as a meal prep breakfast
Tips & Variations
-
Higher protein: add 1 scoop unflavored protein powder
-
Dairy-free: use coconut or almond yogurt (unsweetened)
-
Extra fiber: add chia or flax seeds
-
No chocolate: swap for nuts or cinnamon
-
For kids: freeze it slightly—tastes like ice cream

Servings
-
1 cup = 1 serving
-
Multiply ingredients easily for meal prep (lasts 3 days refrigerated)
Estimated Nutritional Info (per serving)
(Approximate, depends on exact brands)
-
Calories: 280–320 kcal
-
Protein: 15–20 g
-
Carbs: 35–40 g
-
Fiber: 6–8 g
-
Fat: 6–9 g
-
Added sugar: 0 g
Benefits
 Supports weight loss No refined sugar Budget-friendly Keeps you full for hours Kid-approved Improves digestion Helps control cravings
Q & A
Q: Can I eat this every day?
A: Yes—especially if you rotate toppings (nuts, seeds, berries).
Q: Is it good for weight loss?
A: Yes. It’s high in protein and fiber, low in sugar, and very filling.
Q: Can I make it the night before?
A: Absolutely—perfect overnight breakfast.
Q: Can diabetics eat this?
A: Usually yes in moderation, but portion size matters—check with a doctor.
Q: Can I skip oats?
A: Yes—replace with nuts or seeds for lower carbs.
 Note: While this recipe contains no added sugar, it is not zero-calorie. Apples and oats contain natural carbohydrates.
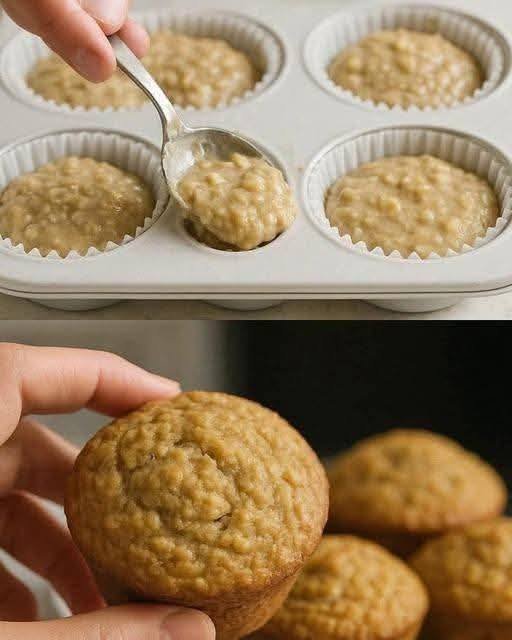
 Diabetic-Friendly
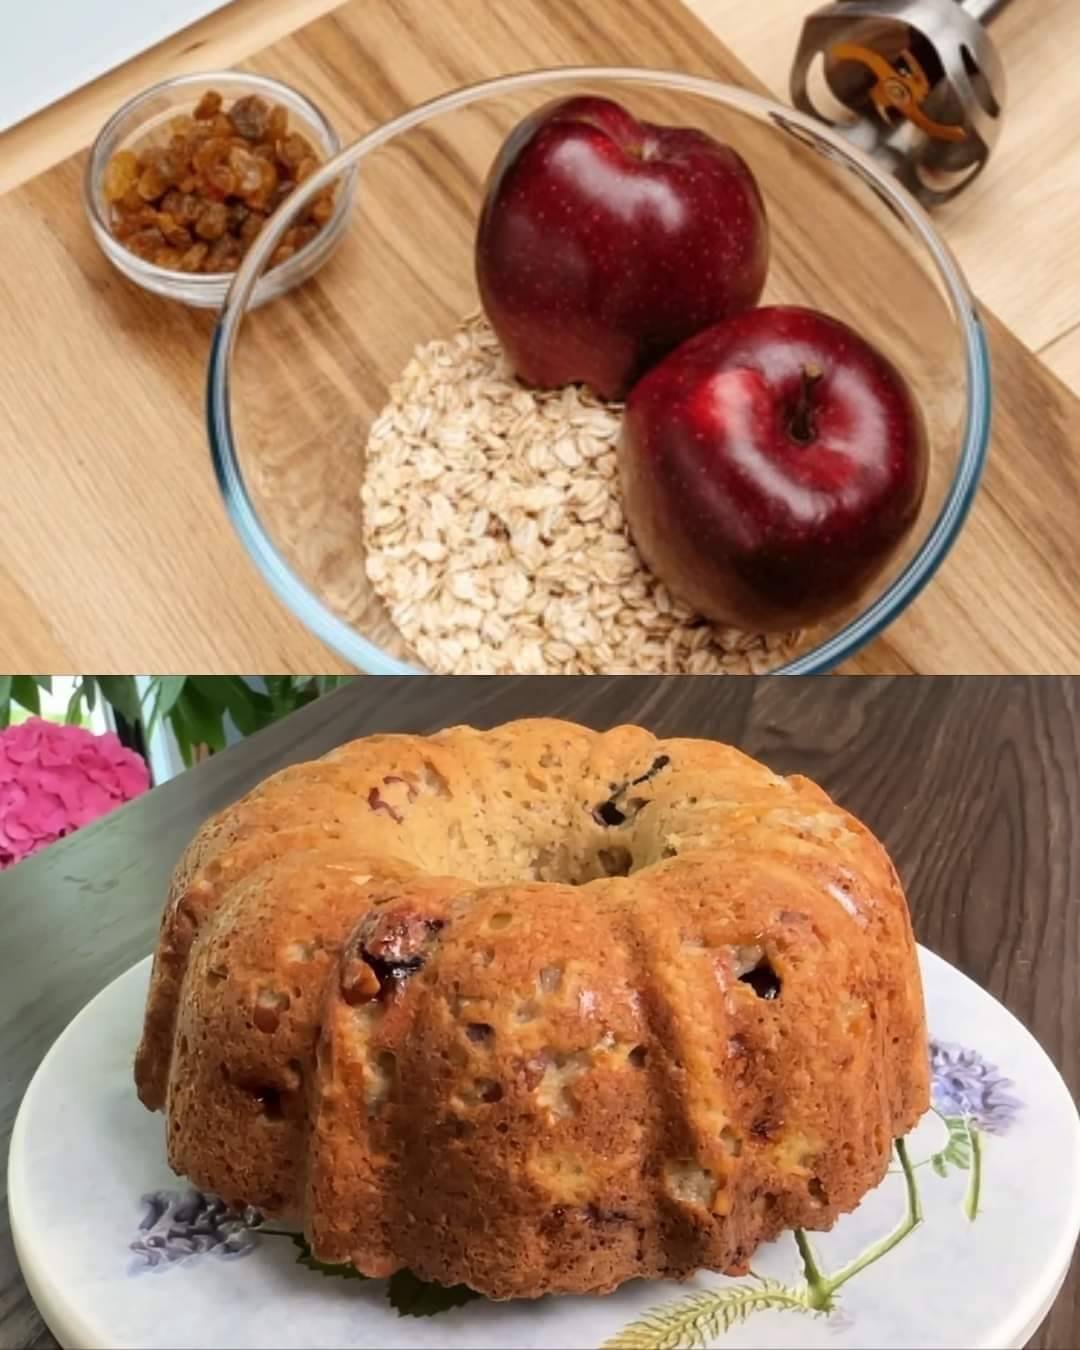
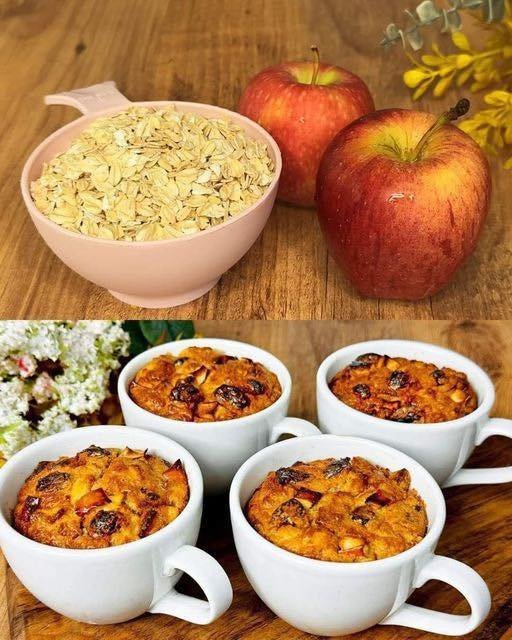
 Oats
Oats Apples
 Egg
Egg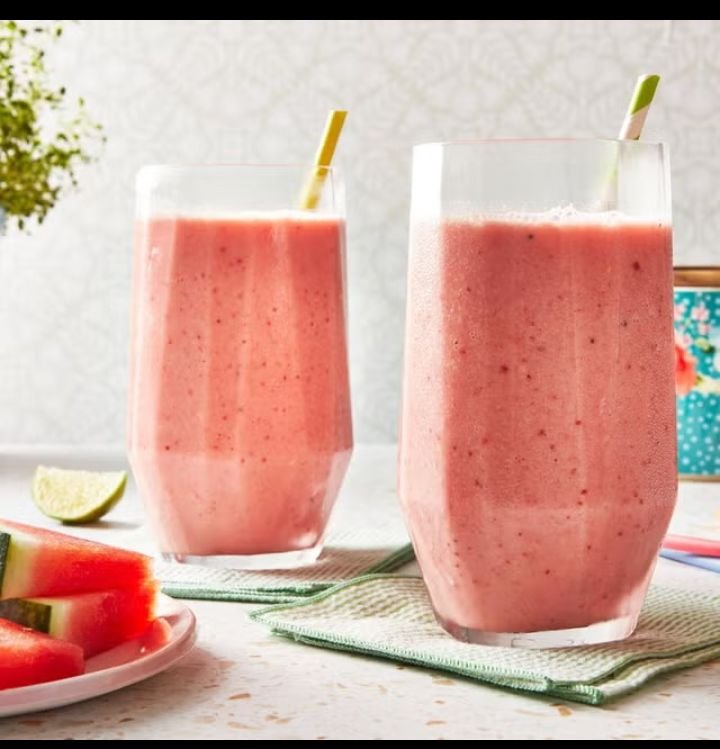

 Instructions
 Prepare the Fruit
 Mix the Batter
 Fill the Mugs
 Cook
Cook Serving Ideas
 Tips
Tips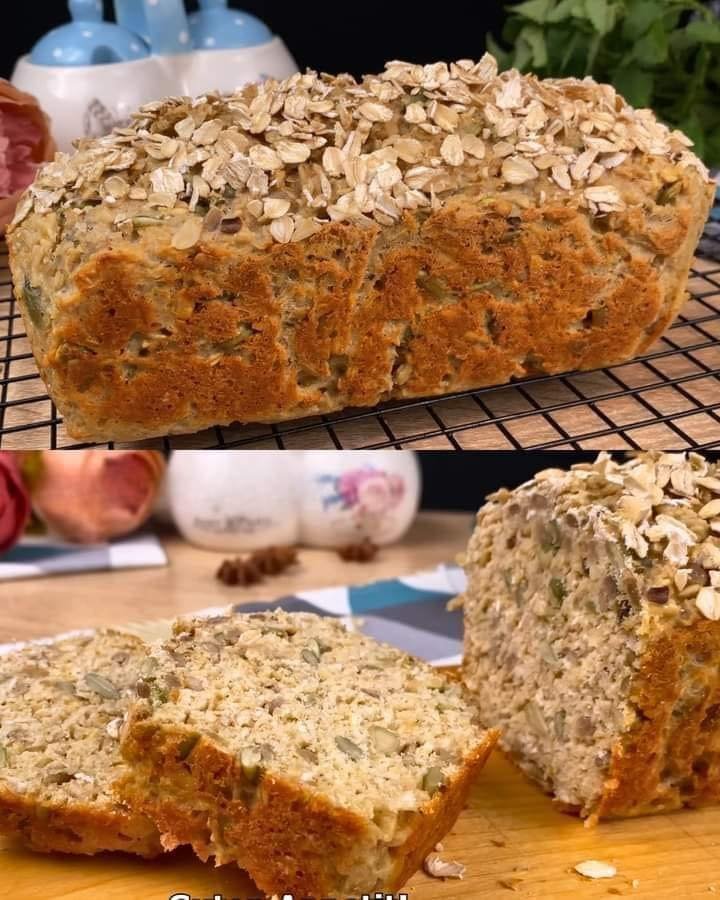
 Tips for Best Results
 Storage
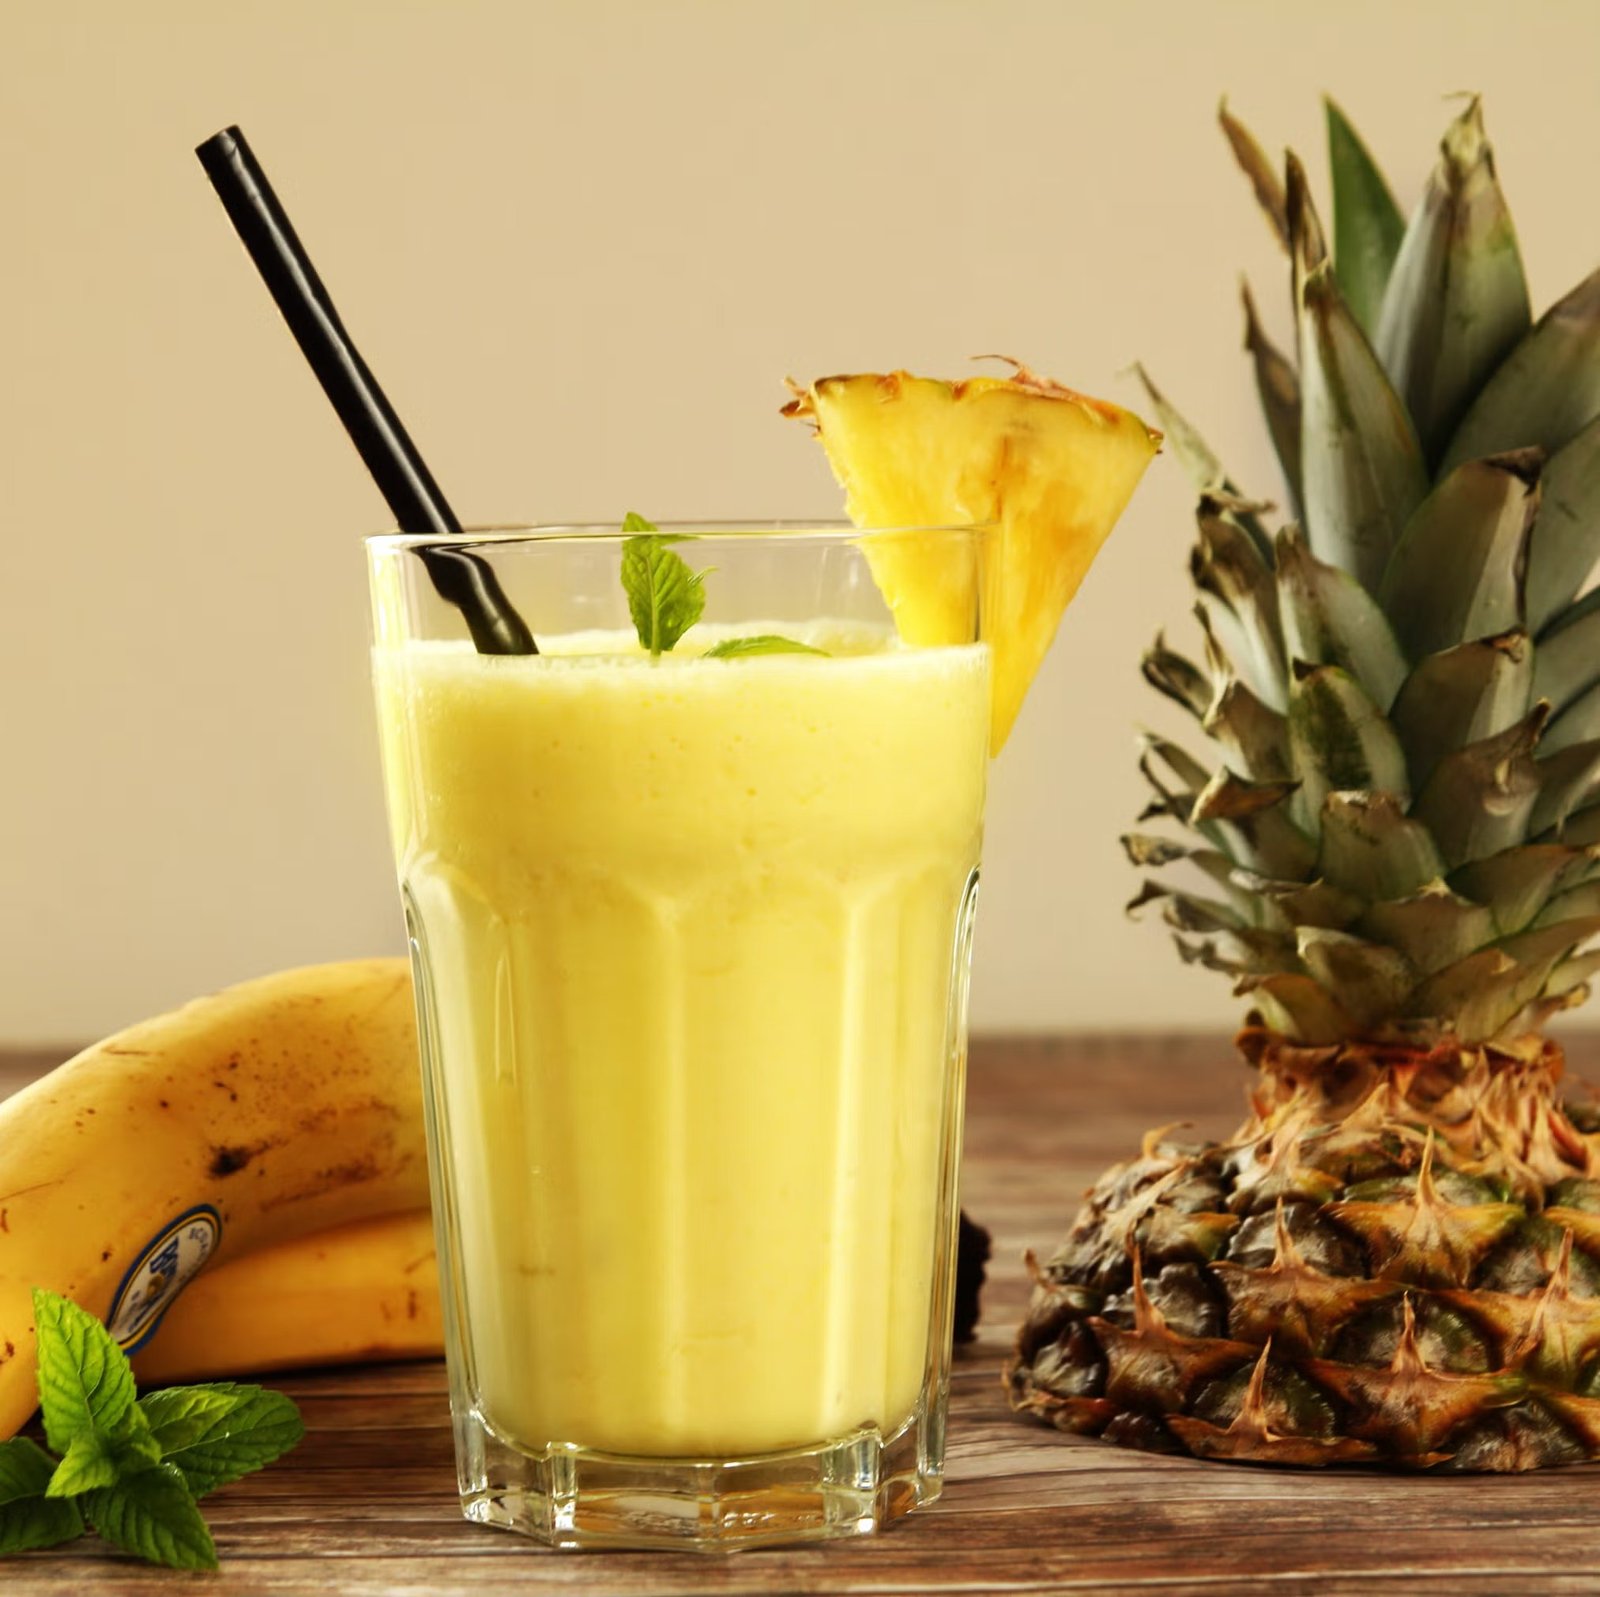
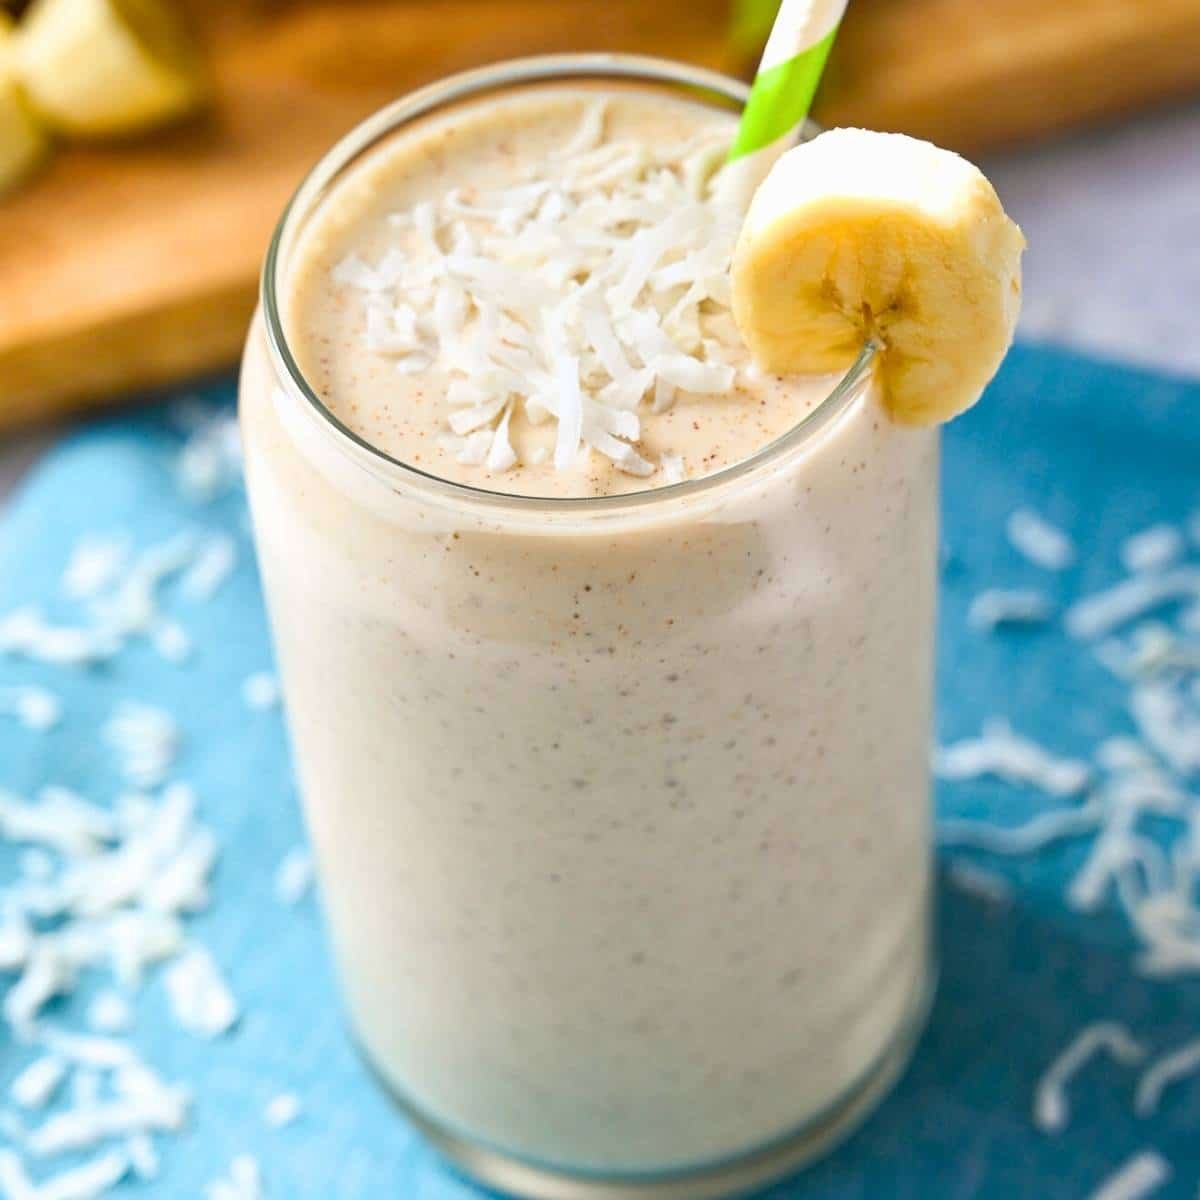
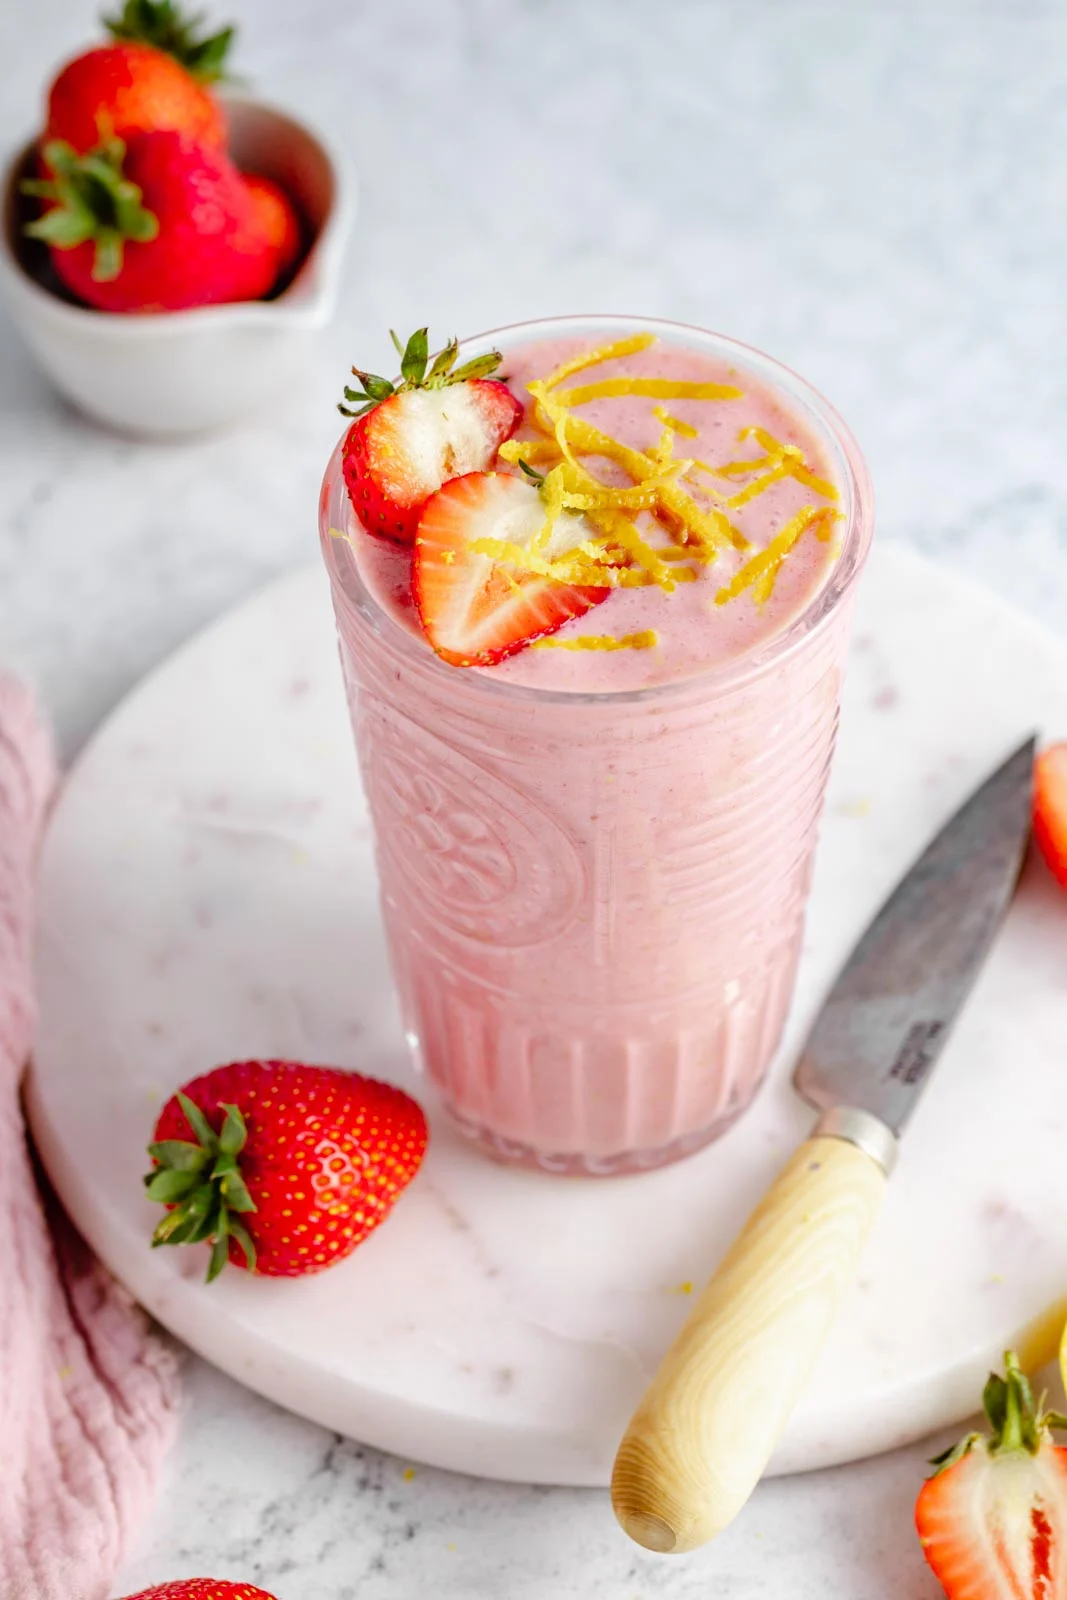
 Tropical Pineapple-Banana Smoothie
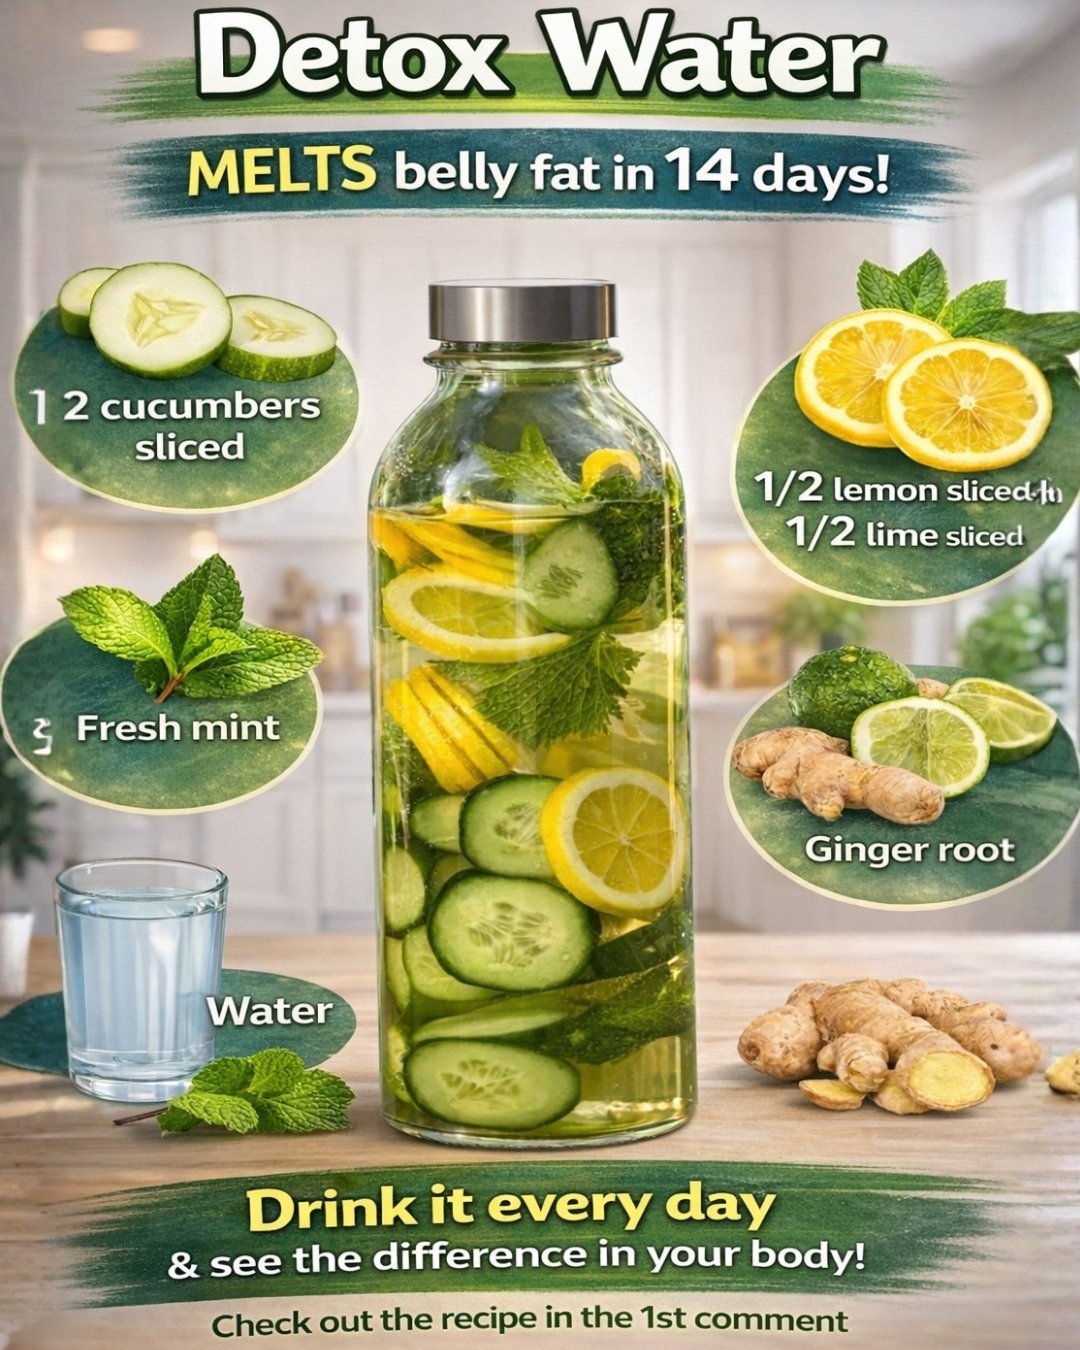
 Your Body Is Thirsty – Not Just for Water, but for Cleanliness
 The Simple Detox Water Recipe That Actually Works
 What Each Ingredient Does in the Body
 Lemon & Lime
 Mint
Mint Ginger
 What Science Shows (2024–2025 Data)
 What Changes After 14 Days of Daily Use
 The Real Secret


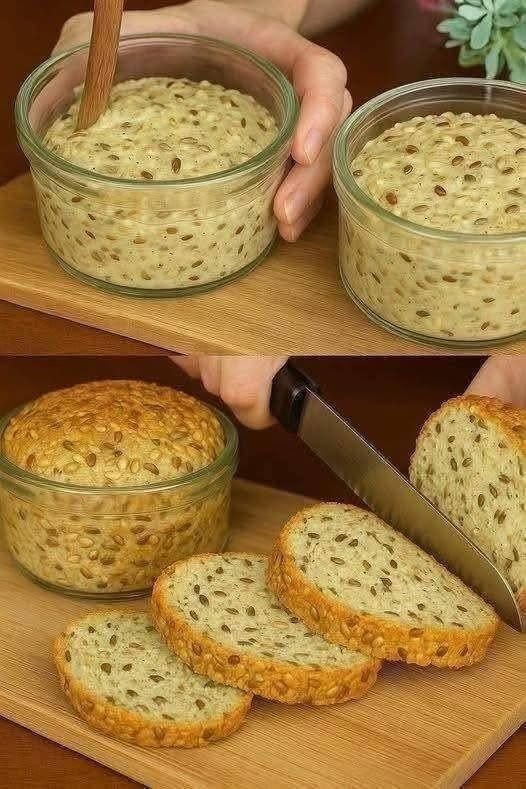
 Bread in a Jar (1–2 Servings)
 Ingredients
 Oven Option (Better Texture)
 Tips
Tips