Servings: 6
Total Time: 10 minutes
Difficulty: Easy
Calories per Serving: ~95
Macros (per serving): 12g Protein / 3g Net Carbs / 4g Fat / 1g Fiber
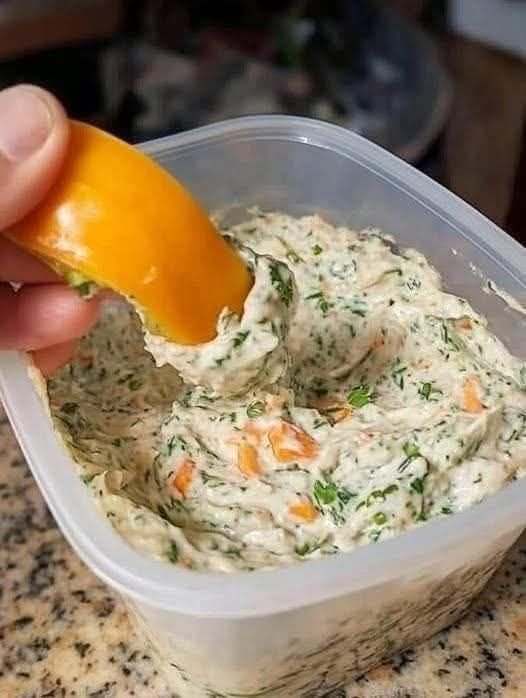
This Creamy High-Protein Herb Dip is the kind of snack that feels indulgent but fits perfectly into a keto, low-carb, and Weight Watchers–friendly lifestyle. It’s thick, cool, and packed with fresh herbs—like a cross between ranch dip and whipped Greek yogurt—yet made with clean, macro-balanced ingredients.
If you’re trying to stay low carb while keeping your protein intake high, this dip is a game changer. It pairs beautifully with crisp veggies, high-protein crackers, or grilled meats, making it a go-to for meal prep, parties, or everyday snacking.
The best part? It takes just 10 minutes to make and stays unbelievably creamy for days.
Look at the Recipe
• Thick, smooth, ultra-creamy texture that holds up on any veggie or cracker
• Fresh herb flavor with garlic, lemon, and cooling yogurt notes
• High-protein, low-carb ingredients that boost fullness and support clean eating goals
Ingredients Needed
Base
1 ½ cups plain nonfat Greek yogurt
½ cup low-fat cottage cheese
1 scoop unflavored or savory whey protein powder
Herbs & Seasoning
2 tbsp fresh parsley, finely chopped
1 tbsp fresh dill, finely chopped
1 tbsp fresh chives, minced
1 clove garlic, grated
1 tsp lemon zest
1 tbsp lemon juice
½ tsp onion powder
½ tsp salt (adjust to taste)
¼ tsp black pepper
Optional Add-Ins
1–2 tsp olive oil for richness (optional for keto; skip for very low WW points)
Red pepper flakes for a little heat
Extra herbs for garnish
How to Make Our Creamy High-Protein Herb Dip
Blend the base. Add Greek yogurt, cottage cheese, and protein powder to a blender or food processor. Blend until silky smooth and thick.
Fold in flavor. Transfer the blended mixture to a bowl. Stir in the parsley, dill, chives, garlic, lemon zest, and lemon juice until evenly combined.
Season to taste. Add salt, pepper, and onion powder. Mix well and adjust lemon or herbs if needed.
Chill before serving. Let the dip rest for at least 20 minutes in the fridge so the flavors can bloom and the texture can firm up.
Serve and enjoy. Pair with cucumbers, bell peppers, celery, or keto crackers for a high-protein, low-carb snack that satisfies every craving.
Storage & Serving Suggestions
Refrigeration: Keeps well for 3–4 days in an airtight container.
Meal Prep: Portion into small containers for easy grab-and-go protein snacks.
Freezing: Not ideal—dairy separates after thawing.
Serving Pairings: Veggie sticks, grilled chicken skewers, salmon bites, keto almond crackers.
Tips & FAQs
Can I use only yogurt (no cottage cheese)?
Yes, but cottage cheese adds thickness and extra protein. If skipping it, use a bit more protein powder.Groceries
Can this be made dairy-free?
Use a dairy-free Greek-style yogurt and a plant-based protein powder. Texture will be slightly looser.
What herbs work best?
Parsley, dill, and chives are classic, but basil or cilantro work too.
How do I make it richer for keto?
Add 1–2 teaspoons of olive oil or a spoonful of cream cheese.
Is this Weight Watchers friendly?
Absolutely—use nonfat Greek yogurt and skip added oil for minimal points.


 May help manage blood sugar


 No-Beat German Apple Pie
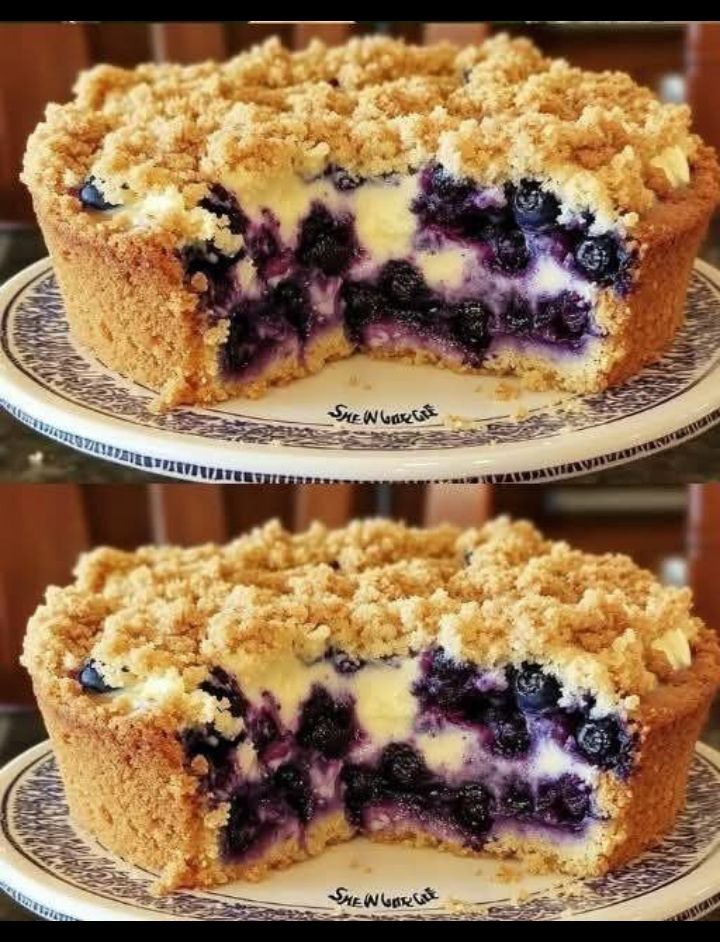


 Instructions
 Optional Add-Ins
 Tips for Best Results