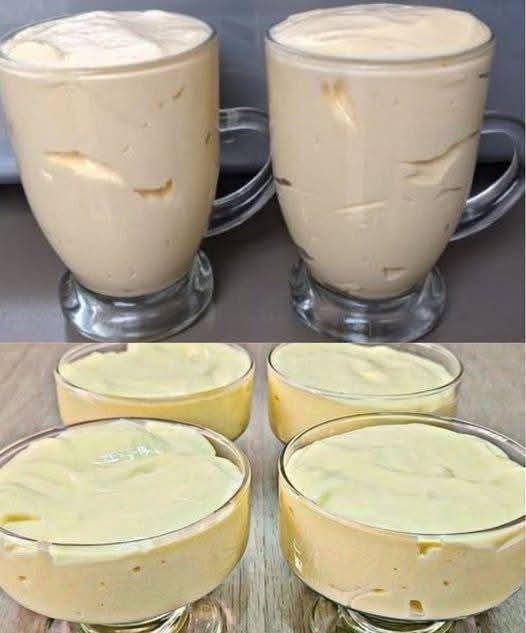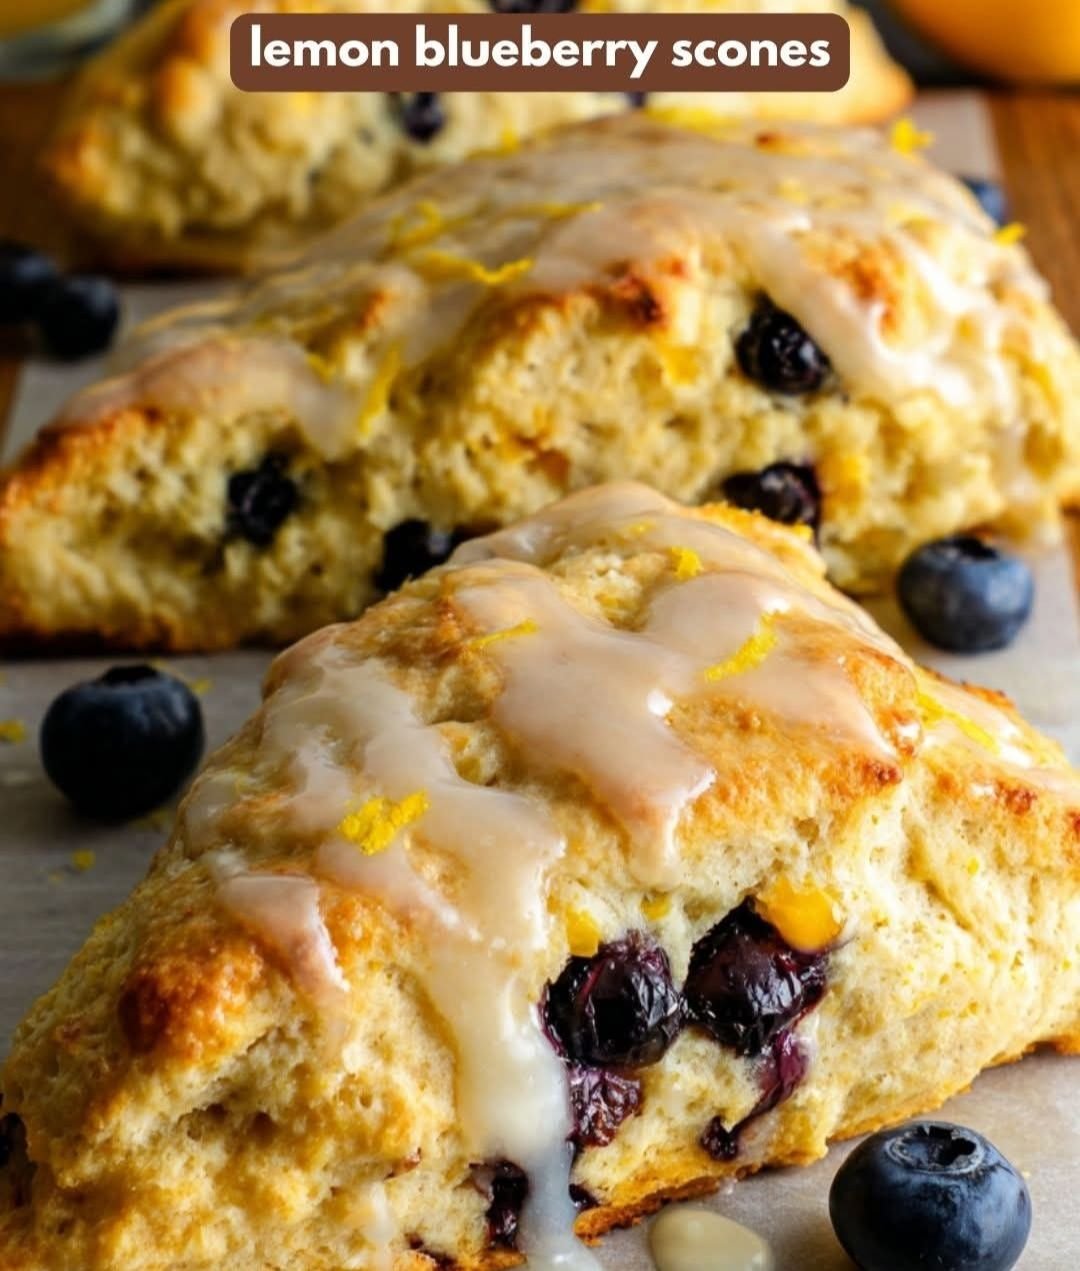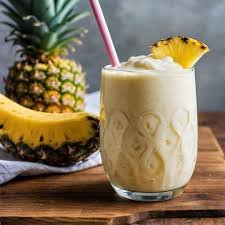
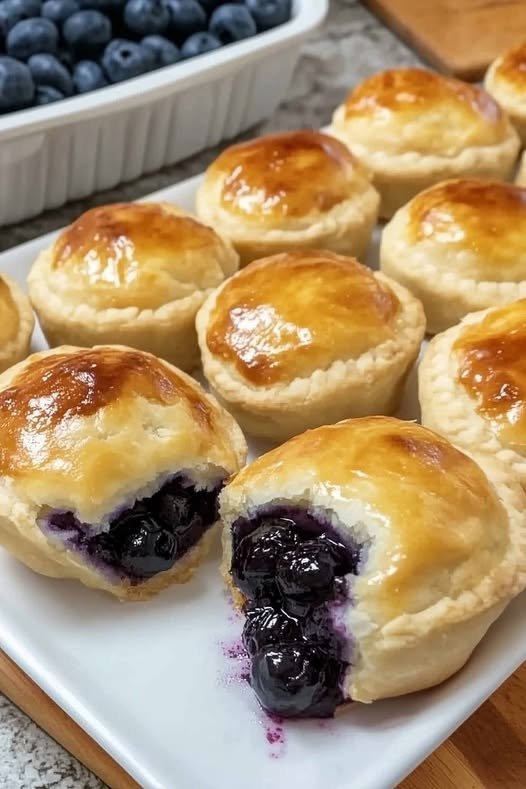
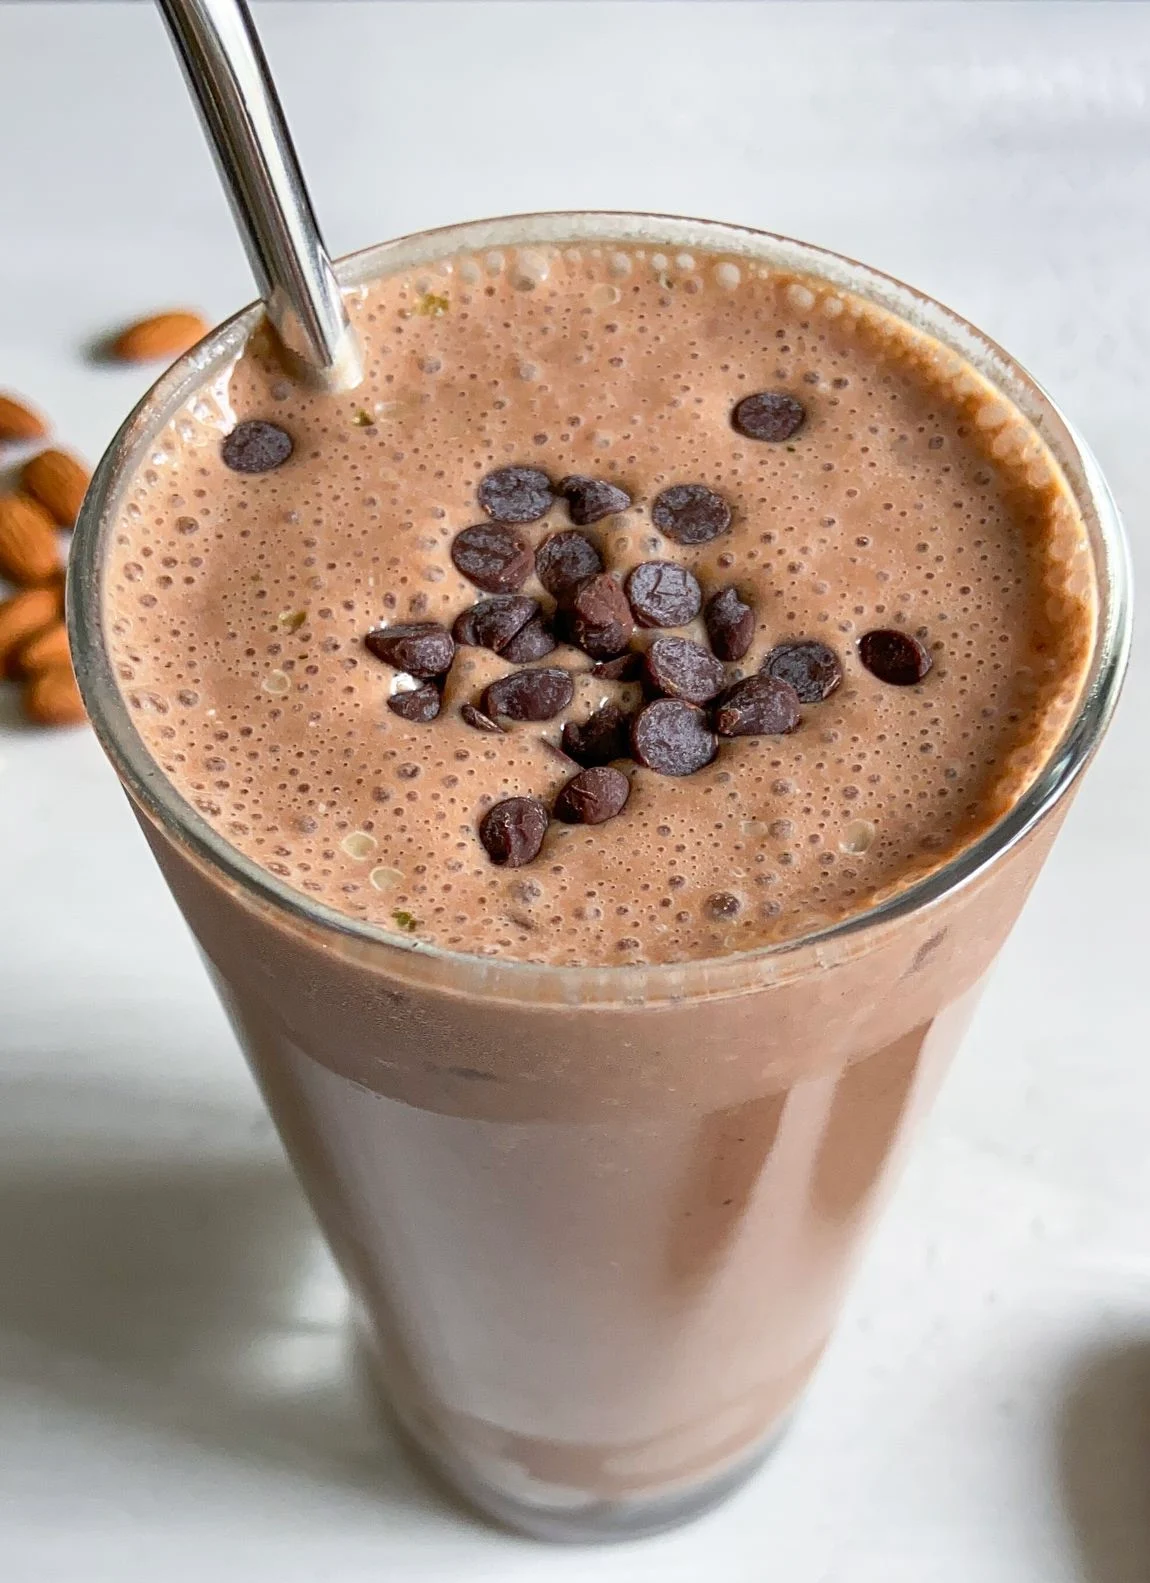
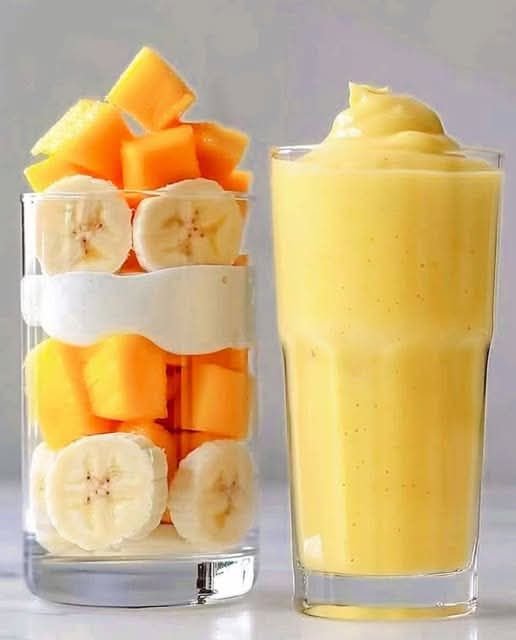
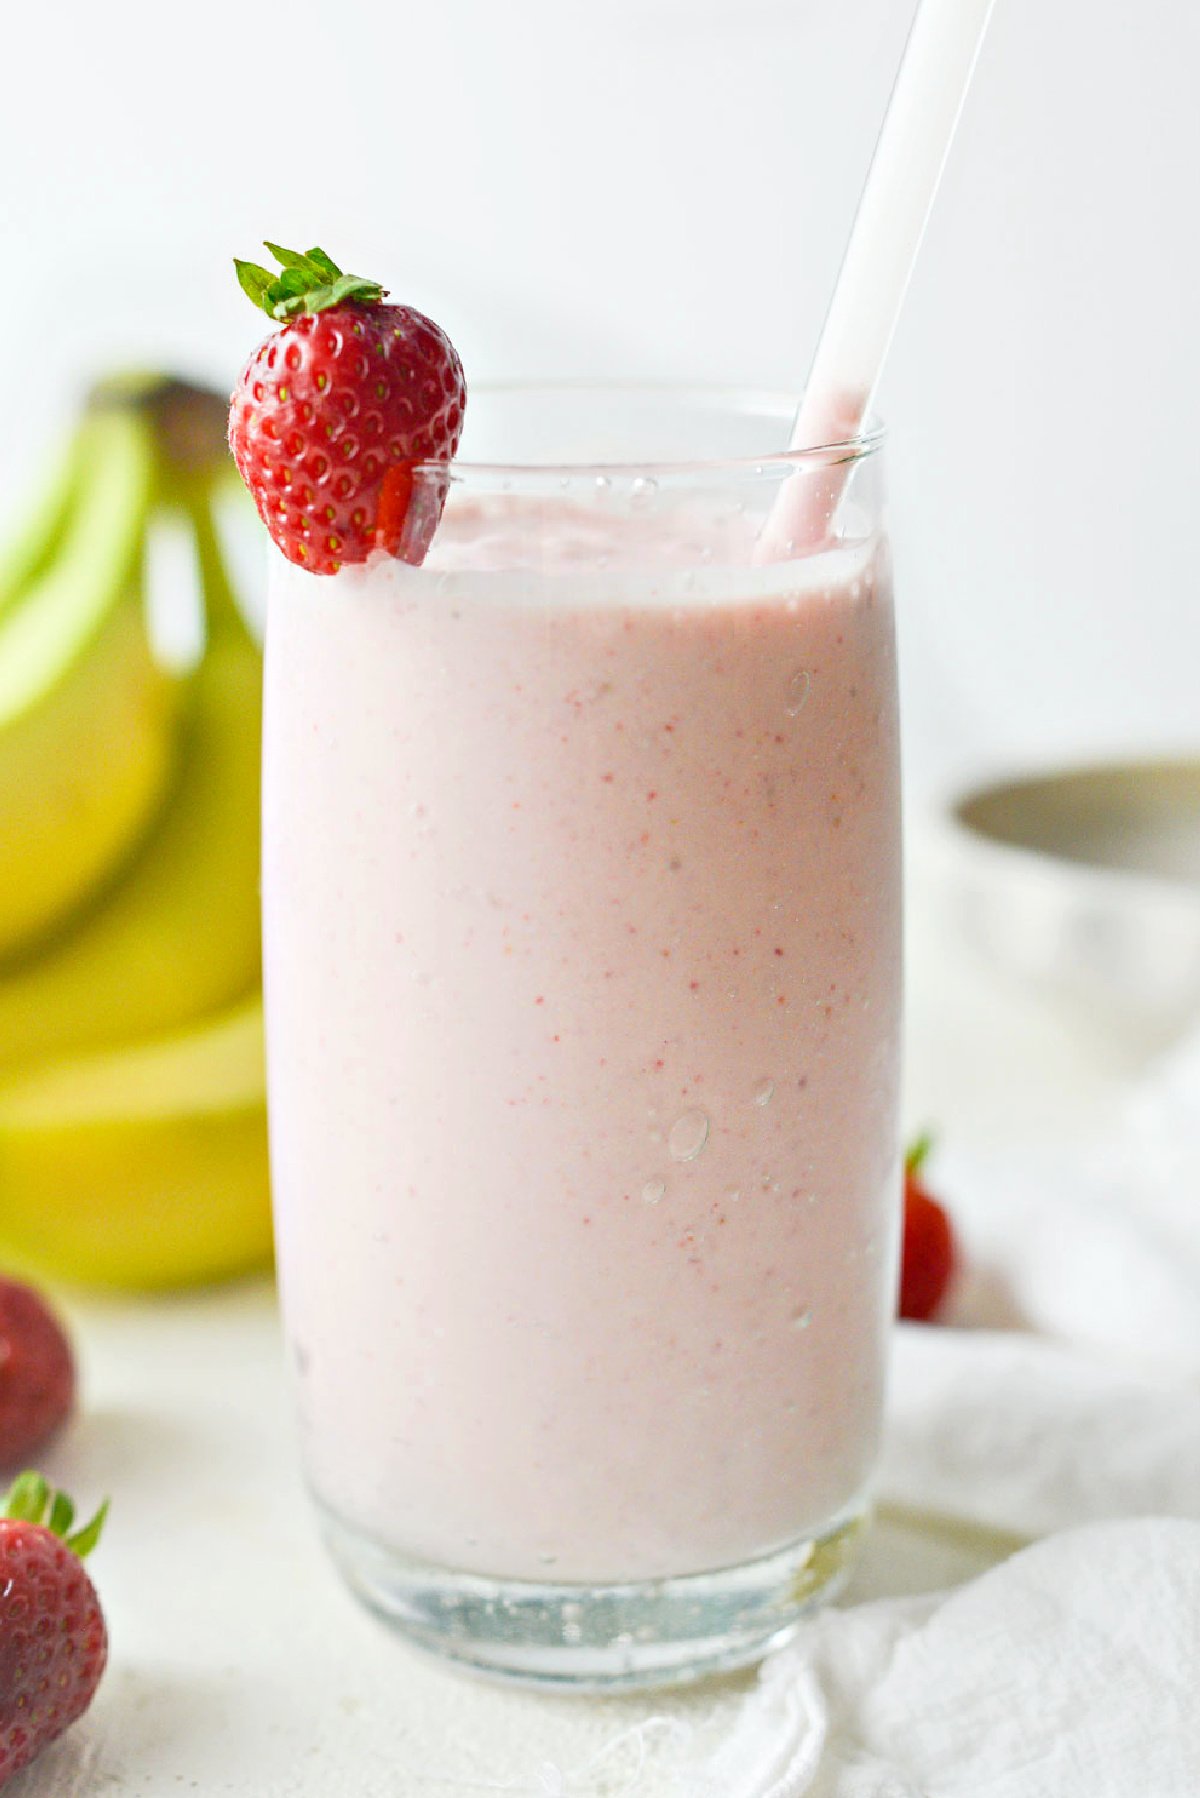
Tropical Pineapple Smoothie
This recipe serves 1-2 people and takes about 5 minutes to prepare.
Ingredients
-
2 cups Frozen pineapple chunks (frozen is best for that thick, creamy texture)
-
1/2 cup Milk of your choice (dairy, coconut milk, or almond milk work great)
-
1/4 cup Greek yogurt (optional, for extra protein and creaminess)
-
1 tbsp Honey or maple syrup (optional, depending on how sweet your pineapple is)
-
1 tsp Lime juice (adds a nice bright “pop” to the flavor)
Instructions
-
Layer the ingredients: Add the liquid (milk) to your blender first, followed by the yogurt, sweetener, and finally the frozen pineapple. This helps the blender blades move more easily.
-
Blend: Start on a low speed and gradually increase to high. Blend until the mixture is completely smooth and thick.
-
Tip: If it’s too thick to move, add an extra splash of milk.
-
-
Taste test: Give it a quick taste. If you want it sweeter, add a little more honey and pulse again.
-
Serve: Pour into a glass. For the look in the photo, garnish with a fresh pineapple wedge on the rim.
Pro-Tips for the Best Texture
-
Go Coconut: Use canned coconut milk or coconut cream if you want a “Pina Colada” vibe without the alcohol.
-
The “Swirl”: To get that soft-serve look seen in the glass, use slightly less liquid and use a tamper (the plastic stick that comes with some blenders) to push the fruit down into the blades.
-
Add-ins: A pinch of turmeric can brighten the yellow color even more and adds a healthy boost!


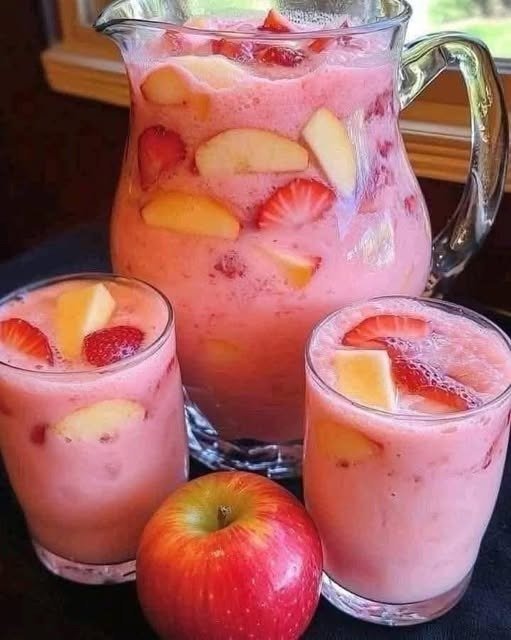
 Recipe: Strawberry Apple Cider Punch
 Tips & Notes
 Nutritional Info (Per Serving)
 The Benefits
 Common Questions