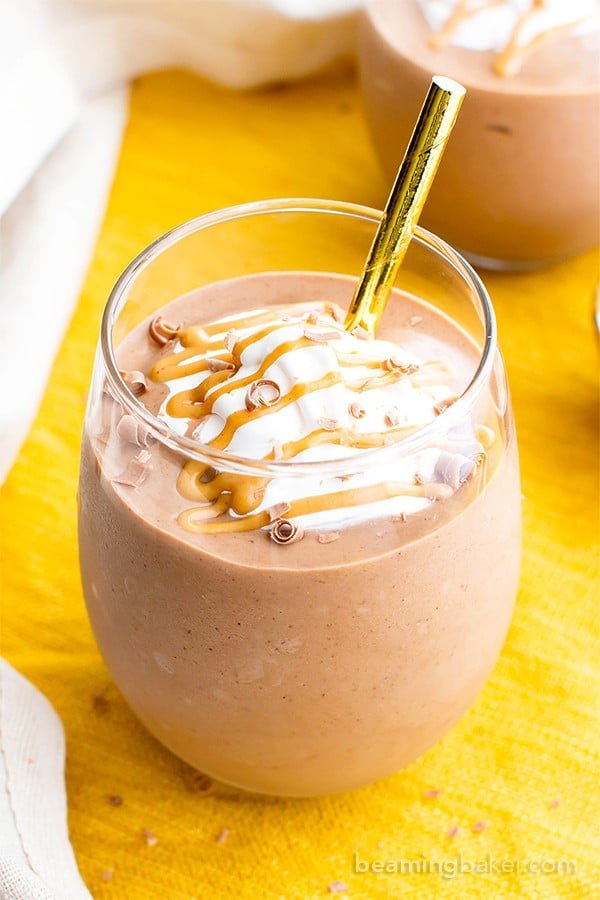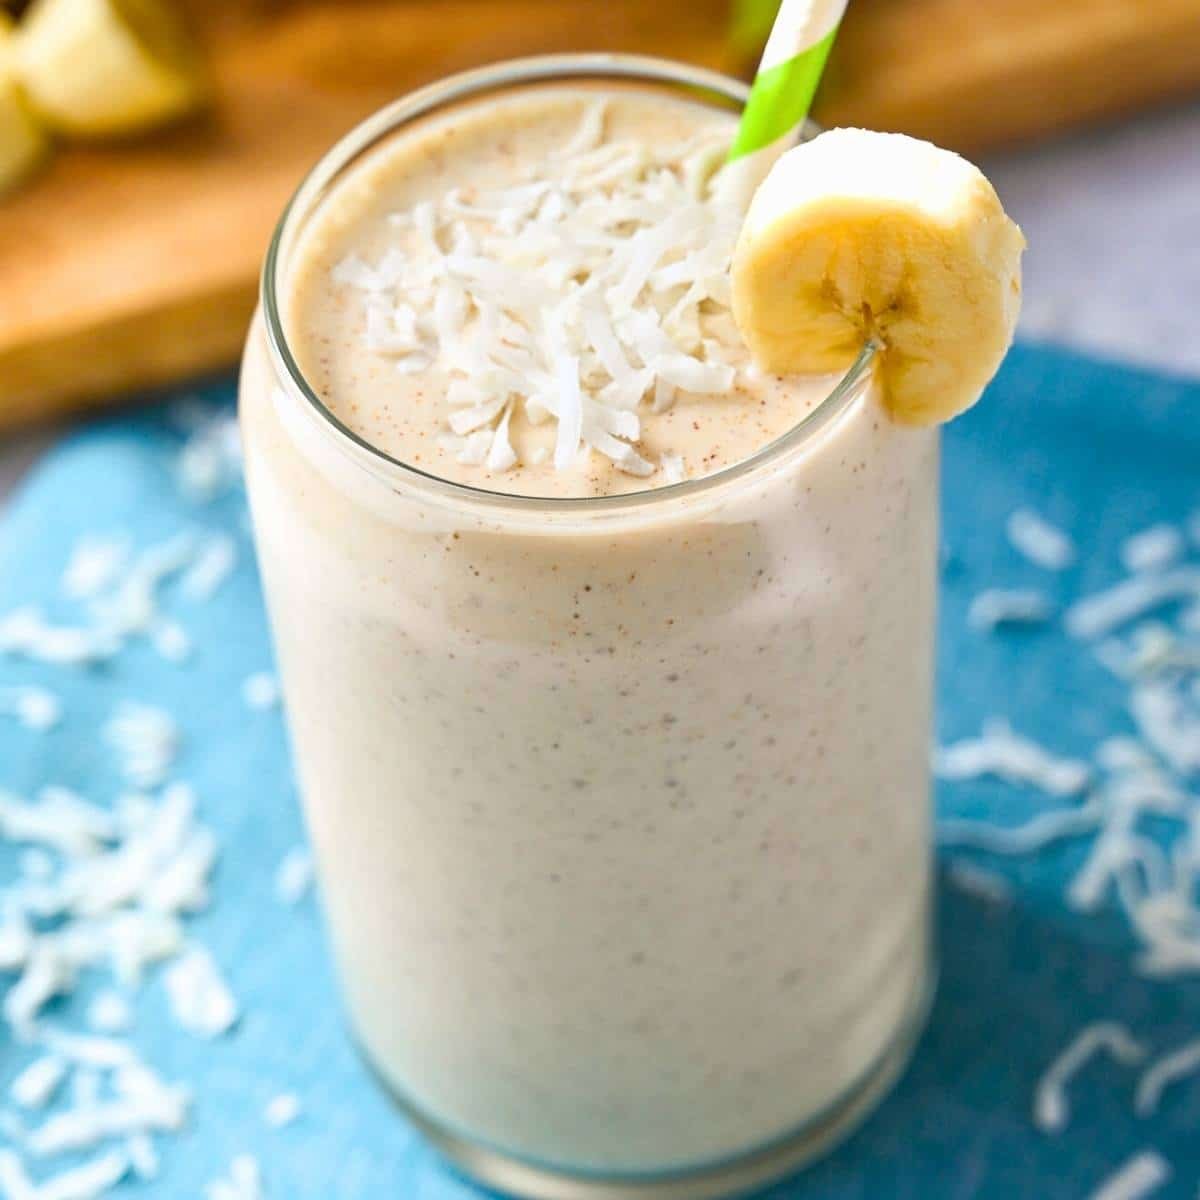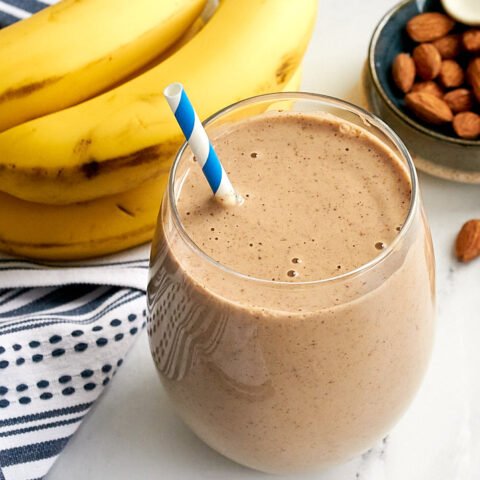
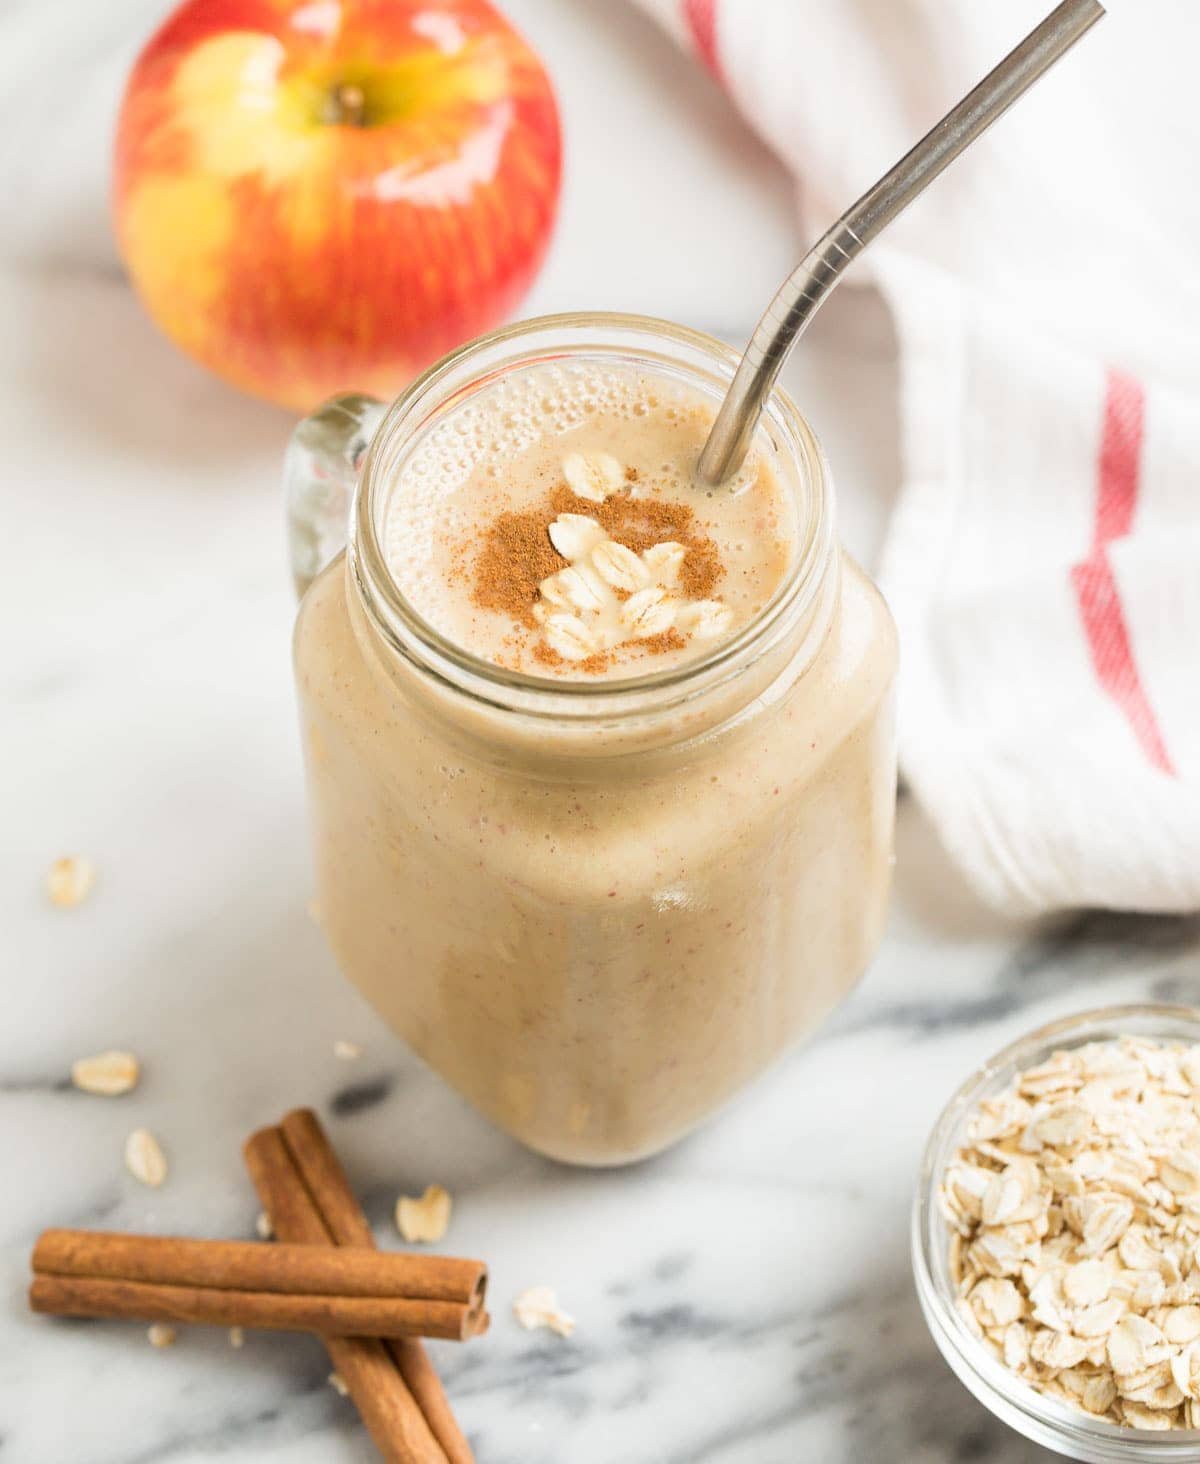
🍌 Banana Almond Smoothie Recipe
Prep time: 5 minutes | Servings: 1
Ingredients
| Ingredient | Amount | Notes |
| Banana | 1 large | Frozen is best for a thicker texture |
| Almond Milk | 1 cup | Unsweetened works great |
| Almond Butter | 1 tbsp | Adds creaminess and protein |
| Whole Almonds | 1 tbsp | For extra texture (optional) |
| Honey or Maple Syrup | 1 tsp | Optional, for extra sweetness |
| Ice Cubes | 1/2 cup | Only needed if using a fresh banana |
| Cinnamon | 1 pinch | Enhances the flavor |
Instructions
-
Prep the Banana: Peel your banana. If it’s fresh, break it into chunks. If you have time, freezing the chunks beforehand makes the smoothie taste like a milkshake!
-
Combine: Add the almond milk, banana, almond butter, honey, and cinnamon into your blender.
-
Blend: Start on a low speed and gradually increase to high. Blend for about 45–60 seconds until completely smooth.
-
Check Consistency: If it’s too thick, add a splash more almond milk. If it’s too thin, add a few more ice cubes or a spoonful of oats.
-
Serve: Pour into a glass (just like the one in your photo!) and enjoy immediately.
Pro-Tips for the Best Smoothie
-
Boost the Protein: Add a scoop of vanilla protein powder or 1/4 cup of Greek yogurt.
-
The “Spotty” Secret: Use bananas with brown spots on the skin; they are much sweeter and easier to blend.
-
Topping: Garnish with a few crushed almonds or a sprinkle of chia seeds for a nice crunch.


 May help with:
 Will NOT:
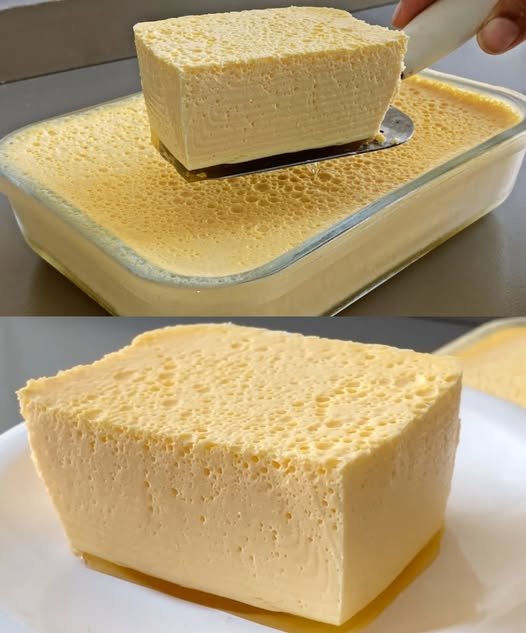
 Zero Point Vanilla Cheesecake


 Reduce bloating
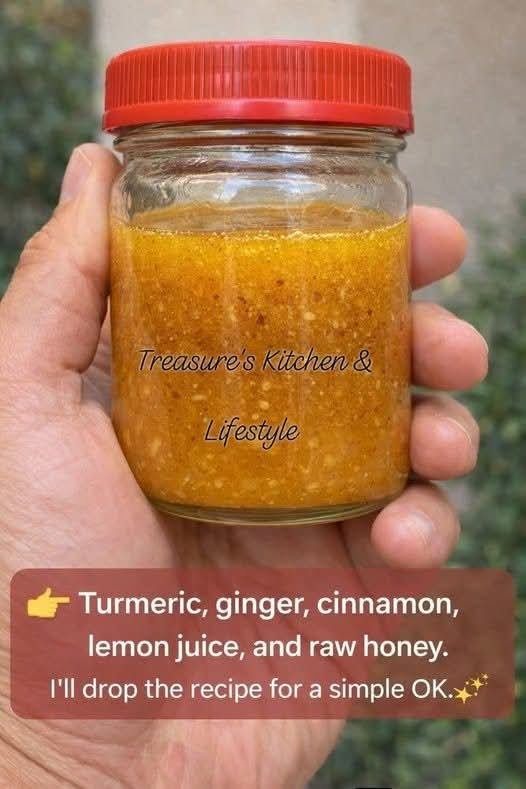
 Why This Juice Can Support Healthy Weight Management
 Benefits of Each Ingredient
 Apple – Satiety and Hunger Control