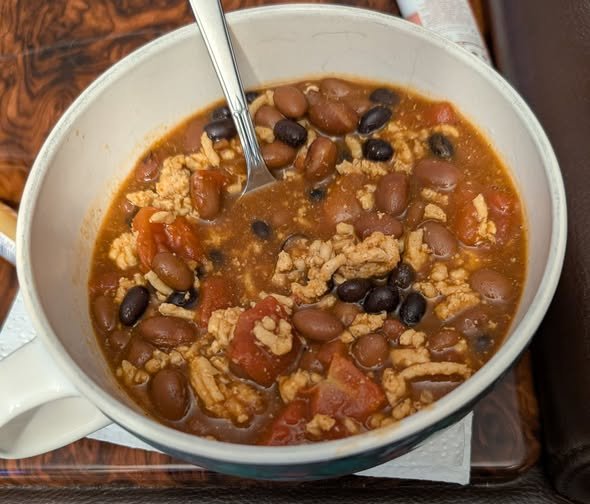
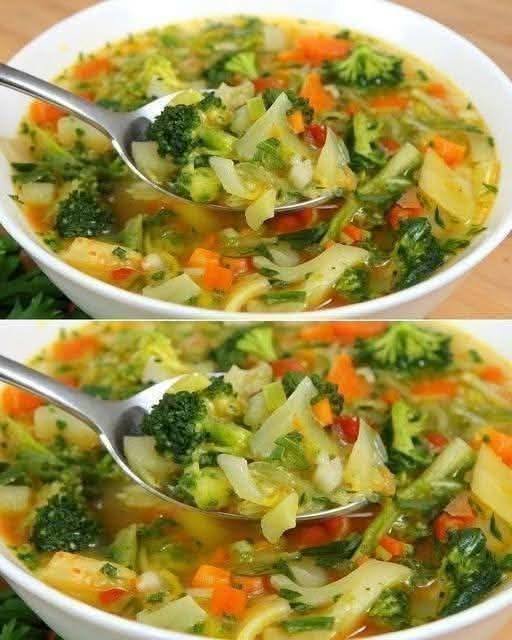
Low-Point Chicken Chili
Prep time: 10 mins | Cook time: 20 mins | Serves: 4-6
Ingredients
-
1 lb (approx. 450g) Ground Chicken Breast: (Ensure it is 98-99% fat-free for 0 points).
-
1 can (15 oz) Black Beans: Drained and rinsed.
-
1 can (15 oz) Chili Beans: Often pinto or kidney beans in a mild chili sauce.
-
1 can (14.5 oz) Diced Tomatoes: Fire-roasted or plain.
-
1 packet Low-Sodium Chili Seasoning: (Check the label; most are 1-2 points per packet).
-
1/2 cup Water or Chicken Broth: For desired consistency.
-
Optional: 1 small onion and 1 bell pepper, diced (adds more bulk for 0 points).
Instructions
-
Brown the Chicken: In a large pot or Dutch oven over medium-high heat, cook the ground chicken until fully browned and no longer pink. If the chicken sticks, use a tiny bit of non-stick cooking spray or a splash of broth.
-
Add Seasoning: Stir in the low-sodium chili seasoning and a splash of water to coat the chicken evenly.
-
Combine Ingredients: Add the diced tomatoes (with their juices), the black beans, and the chili beans. Stir well to combine.
-
Simmer: Bring the mixture to a gentle boil, then reduce the heat to low. Cover and simmer for 15–20 minutes to allow the flavors to meld. If the chili is too thick, add a little more water or broth.
-
Serve: Ladle into bowls. To keep the points low, garnish with fresh cilantro, chopped green onions, or a dollop of non-fat plain Greek yogurt (which tastes remarkably like sour cream!).
Point Breakdown (Estimated)
-
Ground Chicken Breast: 0 Points
-
Black Beans: 0 Points
-
Chili Beans: 0 Points (if not in a sugary/thick syrup)
-
Diced Tomatoes: 0-1 Point
-
Seasoning Packet: 1 Point
-
Total Per Serving: ~0–1 Point (depending on serving size)


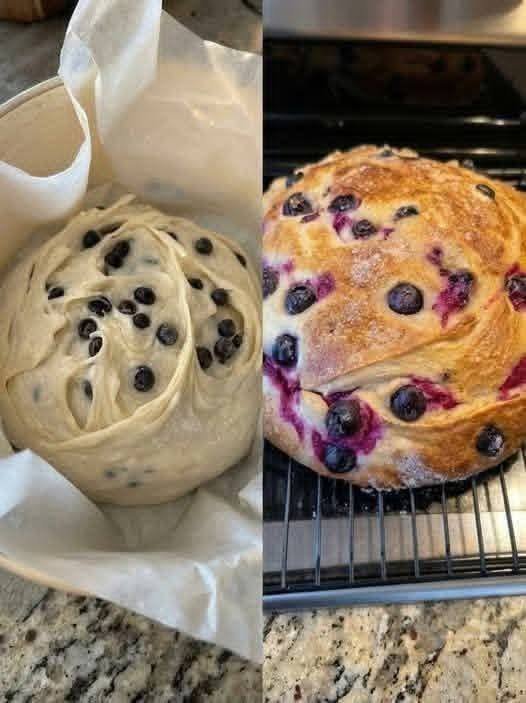
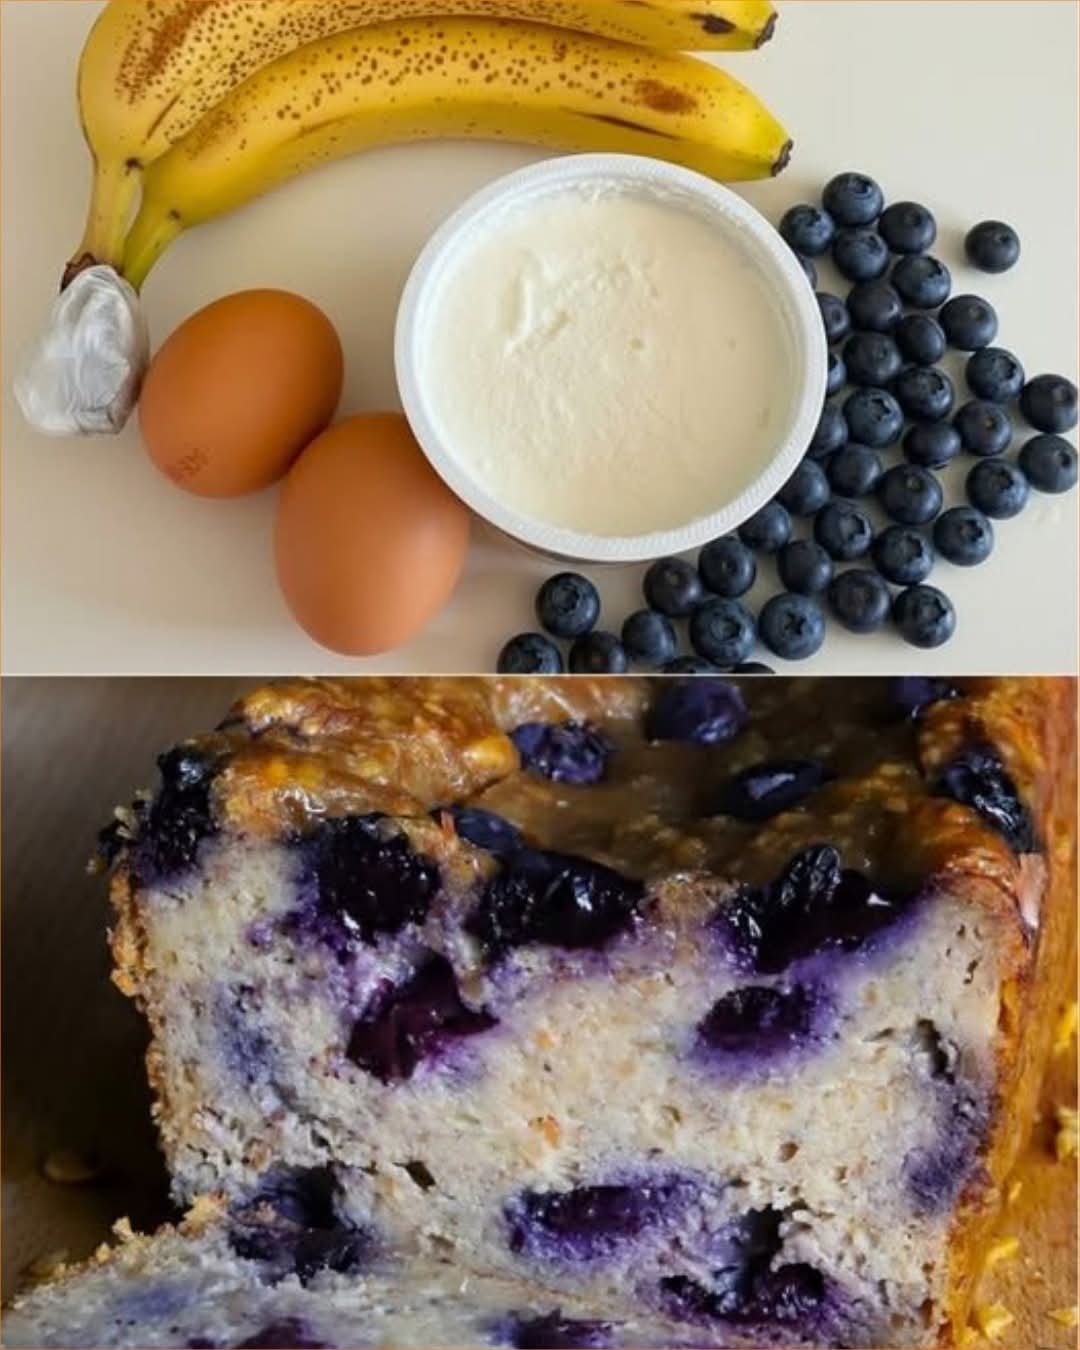
 Recipe: Blueberry Cream Cheese Loaf
 Pro-Tips & Notes
 Nutritional Info (Per Slice)
 Benefits of this Recipe
 Common Questions (Q&A)
 May help with:
 Will NOT: