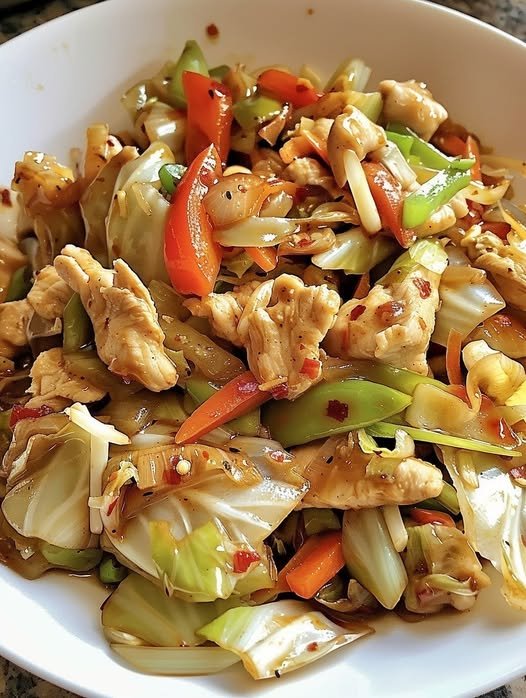
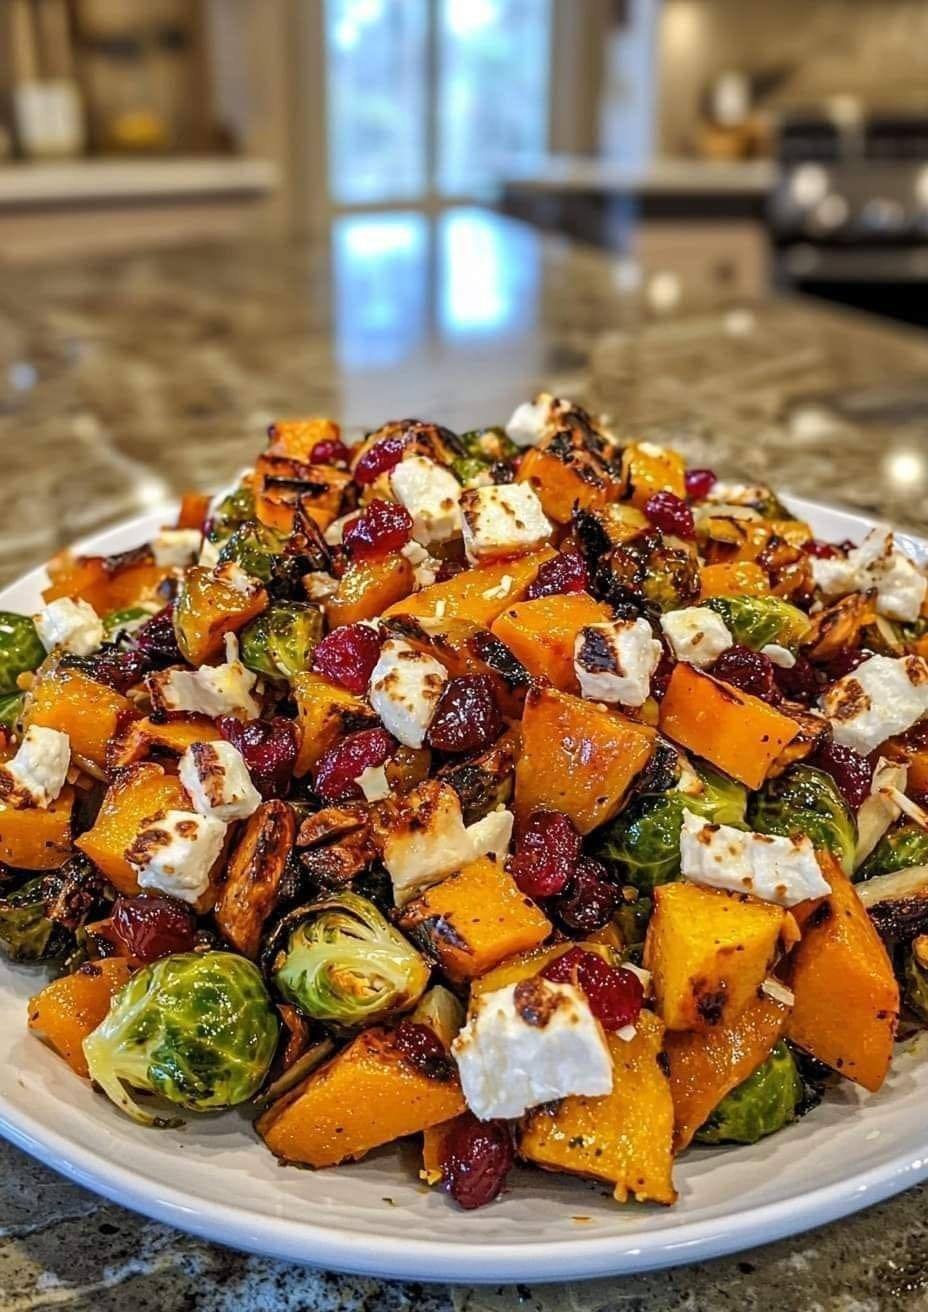
🥬 Weight Watchers-Friendly Chinese Chicken Cabbage Stir-Fry
This Chinese Chicken Cabbage Stir-Fry is a quick, flavorful, and healthy dish that fits perfectly into the Weight Watchers lifestyle. Packed with lean protein and fiber-rich vegetables, it’s a low-point meal that keeps you full and satisfied without sacrificing taste.
Stir-fry recipes are ideal for busy days because they cook fast and require minimal prep. This version combines tender chicken, crunchy cabbage, and bold Asian-inspired flavors into a simple one-pan meal you’ll want to make again and again.
🧮 Nutritional Information
Serving Size: 1 cup (about 200g)
-
Calories: 250
-
Protein: 30g
-
Fat: 10g
-
Carbohydrates: 15g
-
Fiber: 5 g
-
Net Carbs: 10g
-
Sugar: 3 g
-
WW SmartPoints: 5 points per serving
🛒 Ingredients
-
1 tbsp butter (or olive oil/butter substitute)
-
1 medium onion, thinly sliced
-
2 cloves garlic, minced
-
½ head green cabbage, shredded (about 4 cups)
-
2 chicken breasts, thinly sliced (about 1 lb)
-
½ jalapeño, finely diced (optional, to taste)
-
2 tbsp low-sodium soy sauce
-
1 tsp fresh ginger, grated or minced
-
Salt and black pepper, to taste
-
Chopped green onions (optional garnish)
👩🍳 Instructions
1️⃣ Prepare Ingredients
Slice chicken thinly. Shred cabbage, slice onion, mince garlic, and dice jalapeño.
2️⃣ Sauté Onion & Garlic
Heat butter in a large skillet or wok over medium-high heat.
Add onion and cook 2–3 minutes until translucent.
Add garlic and cook 1 minute until fragrant.
3️⃣ Cook Chicken
Add chicken to the skillet. Cook 5–7 minutes, stirring often, until fully cooked and lightly browned.
4️⃣ Add Cabbage & Jalapeño
Stir in cabbage and jalapeño. Cook 3–4 minutes until cabbage wilts but stays slightly crisp.
5️⃣ Add Sauce & Ginger
Pour in soy sauce and add ginger. Stir well to coat everything evenly.
6️⃣ Season & Finish
Taste and adjust seasoning with salt and pepper if needed.
Cook another 2–3 minutes until vegetables are tender-crisp.
7️⃣ Serve
Remove from heat and garnish with green onions if desired. Serve hot.
✅ Tips for Success
-
Meal prep friendly: Stores well in the fridge up to 4 days
-
Vegetable swaps: Bell peppers, broccoli, or carrots work well
-
Protein options: Try shrimp or tofu instead of chicken
-
Heat level: Adjust jalapeño or add chili flakes to taste
💪 Health Benefits
This dish is high in protein and fiber, helping you stay full longer. Cabbage provides vitamins C and K, while ginger supports digestion and adds anti-inflammatory benefits.
🍽 Best Times to Serve
-
Weeknight dinners
-
Healthy family meals
-
Work lunches
-
Meal prep plans
📝 Final Thoughts
Eating healthy doesn’t have to be boring or complicated. This Chinese Chicken Cabbage Stir-Fry proves you can enjoy bold flavors while staying within your Weight Watchers points. It’s fast, flexible, and satisfying—perfect for anyone trying to eat smarter without giving up comfort food.


 Tips:
Tips: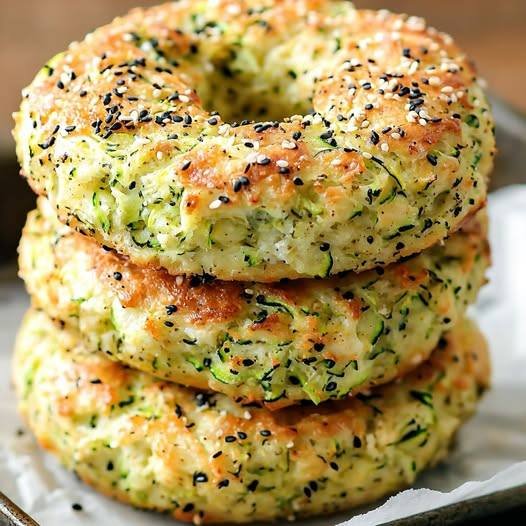
 Why they’re anti-inflammatory
 Ingredients (Makes 6 Bagels)
 Instructions
 Serving Ideas


 Note: “Zero carb” is a common phrase, but eggs and dairy contain trace carbs. This recipe is very low carb (≈1g net carb per serving), not absolute zero.
 Supports low-carb & keto diets