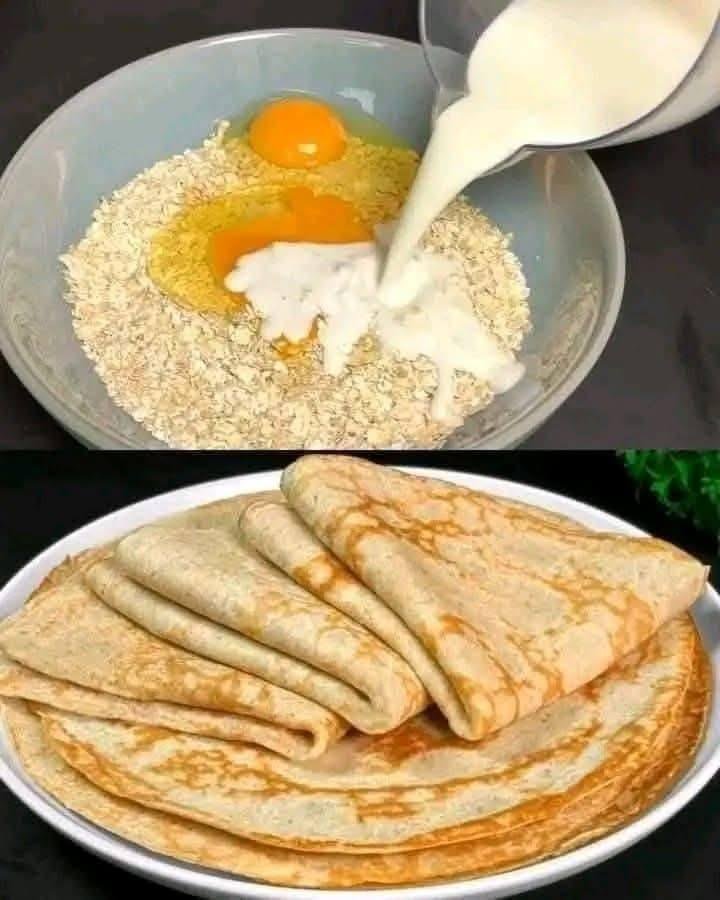
Healthy Oat Pancakes in 5 Minutes (No Sugar, No Flour)
Soft, naturally sweet, and packed with protein and fiber, these healthy oat pancakes come together in minutes using simple pantry ingredients. No refined sugar, no flour — just wholesome goodness that keeps you full and energized.
Description
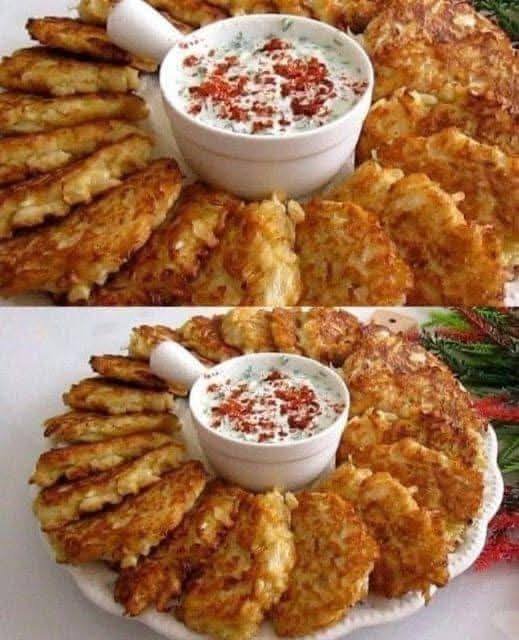
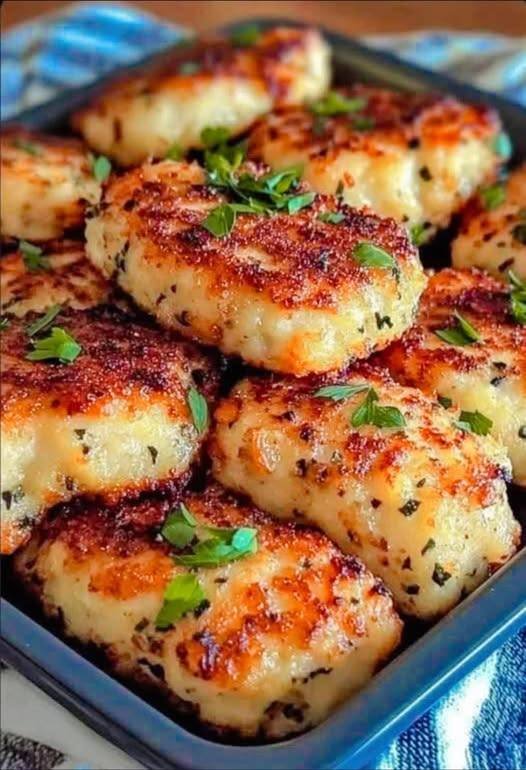
These oat pancakes are a nutritious alternative to traditional pancakes. Sweetened naturally with banana and made with oats instead of flour, they’re ideal for breakfast, post-workout meals, or a light dinner. The texture is tender and slightly nutty, similar to crepes or thin pancakes.
Ingredients
-
1 ripe banana
-
100 g Greek yogurt (plain, unsweetened)
-
2 large eggs
-
1 cup old-fashioned oats
-
A pinch of salt
Instructions
-
Blend Batter
Add banana, Greek yogurt, eggs, oats, and salt to a blender or food processor.
Blend until smooth. -
Heat Pan
Heat a non-stick pan over medium heat. Lightly grease if needed. -
Cook Pancakes
Pour small ladles of batter into the pan.
Cook 1–2 minutes per side until golden and set. -
Serve Warm
Stack and enjoy immediately.
Tips for Best Results
-
Use a very ripe banana for natural sweetness
-
Let batter rest 1–2 minutes if too thick
-
Cook on medium-low heat to avoid burning
-
Blend oats fully for smoother pancakes
-
Works well as thin pancakes or crepes
Servings
-
Makes: 6–8 small pancakes
-
Serves: 2
Nutritional Information (Approx. per serving)
-
Calories: 220
-
Protein: 14 g
-
Carbohydrates: 26 g
-
Fiber: 4 g
-
Fat: 7 g
-
Sugar: 6 g (from banana only)
(Values may vary depending on yogurt brand)
Health Benefits
-
 No refined sugar
 -
No white flour
-
High in protein & fiber
-
Supports digestion
-
Keeps you full longer
-
Kid-friendly & diabetic-friendly (in moderation)
Q & A
Q: Can I make these without a blender?
A: Yes—use oat flour and mash the banana very well.
Q: Can I make them dairy-free?
A: Replace Greek yogurt with coconut or almond yogurt.
Q: Are these gluten-free?
A: Yes, if you use certified gluten-free oats.
Q: Can I store leftovers?
A: Refrigerate up to 3 days or freeze up to 2 months.
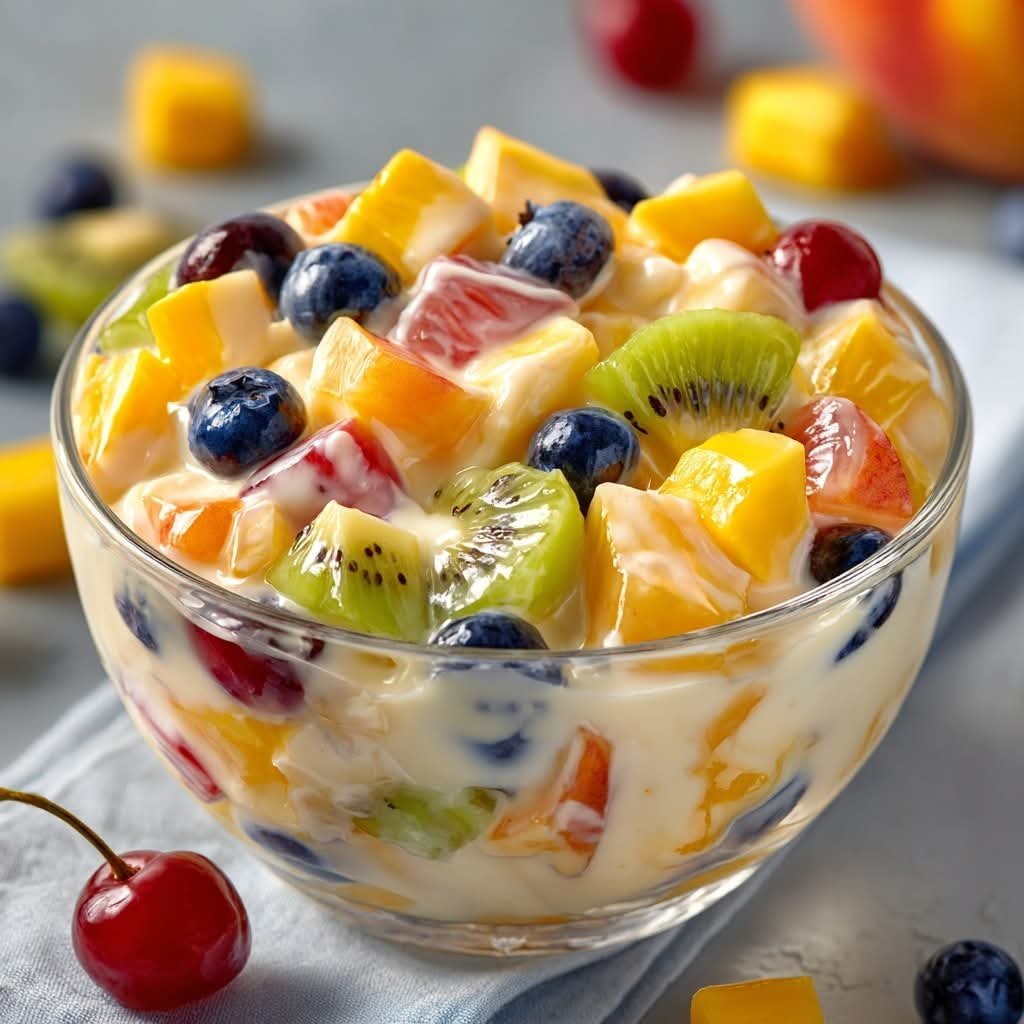
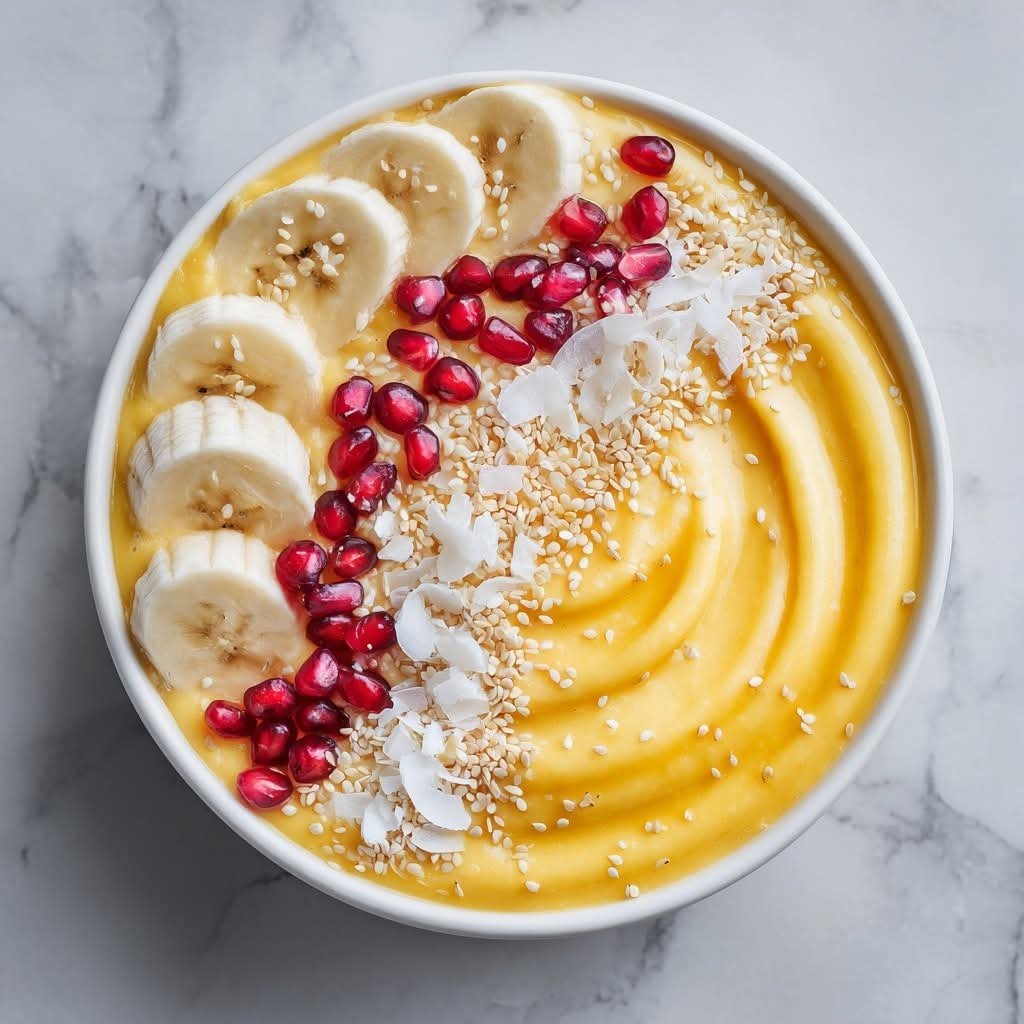
Q: What toppings go well with these?
A: Fresh berries, nut butter, honey, yogurt, or cinnamon.
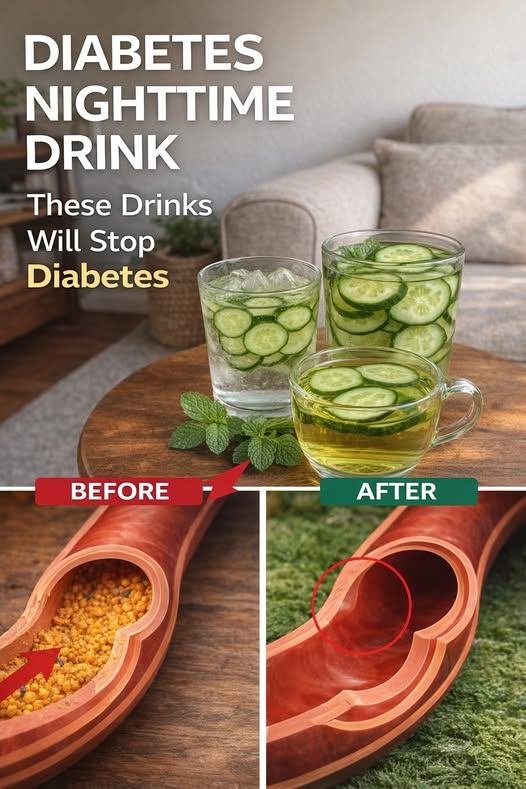
 Chamomile Tea
 Apple Cider Vinegar Drink
 Aloe Vera Water
 Cucumber Mint Infused Water
 Low-Carb Protein Bedtime Shake
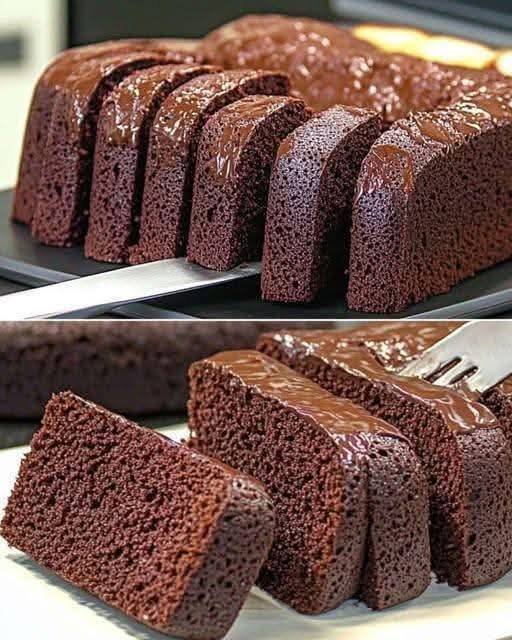


 Ingredients


 No. This tea is a supportive habit, not a treatment replacement.
 Preheat
 Slice the Bread
 Why Good for Diabetics
 Flavor Ideas
 Another 2-Ingredient Option
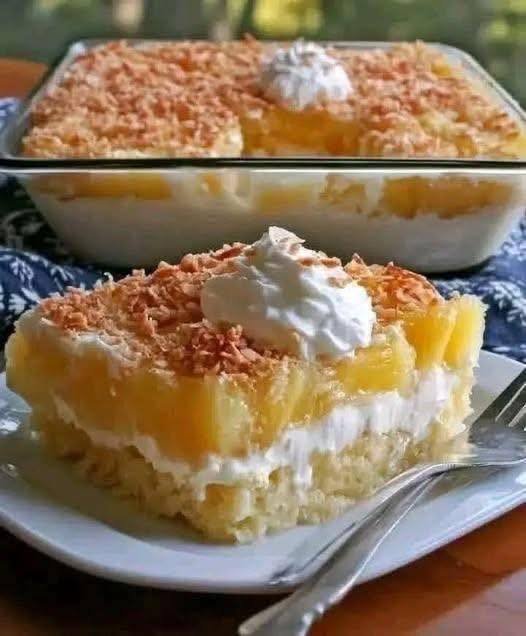
 Ingredients (Serves 4–5)
 Instructions
 Approx Nutrition (per serving)
 Time
Time frequently asked questions FAQ