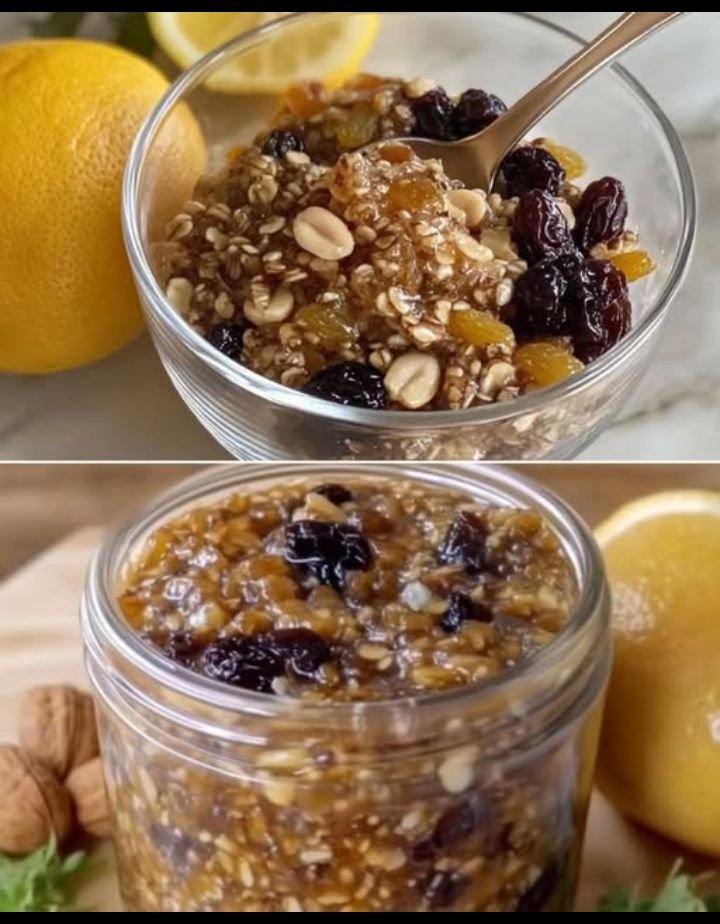
Homemade Natural Energy and Immunity Booster
Ingredients
- 50g (1.75 oz) walnuts
- 50g (1.75 oz) almonds
- 50g (1.75 oz) prunes
- 50g (1.75 oz) dried apricots
- 50g (1.75 oz) raisins
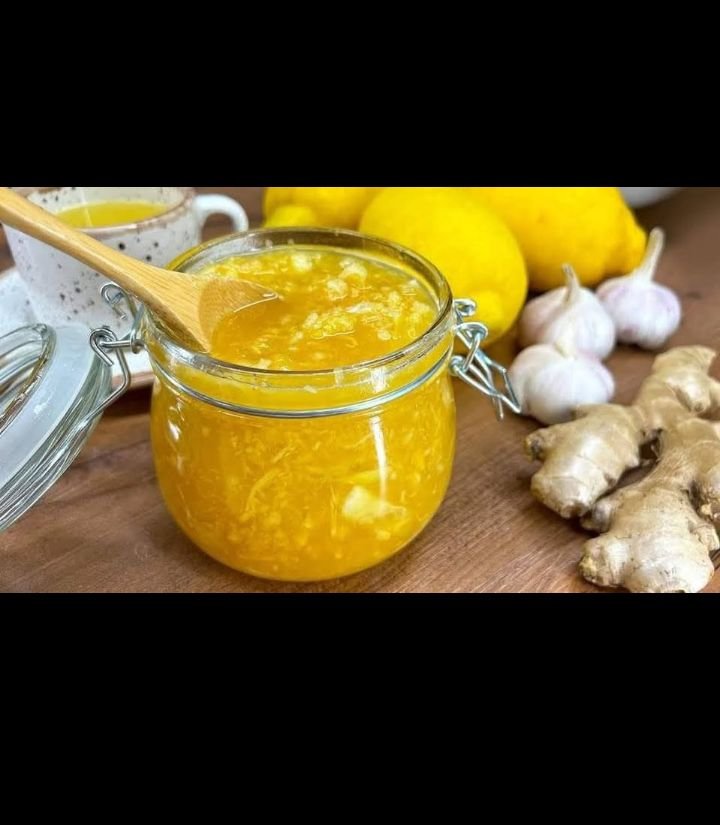
- 1 whole organic lemon
- 50-70ml (3-5 tablespoons) raw honey
- Baking soda (for cleaning lemon)
Instructions
Preparing the Nuts
- Soak walnuts and almonds in clean water for 4-6 hours
- Drain thoroughly and pat dry with paper towels
- This soaking process activates the nuts and makes them more digestible
Preparing the Dried Fruits
- Rinse prunes and dried apricots under running water
- Pat dry thoroughly with paper towels
- Rinse raisins and pat dry
Preparing the Lemon
- Clean the lemon by sprinkling with baking soda
- Scrub gently and rinse thoroughly
- Cut the whole lemon into pieces, including the peel
- Remove any visible seeds
Making the Mixture
- Place all dried fruits and nuts in a food processor or blender
- Add the cut lemon pieces
- Process until finely chopped and well combined
- Transfer to a clean bowl
- Stir in honey until thoroughly incorporated
- Store in an airtight glass jar in the refrigerator
Usage
- Take 1 teaspoon daily, preferably in the morning
- Can be consumed with a glass of water
- Best taken on an empty stomach
Storage
- Keep refrigerated in an airtight glass container
- Will last up to 3 months when properly stored
- Do not use metal containers for storage
Nutrition Information
Per teaspoon (approximately 5g):
- Calories: 20
- Protein: 0.5g
- Healthy Fats: 1g
- Carbohydrates: 2.5g
- Fiber: 0.5g
Health Benefits
This natural supplement is rich in:
- Vitamin C from fresh lemon
- Vitamin E and healthy fats from nuts
- Iron and fiber from dried fruits
- Antioxidants from all ingredients
- Natural enzymes and minerals
- Beneficial plant compounds
Important Notes
- Always use organic ingredients when possible
- Consult with healthcare provider before starting any new supplement
- Not recommended as a meal replacement
- Adjust honey amount based on personal preference
- Those with nut allergies should avoid this mixture
- Diabetics should consult their doctor due to natural sugar content
This time-tested remedy combines the nutritional benefits of nuts, dried fruits, and honey to create a natural energy booster that supports daily health and vitality when taken regularly as part of a balanced diet.


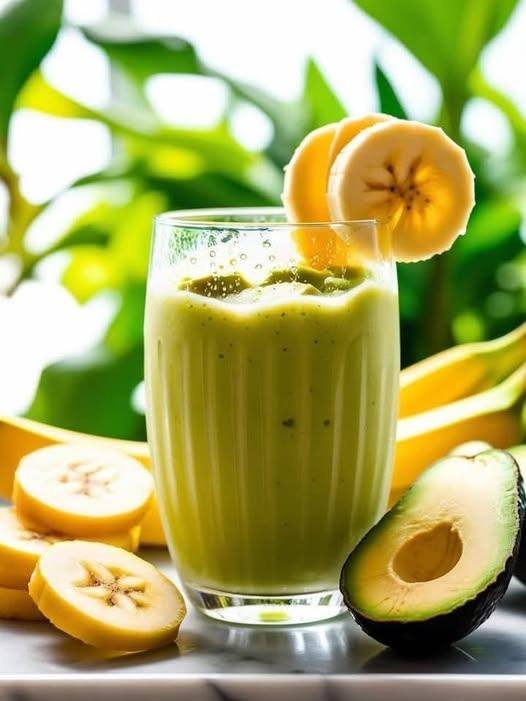
 Creamy Avocado Banana Smoothie
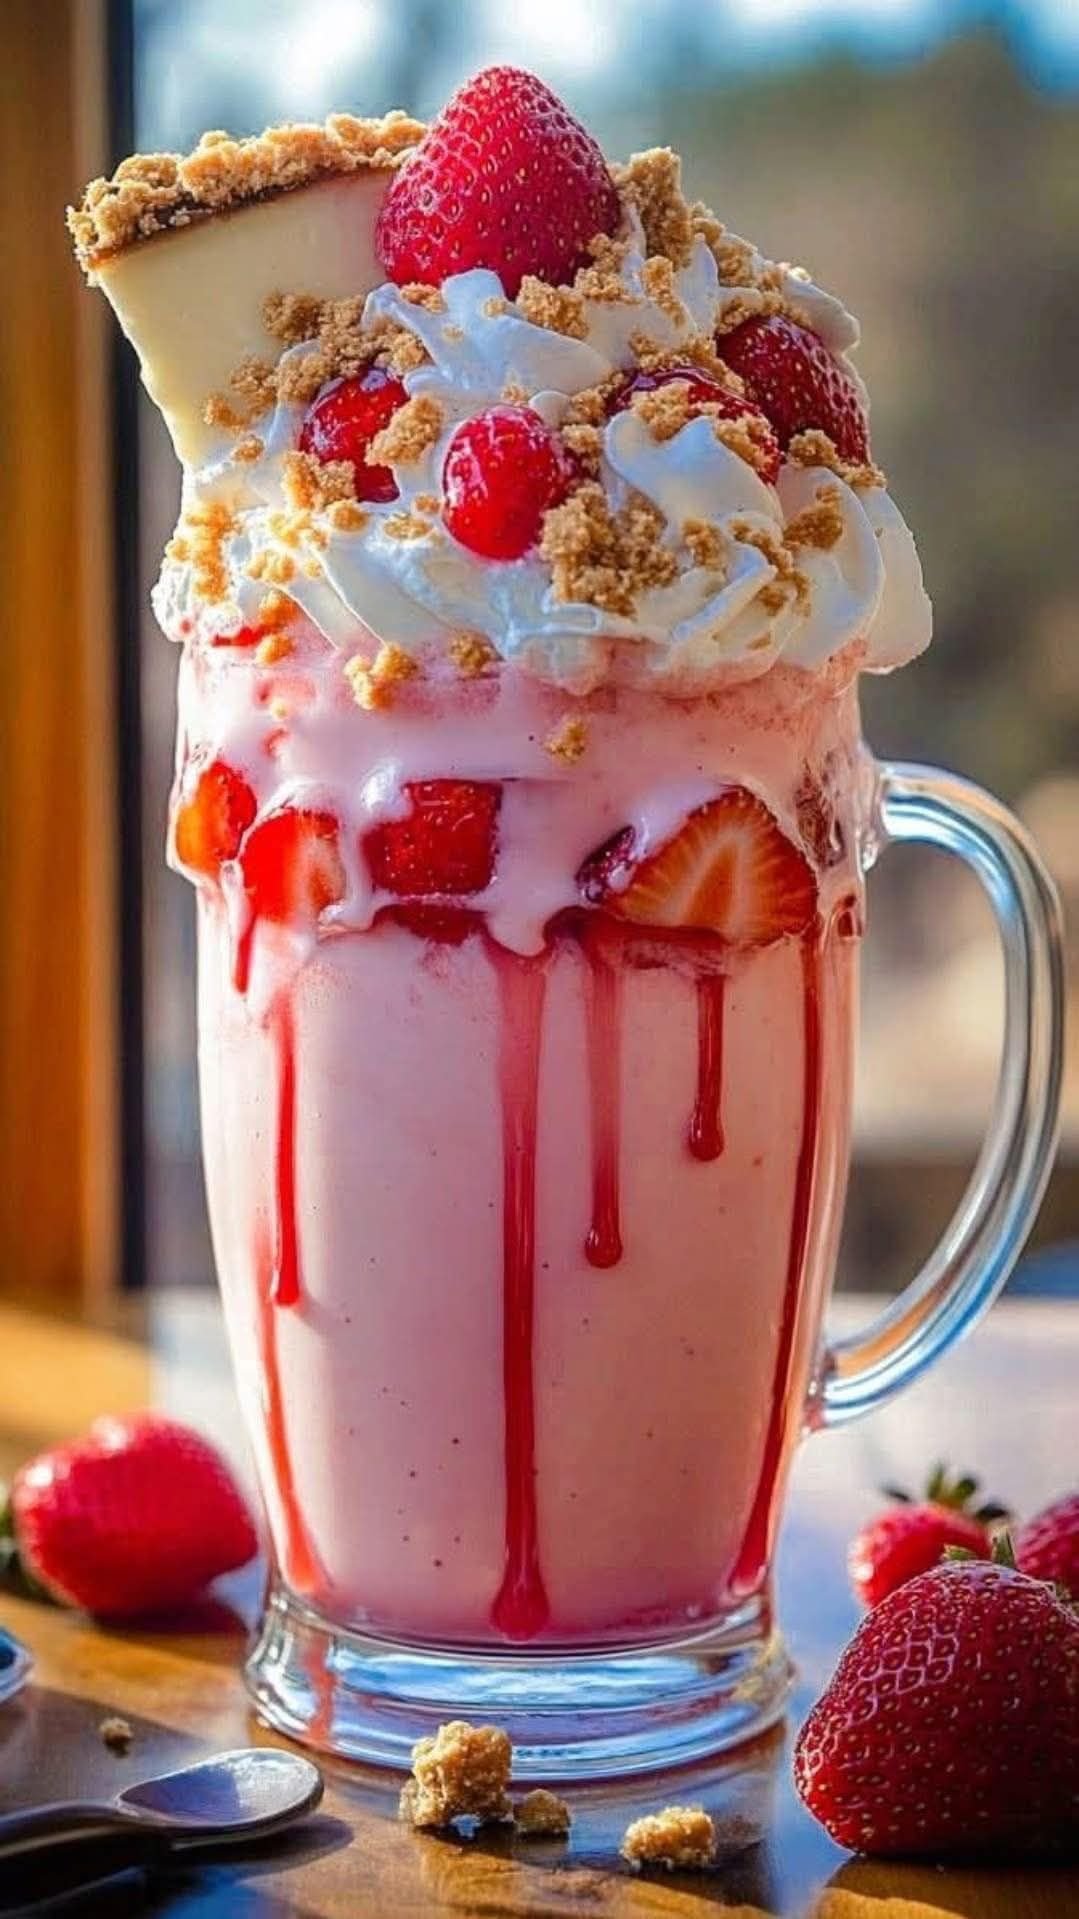
 The Ultimate Strawberry Cheesecake Freakshake
 Ingredients
 Preparation Steps
 Pro-Tips for Success
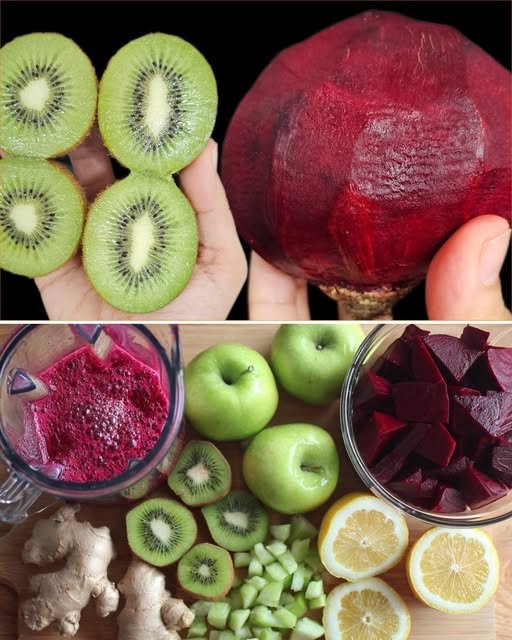
 Recipe Overview
 Instructions
 Nutritional Info (Per 2-tablespoon serving)
 Benefits of This Jam
 Q&A
Q&A


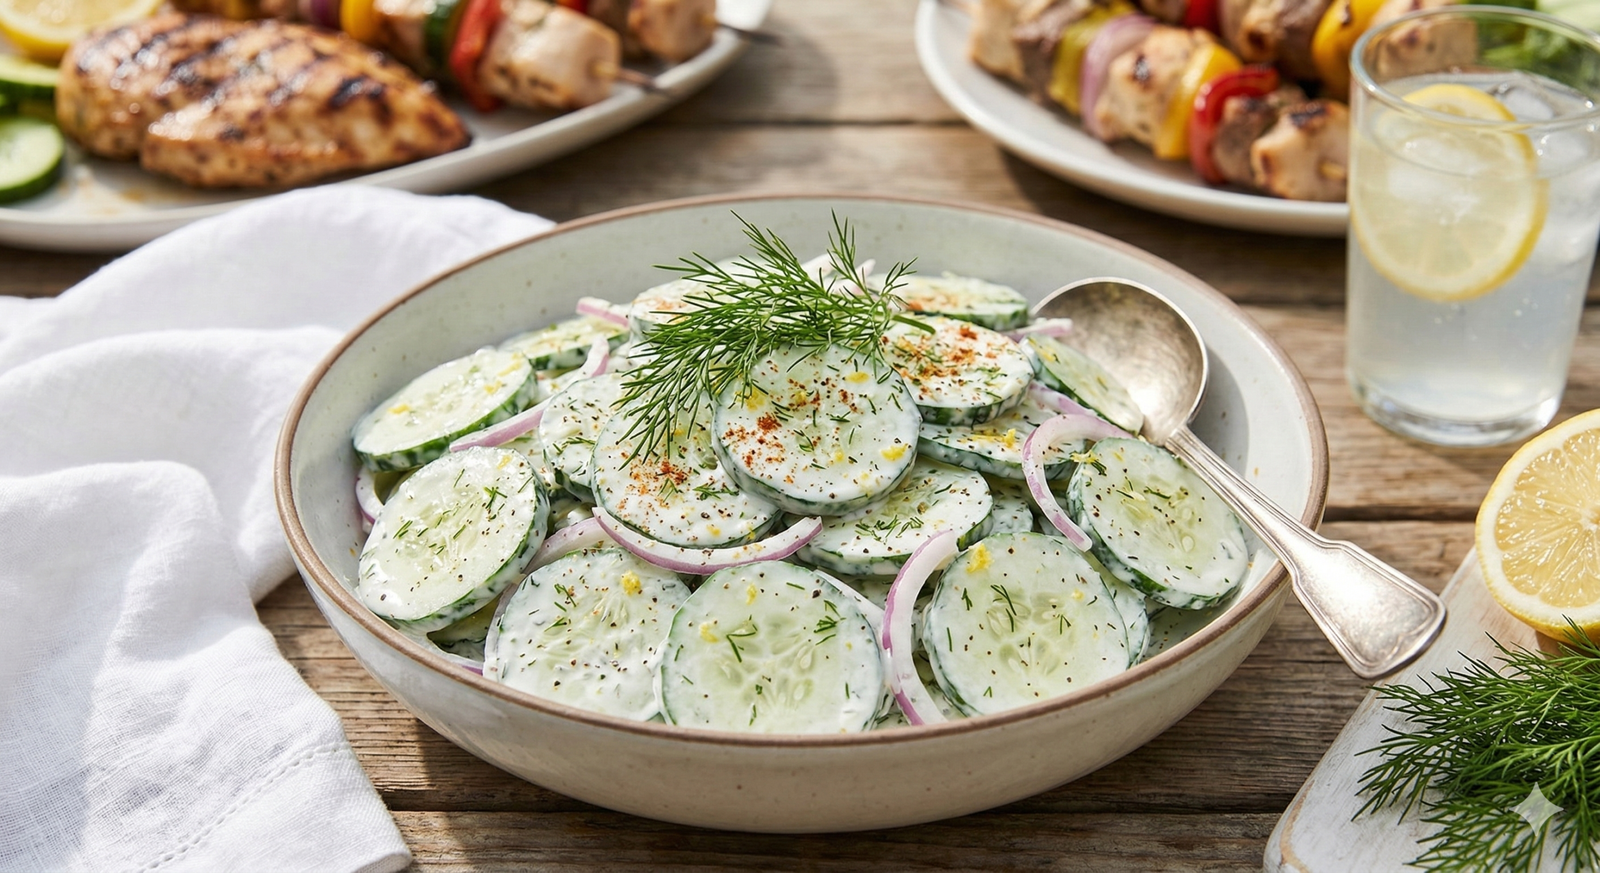
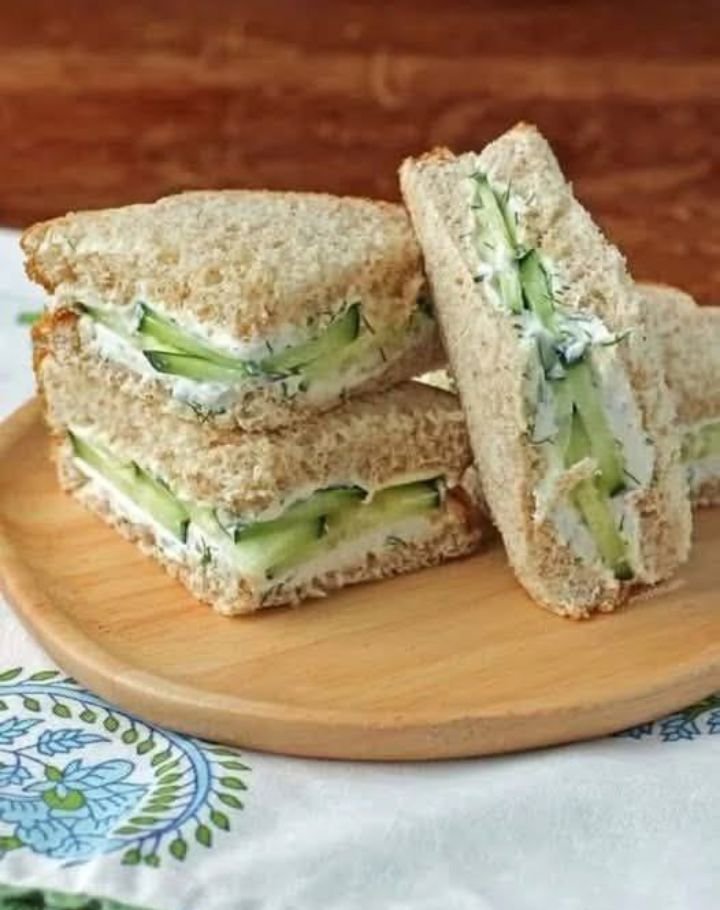
 Description
 Prepare the Cucumbers
 Make the Creamy Dressing
 Combine
 Chill
Chill Use English cucumbers for fewer seeds and less bitterness.
 Serving Suggestions
 Health Benefits
 Cucumbers are hydrating and low in calories
 Yogurt provides probiotics for gut health
 Light and heart-friendly when made with Greek yogurt