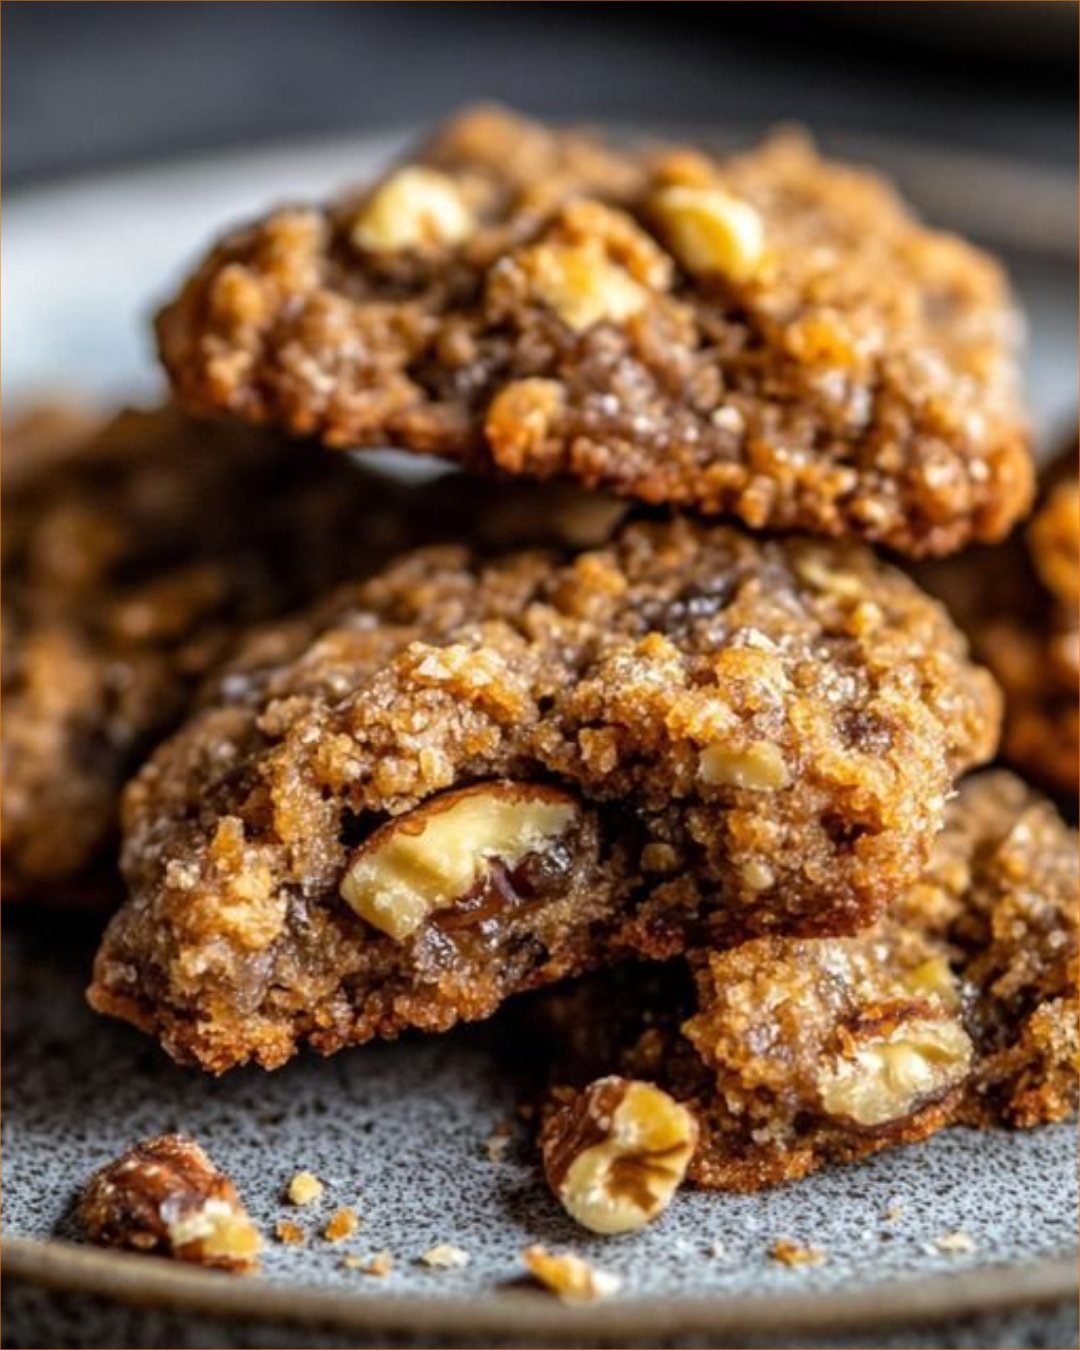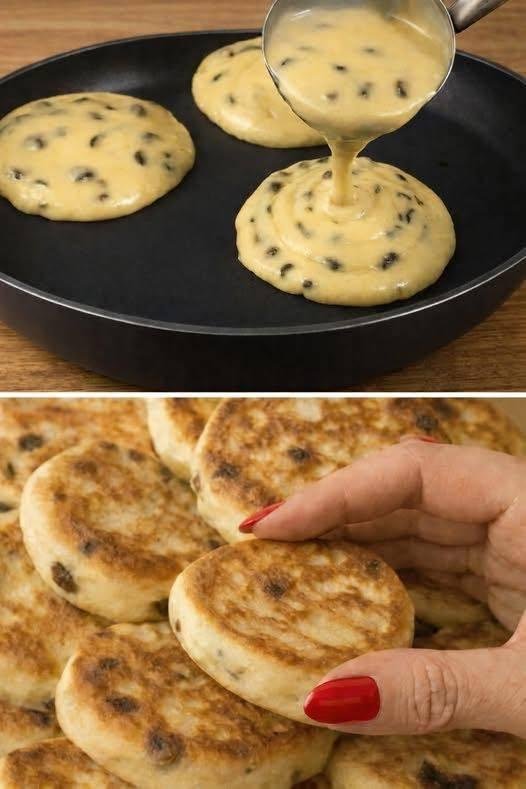
Healthy Chocolate Chip Pancakes
These pancakes are light, fluffy, and designed to be a satisfying treat while staying mindful of your goals. By using a few simple swaps, you can enjoy a classic breakfast that feels indulgent but fits perfectly into a balanced lifestyle.
Ingredients
-
1 cup All-purpose flour (or white whole wheat flour for extra fiber)
-
1 tbsp Granulated monk fruit or stevia (sugar substitute)
-
1 tsp Baking powder
-
½ tsp Baking soda
-
¼ tsp Salt
-
1 cup Unsweetened almond milk or skim milk
-
1 Large egg (or ¼ cup egg whites)
-
1 tsp Vanilla extract
-
2 tbsp Sugar-free mini chocolate chips
Step-by-Step Instructions
-
Whisk Dry Ingredients: In a medium mixing bowl, combine the flour, sugar substitute, baking powder, baking soda, and salt. Whisk gently to ensure there are no lumps and the leavening agents are evenly distributed.
-
Combine Wet Ingredients: In a separate small bowl, whisk together the milk, egg, and vanilla extract until well combined.
-
Mix the Batter: Pour the wet ingredients into the dry ingredients. Use a spatula to fold them together until just combined. Tip: Do not overmix; a few small lumps in the batter are perfectly fine and help keep the pancakes fluffy.
-
Add the Chips: Gently fold in the sugar-free mini chocolate chips.
-
Preheat the Pan: Heat a non-stick skillet or griddle over medium-low heat. Lightly coat with a small amount of cooking spray.
-
Cook: Scoop about 2 to 3 tablespoons of batter onto the skillet for each pancake. Cook for 2–3 minutes until bubbles begin to form on the surface and the edges look set.
-
Flip: Carefully flip the pancakes and cook for another 1–2 minutes on the other side until golden brown.
-
Serve: Enjoy these warm! They pair beautifully with a tablespoon of sugar-free syrup or a handful of fresh berries.
Alternative Flourless Variation
If you are looking for a version without flour, you can blend 1 cup of rolled oats into a fine powder and use it as a direct replacement for the all-purpose flour. This adds a nutty flavor and more staying power to your breakfast!
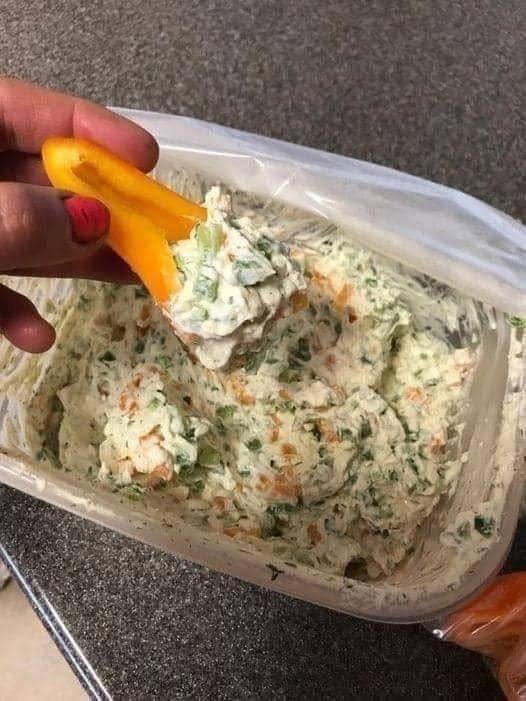
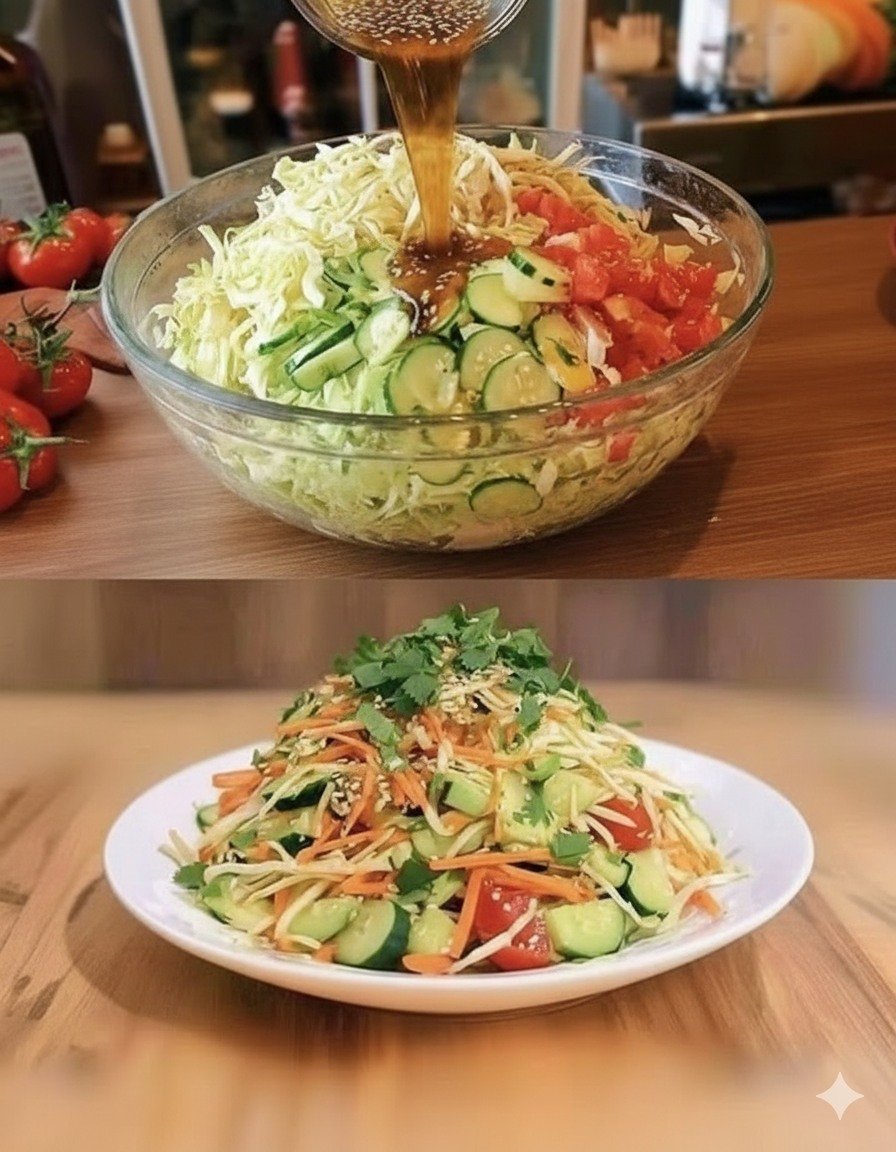
 Creamy Chopped Salad Dip


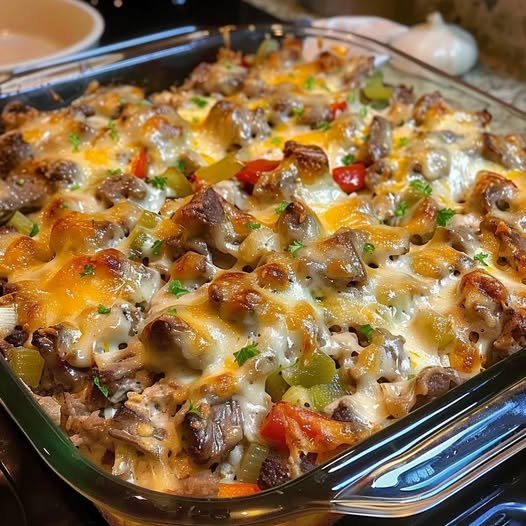
 Boat Dip (Rotel Ranch Dip)
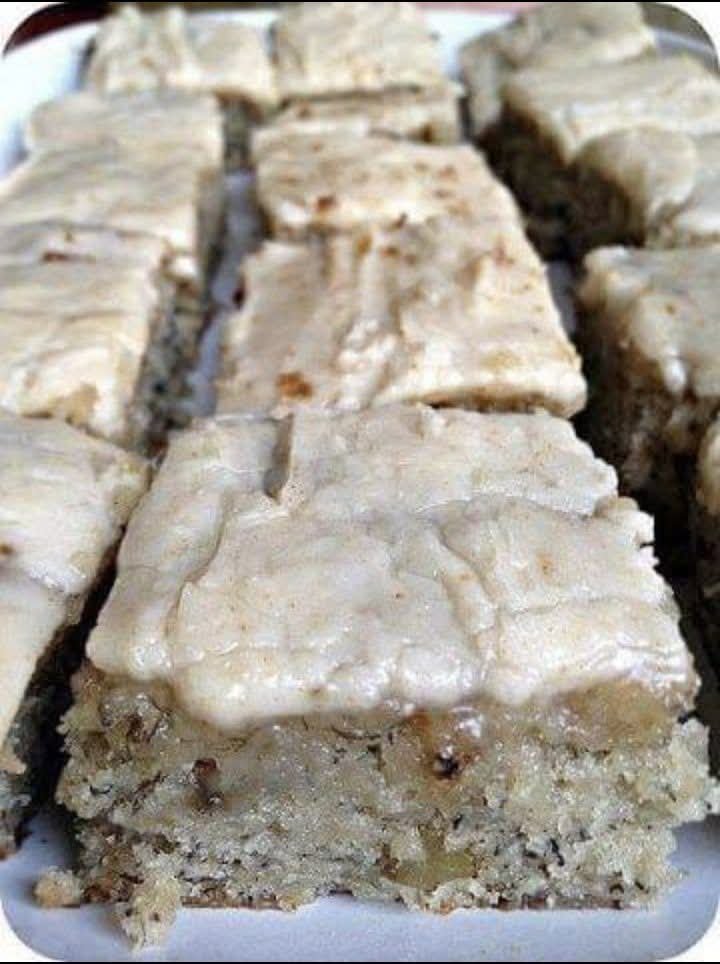
 Bread Pudding with Vanilla Sauce
 Blueberry Pie Bombs