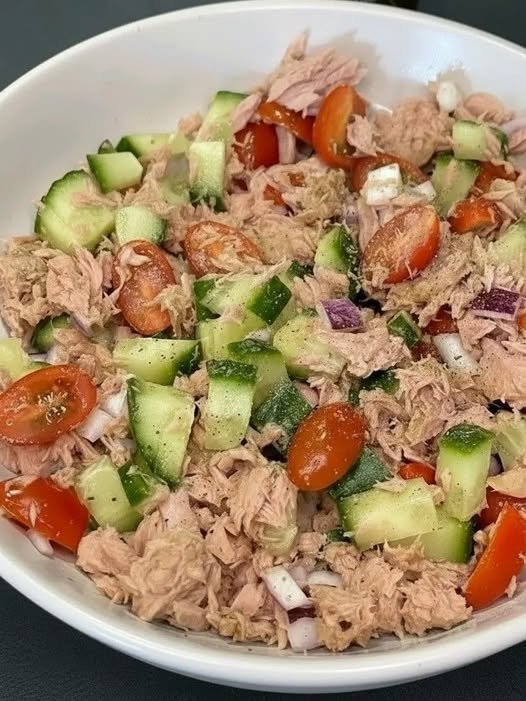
🥗 The “No-Mayo” Fresh Tuna Salad
Light, crunchy, and zesty.
The Lineup
-
Protein: 1 can tuna in water (drained)
-
Crunch: $1/2$ cucumber (diced)
-
Sweetness: $1/2$ cup cherry tomatoes (halved)
-
Zing: $1/4$ red onion (finely diced)
-
The Glue: 1 tbsp Balsamic dressing (or olive oil + lemon juice)
-
Seasoning: Salt and black pepper to taste
Quick Prep (5 Minutes)
-
Prep the Veg: Chop your cucumber, tomatoes, and onion.
-
Chef’s Tip: If you hate the “bite” of raw onion, soak the diced pieces in cold water for 5 minutes first—it mellows them out perfectly.
-
-
Combine: Toss the drained tuna and veggies into a medium bowl. Flake the tuna with a fork as you mix so you get a bit of protein in every bite.
-
Dress it Up: Drizzle with the balsamic dressing. Season generously with salt and pepper.
-
Chill or Serve: You can eat this immediately, but letting it sit in the fridge for 15 minutes allows the onion and balsamic to “pickle” the cucumbers slightly for better flavor.
3 Ways to Level This Up
-
The Creamy Add: Toss in $1/2$ a diced avocado. It adds a buttery texture that replaces the need for mayo.
-
The Herb Kick: Add a handful of fresh flat-leaf parsley or dill. It makes the salad taste “expensive.”
-
The Brine Factor: Add a teaspoon of capers or chopped kalamata olives for a salty, Mediterranean punch.
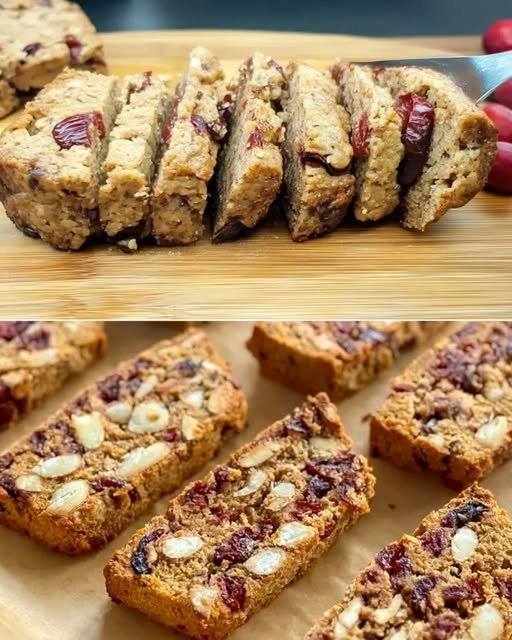
The Perfect Pairing
Take one of your Skillet Breads from the previous recipe, slice it open while it’s still warm, and stuff it with this salad. The contrast between the warm, crusty bread and the cold, crisp tuna is incredible.


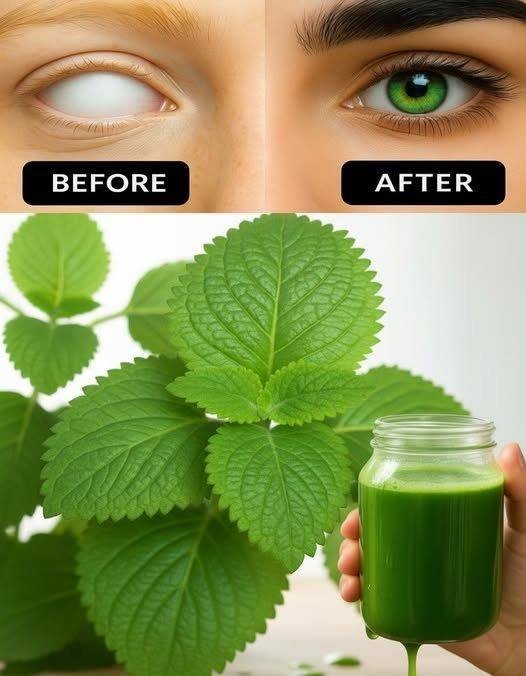
 Wash the herbs
 Prepare ingredients
 Blend
Blend Strain (optional)
 Serve
Serve Eye health support
 Immune support
 Anti-inflammatory properties
 Heart health
 Digestive support
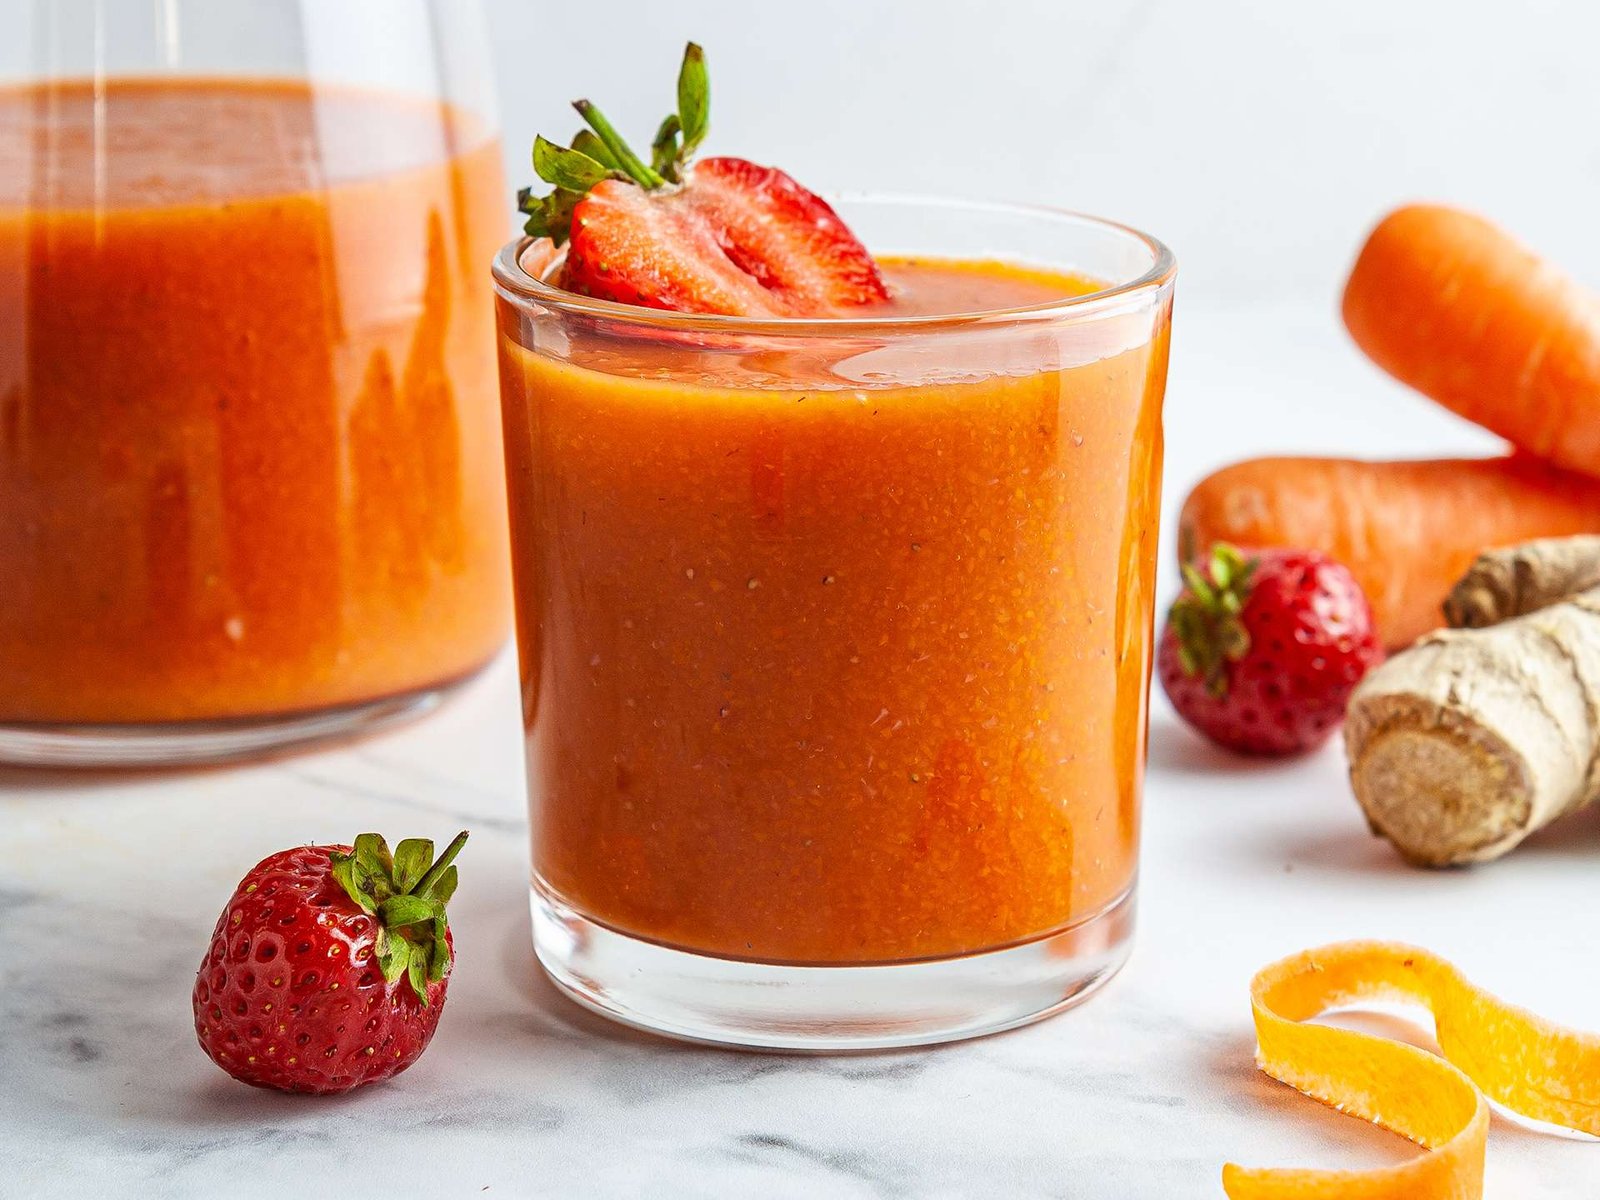
 Add ginger for extra digestive benefits.

