- Servings: 16 candies
- Total Time: 30 minutes (plus cooling)
- Difficulty: Easy
- Calories per Candy: ~95 kcal
- Macros (Per Piece): 2g Protein / 3g Net Carbs / 8g Fat / 1g Fiber
Introduction
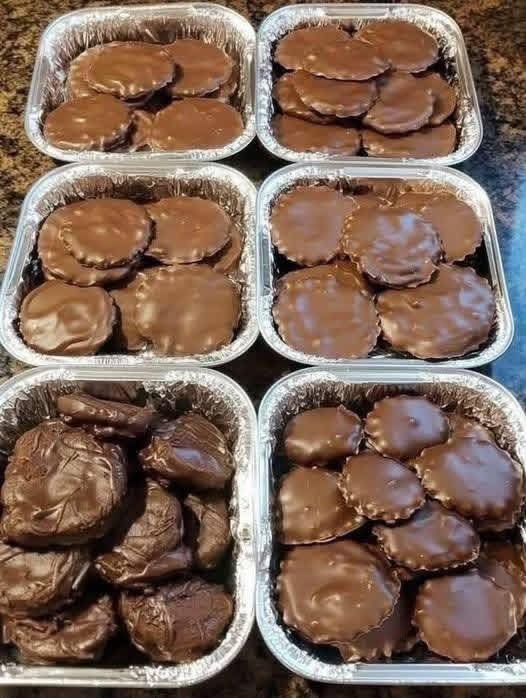
Nothing says comfort like the sweet crunch of Homemade Turtle Candy — those irresistible bites of buttery caramel, toasted pecans, and rich chocolate. This version keeps all the decadence of the original but trims out the sugar and heaviness, making it guilt-free yet completely satisfying.
Our healthier Turtle Candy recipe uses sugar-free chocolate, creamy low-carb caramel, and heart-healthy pecans for a treat that fits into Keto, Slimming , Weight Watchers, High-Protein, and Mediterranean lifestyles. It’s a perfect balance of sweetness, crunch, and smooth chocolate indulgence — and best of all, it’s quick, easy, and requires no special equipment.
Keep a batch in the fridge for when you need a little something sweet — because healthy living should still taste like joy.
Look at the Recipe
- Texture & Visual: Gooey caramel center with crisp pecans and glossy chocolate on top.
- Flavor Highlight: Buttery caramel sweetness and roasted nut depth with rich dark chocolate.
- Diet Benefit: Low in carbs, free of refined sugar, and made with healthy fats and natural ingredients.
Ingredients Needed
For the Base
- 1 cup whole pecan halves (toasted lightly for best flavor)
For the Low-Carb Caramel
- ¼ cup unsalted butter
- ¼ cup heavy cream (or coconut cream for dairy-free Mediterranean style)
- ¼ cup allulose or monk fruit sweetener
- ½ tsp vanilla extract
- Pinch of sea salt
For the Chocolate Topping
- ½ cup sugar-free dark chocolate chips (or 85% dark chocolate)
- 1 tsp coconut oil or olive oil (for smooth melting)
How to Make Our Homemade Turtle Candy with Pecans and Caramel
- Toast the pecans: Preheat your oven to 350°F (175°C). Arrange pecans on a baking sheet and toast for 5–6 minutes until fragrant. Let cool.
- Make the caramel: In a small saucepan over medium heat, melt butter and sweetener. Stir constantly until golden and bubbly (about 4–5 minutes). Slowly add cream, whisking until smooth. Add vanilla and salt. Remove from heat and let cool slightly.
- Assemble the turtles: On a parchment-lined tray, arrange 3–4 pecans in small clusters (like turtle “legs”). Spoon a small dollop of caramel over each cluster.
- Melt the chocolate: Combine chocolate and coconut oil in a bowl. Microwave or melt gently over a double boiler until smooth.
- Top and set: Spoon melted chocolate over each caramel-pecan cluster, covering the caramel completely.
- Chill: Place the tray in the fridge for 20–30 minutes to firm up. Once set, peel off and store in an airtight container.
Storage & Serving Suggestions
- Store: Keep refrigerated for up to 2 weeks or freeze up to 2 months.
- Serve: Enjoy straight from the fridge for a firm snap or let them rest at room temperature for 5 minutes for a softer bite.
- Gift Idea: Wrap a few turtles in parchment and tie with twine — perfect for healthy homemade holiday treats.
Tips & FAQs
1. Can I make this Slimming -friendly?
Yes! Use light butter and count the nuts and cream according to your syn values — usually 2–3 syns per turtle.
2. How many Weight Watchers points are these?
Each piece is around 2–3 WW points, depending on your chocolate and butter choices.
3. Can I make dairy-free or vegan turtles?
Absolutely — substitute coconut cream for heavy cream and use vegan butter or coconut oil.
4. How can I make them Mediterranean-style?
Use dark chocolate (85%+ cocoa), olive oil instead of butter, and a sprinkle of sea salt flakes on top.
5. Can I use store-bought sugar-free caramel?
Yes, but homemade gives better flavor control and avoids unnecessary additives.
 Dough Ingredients:
 Filling:
 Cream Cheese Frosting:
 Instructions
 Activate the Yeast
 Make the Dough
 Prepare the Filling
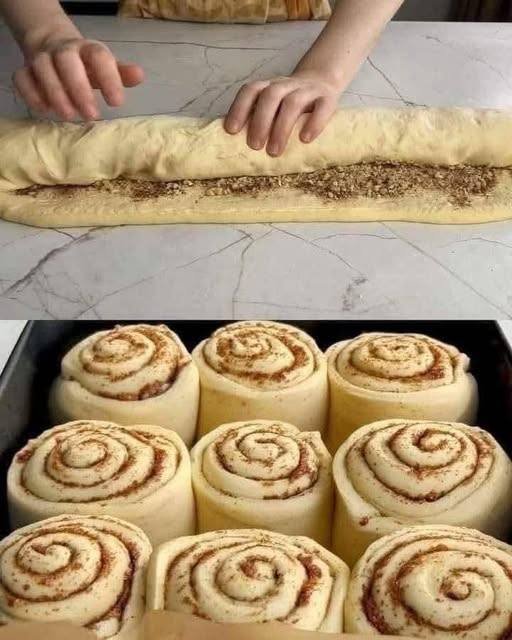
 Roll & Slice
 Bake
Bake Make Frosting
 Tip: For extra soft rolls, pour 2–3 tablespoons warm cream over the rolls right before baking.
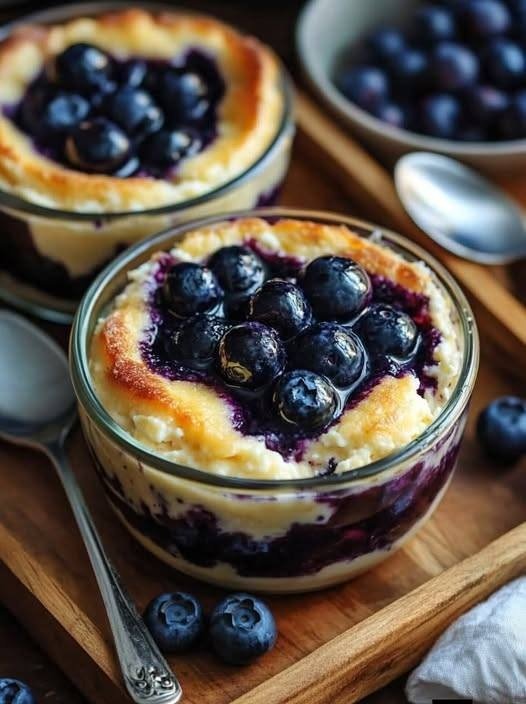


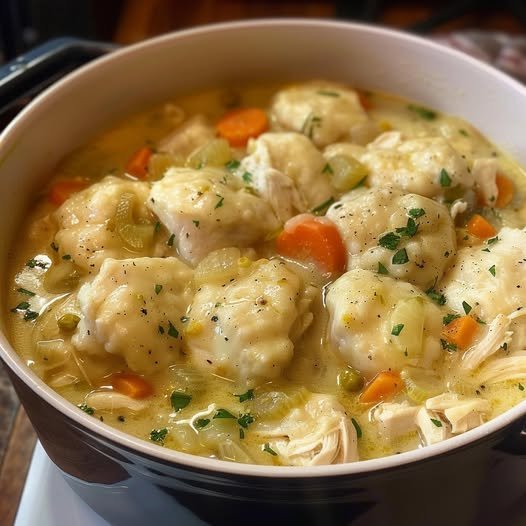
 Crock Pot Chicken and Dumplings (Easy & Creamy)
 Prep Time: 5 minutes
 Cook Time: 4–5 hours
 Servings: 4
 Optional Add-Ins
 Tips for Best Results
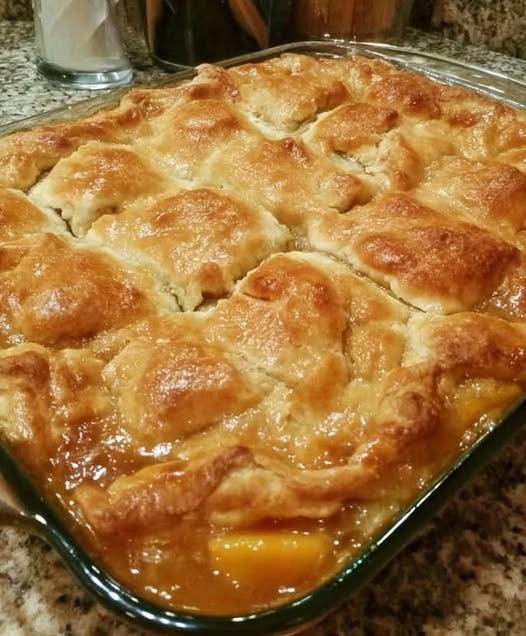

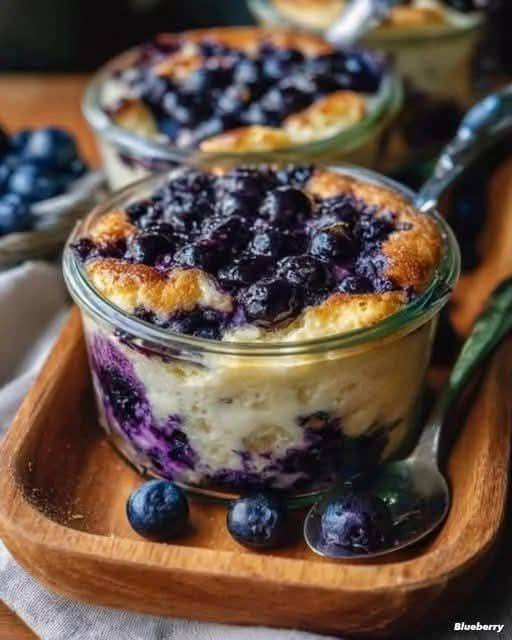
 Perfect simple dessert with basic ingredients!
 Step 1: Prepare the Mixture
 Tip: Strain the mixture for extra smooth texture.
 Use room temperature eggs
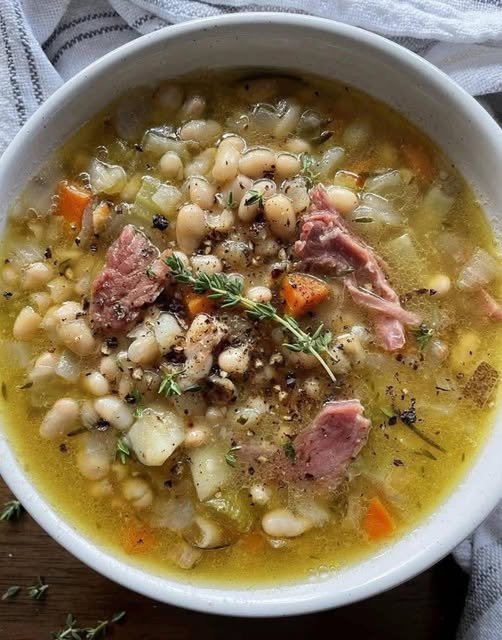
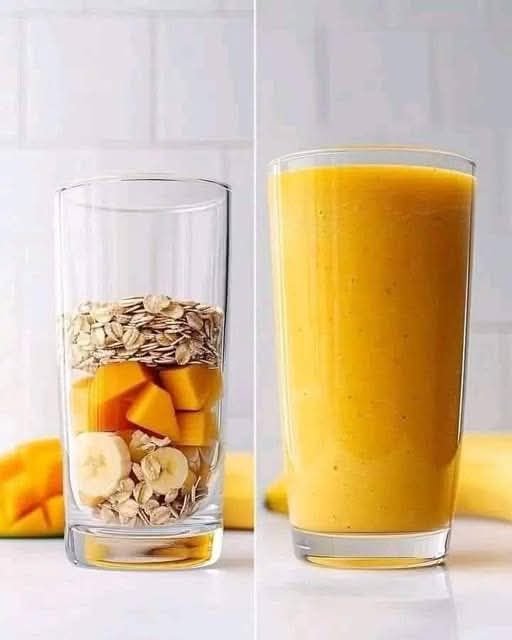
 Mango Banana Oat Breakfast Smoothie
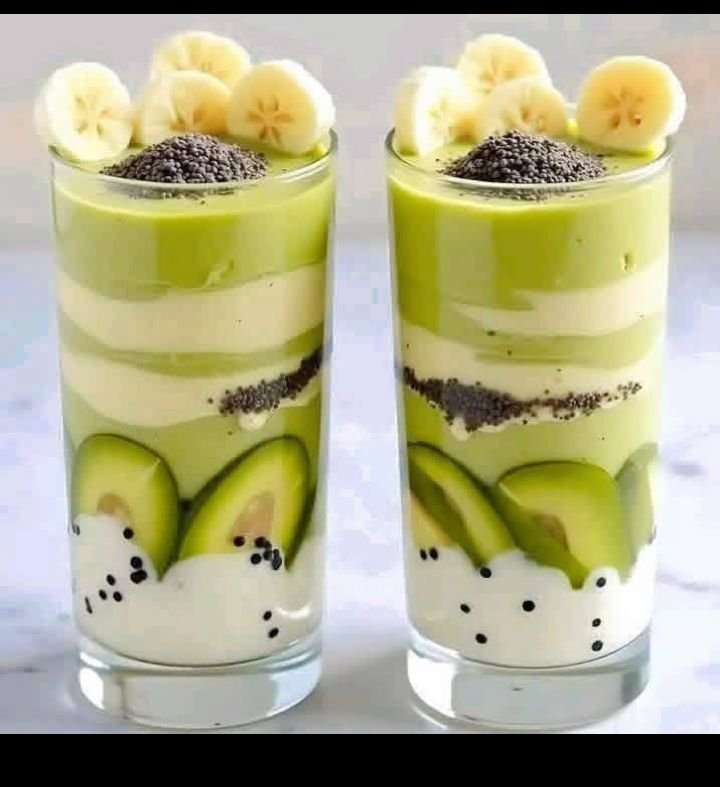
 Ingredients
 Step-by-Step Instructions
 Q&A Section