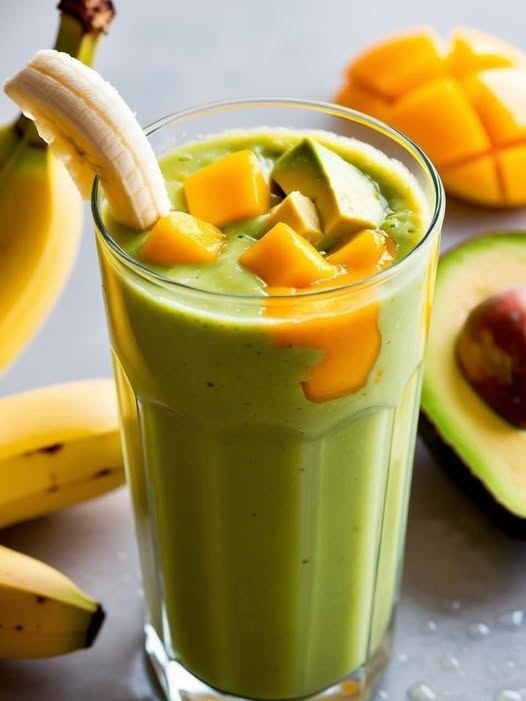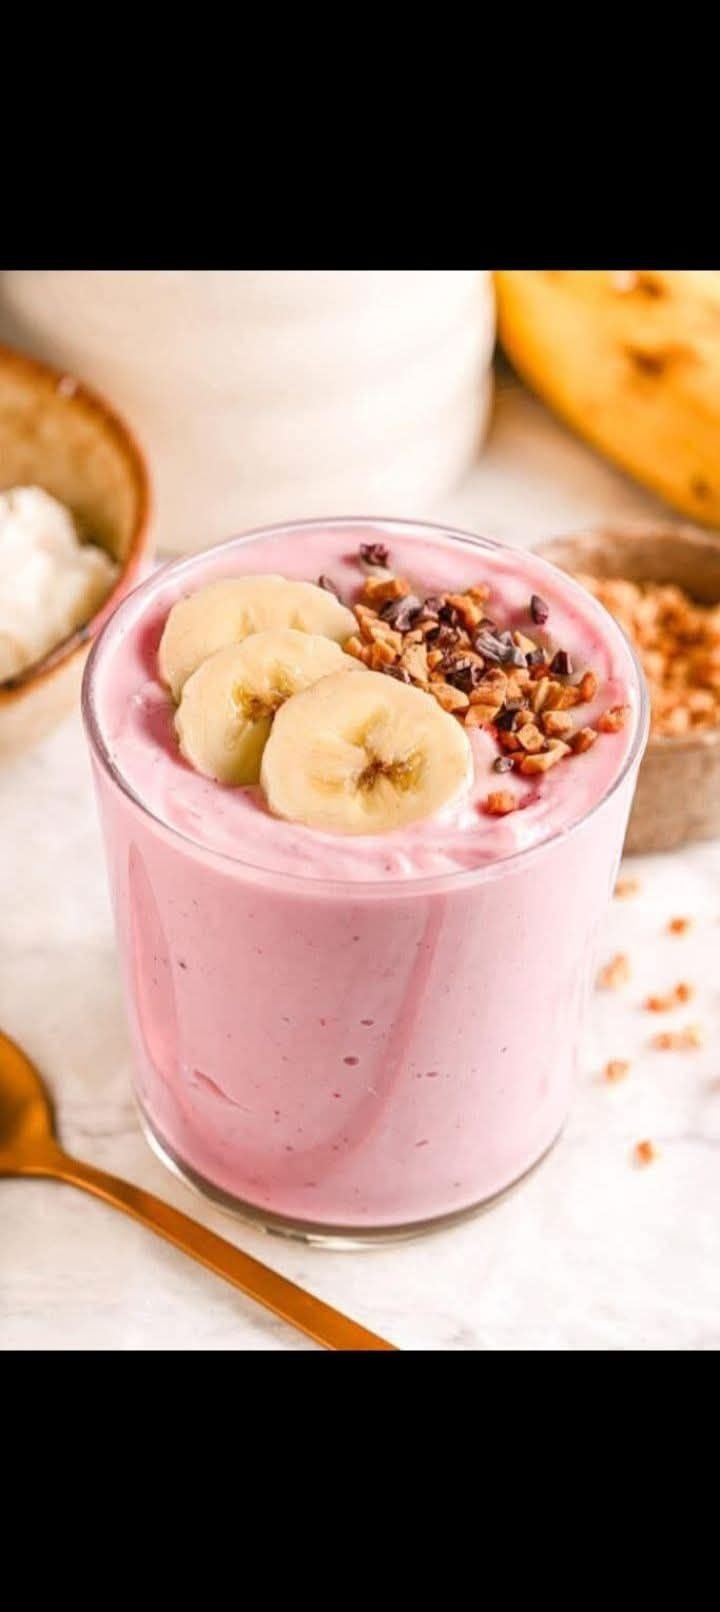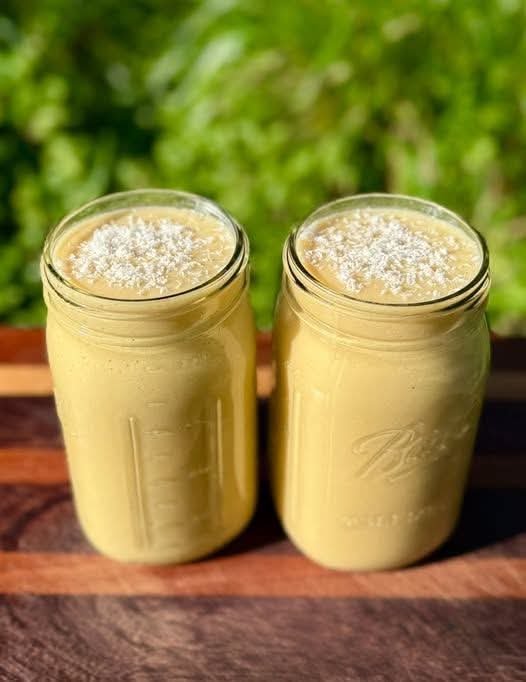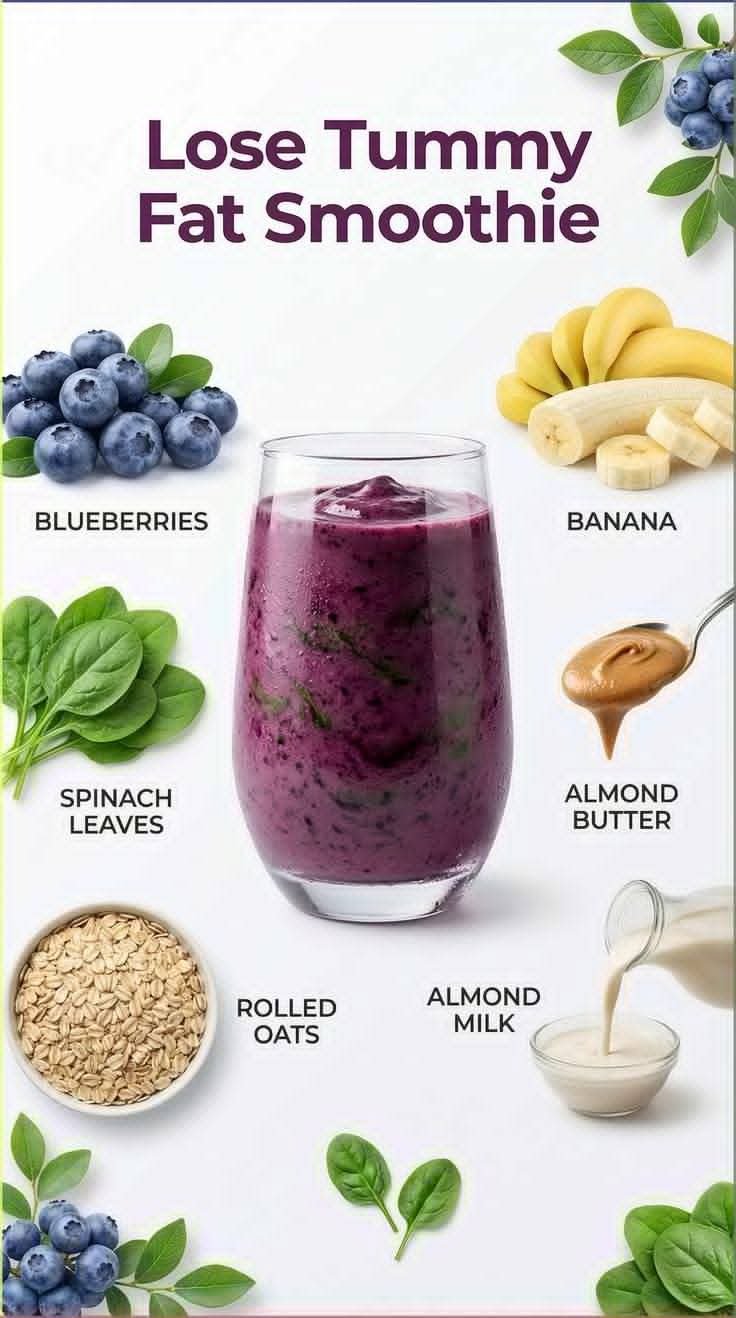
Banana Chia Seed Smoothie
This smoothie is a delicious and nutritious way to start your day or enjoy a healthy snack. Chia seeds are packed with fiber and omega-3s, while bananas provide potassium and natural sweetness.
Yields: 1 serving Prep time: 5 minutes (plus optional chilling time for chia seeds)
Ingredients:
- 1 large ripe banana, preferably frozen (this makes the smoothie thicker and colder)
- 1 cup (240ml) milk of your choice (dairy milk, almond milk, soy milk, oat milk, etc.)
- 2 tablespoons chia seeds
- 1/2 teaspoon vanilla extract (optional, but enhances flavor)
- Sweetener to taste (optional): 1-2 teaspoons honey, maple syrup, agave nectar, or a few drops of stevia
- A pinch of cinnamon or nutmeg (optional)
- Ice cubes (optional, if not using frozen banana)
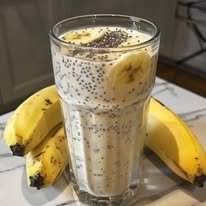
For Garnish (as seen in the picture):
- Sliced banana
- A sprinkle of chia seeds
Instructions:
Option 1: Quick Blend (if you prefer a less “pudding-like” texture)
- Combine Ingredients: In a blender, combine the frozen banana (if using), milk, chia seeds, vanilla extract (if using), and any optional sweetener or spices.
- Blend: Blend on high speed until smooth and creamy. Make sure the chia seeds are well distributed.
- Serve Immediately: Pour into a glass. Garnish with banana slices and a sprinkle of chia seeds if desired. The chia seeds will start to absorb liquid and thicken the smoothie as it sits.
Option 2: For a Thicker, More Pudding-Like Texture (recommended for best chia seed absorption)
- Prepare Chia Seed Base (Optional, but recommended): In a glass or jar, combine the milk and chia seeds. Stir well to prevent clumping. Let this mixture sit for at least 15-20 minutes, or even better, refrigerate overnight. The chia seeds will absorb the liquid and form a gel. This step creates a thicker base and ensures the chia seeds are fully hydrated.
- Combine with Banana: Once your chia seed base is ready (or if you’re skipping step 1 and just using milk), combine the frozen banana, vanilla extract (if using), and any optional sweetener or spices with the chia seed mixture (or milk and chia seeds directly) in a blender.
- Blend: Blend on high speed until smooth and creamy.
- Serve: Pour into a glass. Garnish with banana slices and a sprinkle of chia seeds if desired.
Tips for Success:
- Frozen Banana is Key: Using a frozen banana makes the smoothie cold and thick without needing too much ice, which can dilute the flavor. If your banana isn’t frozen, you can add a few ice cubes when blending.
- Adjust Consistency: If the smoothie is too thick, add a little more milk until it reaches your desired consistency. If it’s too thin, add a few more chia seeds and let it sit for 5-10 minutes, or add more frozen banana.
- Sweetness: Ripe bananas are naturally sweet, so you might not need to add any additional sweetener. Taste before adding.
- Experiment with Add-ins:
- Protein Boost: Add a scoop of your favorite protein powder.
- Nut Butter: A tablespoon of peanut butter or almond butter for extra flavor and healthy fats.
- Spinach/Greens: A handful of spinach blends in seamlessly and adds extra nutrients without affecting the taste much.
- Oats: A quarter cup of rolled oats for extra fiber and thickness.
- Spices: A dash of cardamom, nutmeg, or even a tiny bit of ginger can add complexity.
- Storage: This smoothie is best enjoyed immediately. If you have leftovers, store them in an airtight container in the refrigerator for up to 24 hours. It will continue to thicken over time.
Enjoy your nutritious and delicious Banana Chia Seed Smoothie!