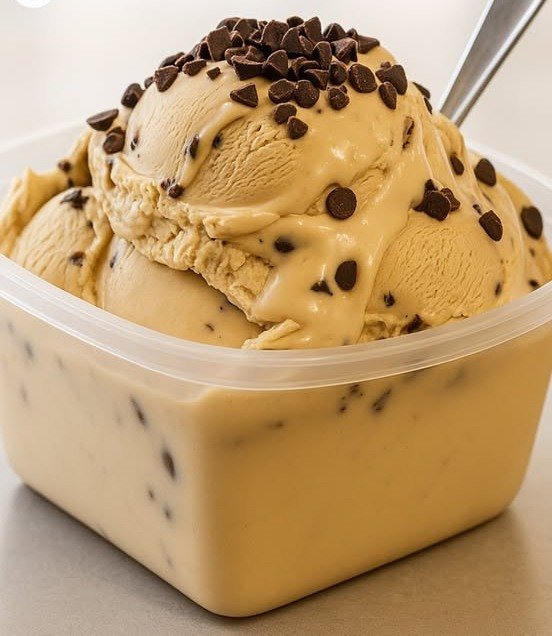
No-Churn Coffee Chocolate Chip Ice Cream
Creamy • Smooth • No Machine Needed
This No-Churn Coffee Chocolate Chip Ice Cream is rich, silky, and incredibly easy to make at home—no special equipment required. The combination of lightly sweetened cream, smooth coffee flavor, and chocolate chips creates a dessert that feels indulgent yet simple. Because it uses condensed milk instead of eggs, the texture stays soft and scoopable straight from the freezer.
Perfect for summer days, family treats, or anytime you crave a café-style frozen dessert at home.
🧾 Ingredients
Base Ingredients
-
Whipping Cream – 450 ml (about 2 cups), very cold
-
Sweetened Condensed Milk – 200 g (about ¾ cup), chilled
-
Instant Coffee – 2 tablespoons + 2 teaspoons
(Adjust to taste for lighter or stronger coffee flavor) -
Warm Water or Warm Milk – 1 to 2 tablespoons (for dissolving coffee)
Mix-Ins
-
Chocolate Chips – ½ cup
-
Extra Chocolate Chips – for topping (optional)
Optional Enhancers
-
A small pinch of salt (balances sweetness)
-
Cocoa Powder – 1 tablespoon (for mocha flavor)
🥣 Step-by-Step Instructions
1️⃣ Prepare the Coffee Mixture
In a small bowl, add the instant coffee and warm water or milk. Stir well until the coffee is fully dissolved and the mixture looks smooth, with no granules remaining.
Set aside and allow it to cool completely to room temperature.
(Adding warm coffee directly to cream can affect texture, so cooling is important.)
2️⃣ Whip the Cream
Pour the cold whipping cream into a large mixing bowl.
Using a hand mixer or stand mixer, whip on medium-high speed until the cream becomes thick and holds its shape.
How to tell it’s ready:
When you lift the beaters, the cream should stand upright and keep its form without falling over.
Tip: Stop mixing as soon as this stage is reached to maintain a light, smooth texture.
3️⃣ Combine the Base
Gently add the chilled condensed milk to the whipped cream.
Next, pour in the cooled coffee mixture.
Using a spatula, fold gently by scooping from the bottom and turning the mixture over itself. Continue until the color is even and the mixture looks smooth and airy.
4️⃣ Add Chocolate Chips
Sprinkle in the chocolate chips and gently fold again just until evenly distributed.
At this stage, you may also add:
-
A pinch of salt
-
Cocoa powder (sifted) for a mocha-style flavor
5️⃣ Transfer and Freeze
Spoon the mixture into a freezer-safe container.
Smooth the top with the back of a spoon and sprinkle extra chocolate chips if desired.
Cover tightly with a lid or wrap to keep the surface fresh and smooth.
6️⃣ Freeze Until Set
Place the container in the freezer for at least 6 hours, or preferably overnight.
Thanks to the condensed milk, the ice cream will remain soft and easy to scoop once frozen.
🍦 Serving Tips
-
Let the ice cream sit at room temperature for 2–3 minutes before scooping for best texture
-
Serve in bowls, cones, or alongside brownies or cookies
-
Sprinkle with cocoa powder or drizzle with chocolate syrup if desired
⭐ Pro Tips for Best Results
-
Cold Tools Matter: Chill your bowl and beaters for 10–15 minutes before whipping for maximum volume
-
Flavor Control: Adjust coffee quantity to suit your taste
-
Texture Boost: Mini chocolate chips distribute more evenly
-
Storage: Keep covered tightly to maintain smoothness