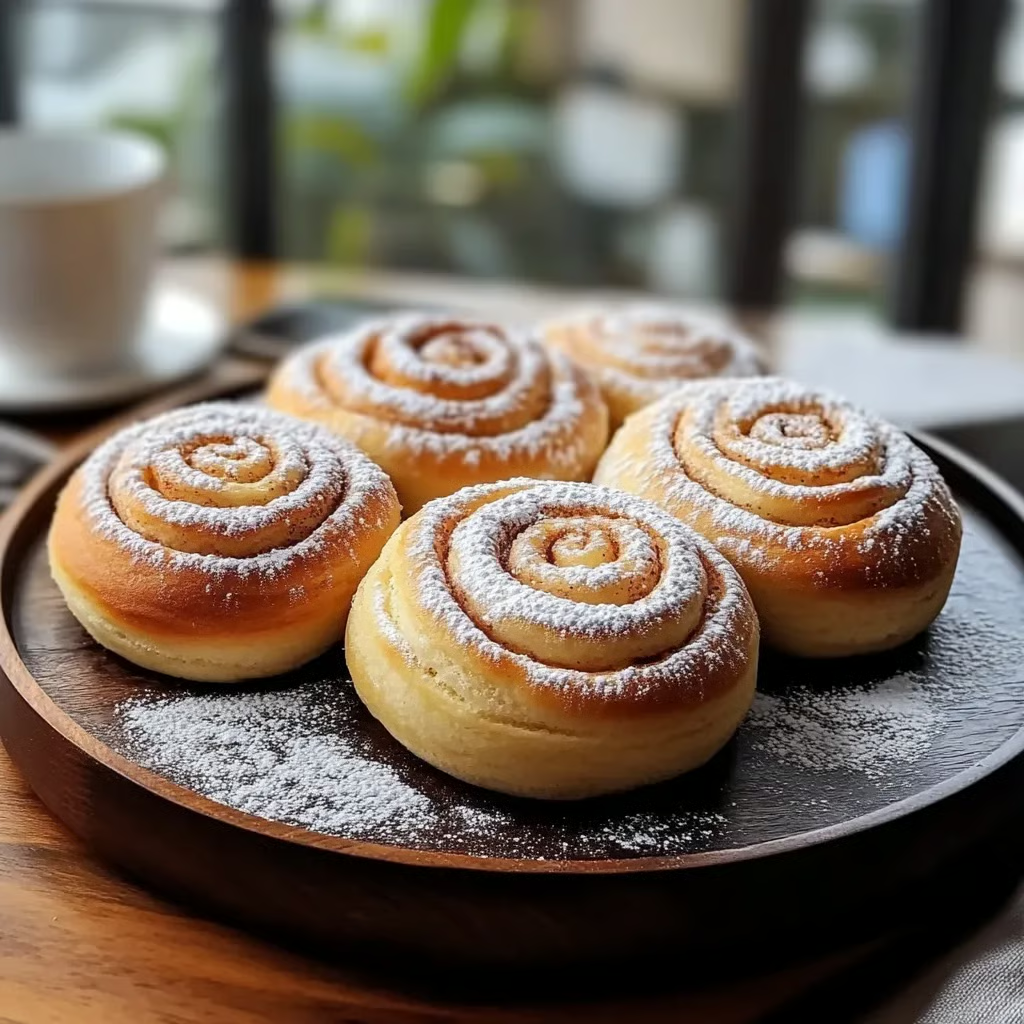
Soft, fluffy rolls with a sweet vanilla aroma and a cinnamon-sugar swirl — perfect for breakfast, brunch, or an afternoon treat.
Servings: 12 rolls
Prep Time: 25 minutes (plus 1½–2½ hours rising)
Cook Time: 20–25 minutes
Total Time: About 2½–3 hours
Dietary Badges: Contains Dairy, Contains Eggs, Vegetarian
Ingredients
Making the Dough
-
Plain flour
-
White sugar
-
Salt
-
Active dry yeast
-
Heated milk (about 110°F / 43°C)
-
Vanilla essence
-
Large eggs
-
Unsalted butter, melted
Topping Ingredients
-
White sugar
-
Melted butter (for brushing)
-
Ground cinnamon
Instructions
-
Activate Yeast: In a large bowl, mix heated milk, yeast, and sugar. Let sit 5–10 minutes until foamy.
-
Mix Dough: Stir in melted butter, salt, eggs, and vanilla. Gradually add flour until a soft dough forms.
-
Knead: On a floured surface, knead dough 8–10 minutes until smooth and elastic.
-
First Rise: Place in a greased bowl, cover, and let rise in a warm place for 1–2 hours until doubled.
-
Shape Rolls: Punch down dough, roll into a ¼-inch-thick rectangle, and brush with melted butter. Mix cinnamon and sugar, sprinkle evenly over dough, roll into a log, and slice into 12 pieces.
-
Second Rise: Arrange rolls in a greased baking dish, cover, and let rise 30–45 minutes.
-
Bake: Preheat oven to 350°F (175°C). Bake 20–25 minutes until golden on top.
-
Finish: Brush hot rolls with melted butter. Cool slightly before serving.
Notes:
-
For extra indulgence, drizzle with vanilla icing or sprinkle powdered sugar before serving.
-
Rolls stay fresh for a few days in an airtight container.
Brief Introduction
These vanilla-scented pan rolls are light, buttery, and swirled with cinnamon sugar. They’re easy to make, freezer-friendly, and just as delicious warm from the oven as they are the next day.
Step-by-Step Cooking Guide
Making the Dough
-
Yeast Activation: Warm milk and sugar feed the yeast, creating a frothy start for a soft, fluffy dough.
-
Mix & Knead: Combine butter, eggs, salt, vanilla, and flour, then knead until smooth.
Rising & Rolling
-
First Rise: Let dough double in size for a tender crumb.
-
Shape & Fill: Roll out dough, brush with butter, sprinkle with cinnamon-sugar, roll, and slice.
Baking & Serving
-
Second Rise: Allows rolls to puff up before baking.
-
Bake & Brush: Bake until golden, then brush with butter for shine and flavor.
Ingredient Details & Substitution Tips
-
Flour: All-purpose works best; bread flour yields a chewier texture.
-
Milk: Whole milk gives richer flavor; plant-based milk works for dairy-free (adjust butter too).
-
Butter: Use unsalted for control; margarine can substitute in a pinch.
-
Cinnamon Sugar: Adjust cinnamon to taste or add nutmeg for warmth.
Recipe Variations & Serving Suggestions
-
Vanilla Icing Drizzle: Mix powdered sugar, milk, and vanilla for a sweet glaze.
-
Nutty Swirl: Add chopped pecans or walnuts to the filling.
-
Serving Ideas: Best warm with coffee, tea, or a glass of cold milk.
Storage & Make-Ahead Information
-
Refrigeration: Store in an airtight container for up to 3 days.
-
Freezing: Freeze baked rolls for up to 2 months; thaw and rewarm before serving.
-
Make-Ahead: Prepare dough the night before, refrigerate after first rise, then shape and bake in the morning.
Nutrition Facts (per roll, 12 servings)
Calories: ~240 kcal | Carbs: 35g | Protein: 5g | Fat: 9g | Sugar: 10g | Sodium: 210mg
FAQs
Q: Can I use instant yeast instead of active dry?
A: Yes — skip the activation step and mix it directly with dry ingredients.
Q: Can I make them dairy-free?
A: Yes — use plant-based milk and dairy-free butter.
Q: How do I keep rolls soft?
A: Don’t overbake; cover loosely with foil if tops brown too quickly.
Personal Story
I first made these rolls on a rainy Sunday when I wanted the coziness of cinnamon rolls without too much sweetness. The vanilla in the dough gives them a bakery-level aroma that fills the whole kitchen — they’ve been a brunch favorite ever since.
If you want, I can also create process photo captions so this recipe is fully blog-ready with a visual step-by-step section. Would you like me to prepare those?