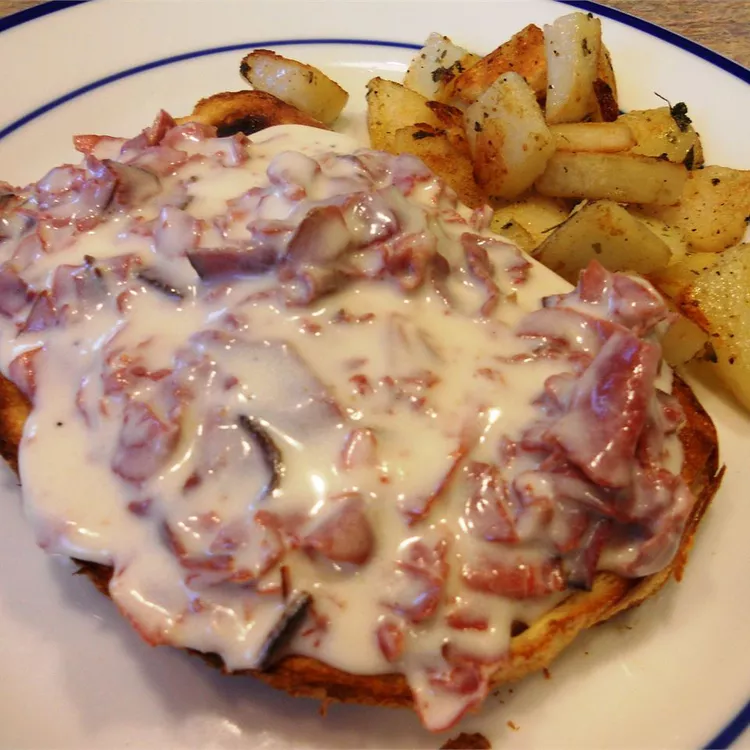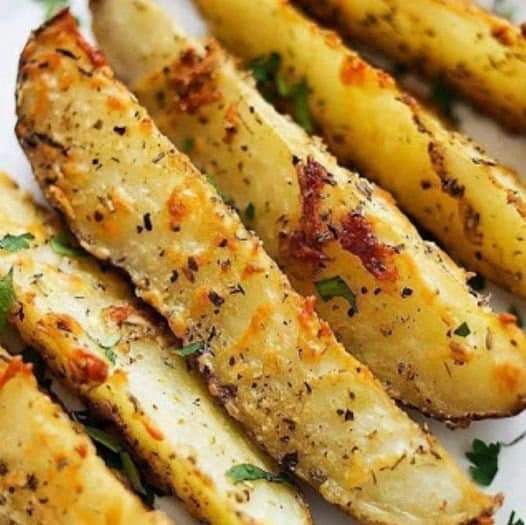
This easy recipe for Baked Garlic Parmesan Potato Wedges will blow you away with its simplicity and fantastic garlic, Italian herbs, and parmesan flavors! They make a great side dish or appetizer for parties too!
This latest semi-french fry recipe is sort of blowing my mind. So crispy and loaded with yummy garlic and Italian flavors. I could never turn down garlic and cheese on fries and I think you won’t be able to, either!
IDEAS FOR DIPPING GARLIC PARMESAN POTATO WEDGES
-
Because what are fries without dip?!
-
The first time I made these roasted potato fries, I dipped them in blue cheese dressing with freshly chopped parsley. Oh my heaven.
-
Ketchup, cause, it’s a natural relationship.
-
Chimichurri: don’t knock it till you try it! In fact, don’t dip, just dump the chimichurri all over the fries and eat with a fork (or your hands, no judgment).
-
Queso dip! Cheese on cheese on cheese!
-
Crab and artichoke dip? Sure!
-
If you love blue cheese dip, you’ll probably also want to go ahead and make this Greek Yogurt Ranch.
-
Plain old mustard is great, but honey mustard is much, much better!
-
For a little bit of heat in your dip, try this chipotle ranch version of a typical ranch dip.
HOW TO CUT POTATO WEDGES
-
I rinse my potatoes under cold water, rubbing off any dirt first. Then I cut off any bad spots or “eyes” that are starting to grow.
-
Then, I dry the potatoes off (so they aren’t slippery when you’re trying to cut them) and place them on a cutting board.
-
Grab a large, sharp knife for cutting these into wedges. Place the potato down longside away from you and slice right down the middle, lengthwise.
-
Turn the two cut halves down on the flat side/inside and cut those in half again. (Placing them flat side down ensures they won’t roll and lessens the chances that you’ll cut yourself.)
-
Finally, carefully cut each quarter-wedge in half through the center. Ta da!
-
If you have particularly large potatoes, you can cut some sections again. They should all be roughly about an inch in width to make them bake more evenly.
This easy recipe for Baked Garlic Parmesan Potato Wedges will blow you away with its simplicity and fantastic garlic, Italian herbs, and parmesan flavors! They make a great side dish or appetizer for parties too!
Prep Time:15min
Cook Time:30min
Total Time:45min
Servings:4 servings
Ingredients:
-
3-4 large russet potatoes, sliced into wedges
-
4 tablespoons olive oil
-
2 teaspoons salt
-
2 teaspoons garlic powder
-
2 teaspoons Italian seasoning
-
½ cup shredded parmesan cheese
-
optional: fresh parsley (or cilantro), ranch or blue cheese dressing for dipping
Instructions:
-
Preheat oven to 375. Lightly grease a large baking sheet and set aside.
-
Place potato wedges in a large bowl. Drizzle with olive oil and toss to coat.
-
In a small bowl whisk together salt, garlic powder, and Italian seasoning.
-
Sprinkle potato wedges with the shredded cheese, tossing to coat, then sprinkle with the seasoning mixture.
-
Place potato wedges on prepared baking sheet in a single layer with skin-sides-down.
-
Bake for 25-35 minutes until potatoes are fork-tender and golden.
-
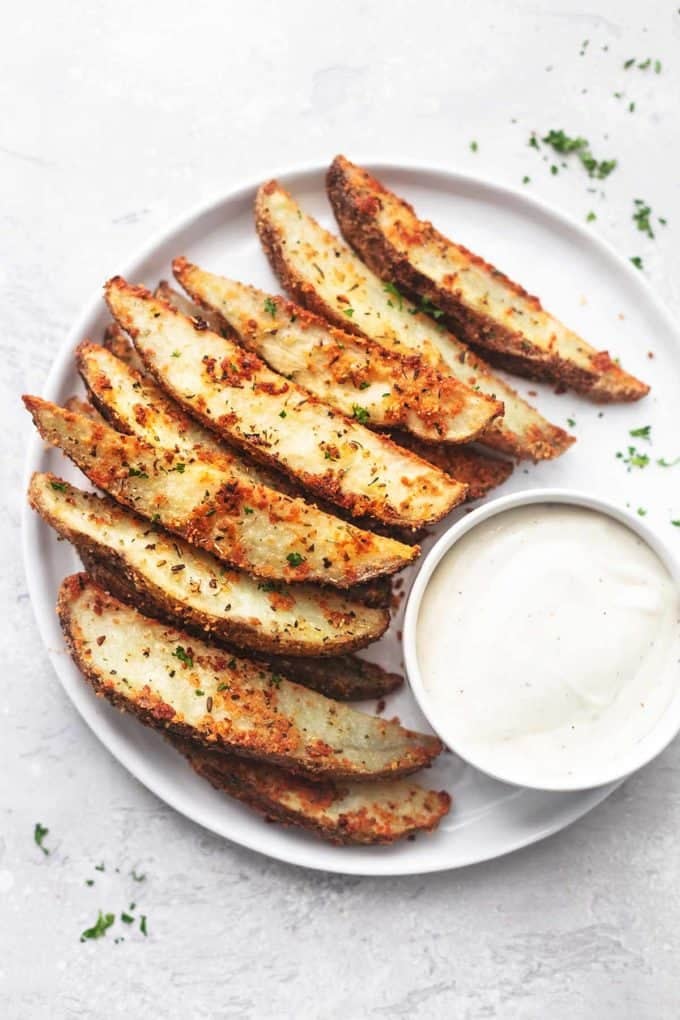
Sprinkle with freshly chopped parsley and dressing for dipping.

Notes:
Serve with your favorite dipping sauce – we love ranch dressing!
Nutritional Info:
Calories: 404 kcal, Carbohydrates: 52 g, Protein: 11 g, Fat: 18 g, Saturated Fat: 4 g, Cholesterol: 11 mg, Sodium: 1369 mg, Potassium: 1201 mg, Fiber: 4 g, Sugar: 2 g, Vitamin A: 128 IU, Vitamin C: 16 mg, Calcium: 193 mg, Iron: 3 mg